Monitor Mode
In Monitor mode, you can remotely monitor and control up to eight connected UR6D or UR6DX UHF wireless receivers. The main areas of the Monitor Mode screen (as shown on page 7 of this manual) are as follows:
1:Menus - The Monitor Mode screen provides seven menus (File, Monitor, Timer, Setup, Display, Window, and Help) that provide numerous options. See page 13 in this manual for more information about each menu item.
2:Tool Bar - Present in all modes and screens, the Tool Bar provides graphic icons that allow you to carry out various operations with a single mouse click. See page 12 in this manual for more information.
3:Program Name - You can give your WSM session a unique title (long filenames are supported).
To enter a Program Name, either
4:Scene Name - Up to 20 scenes (each containing
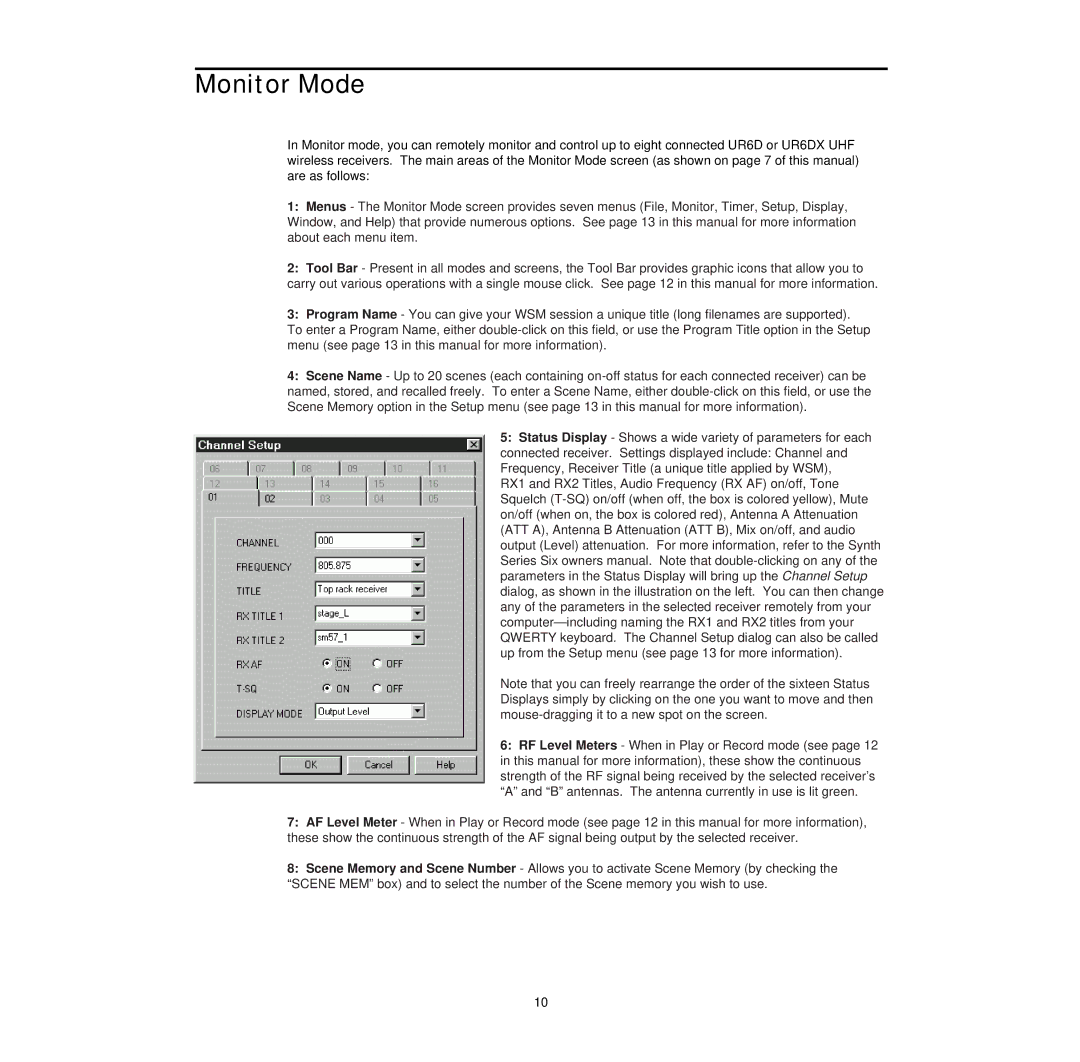
5:Status Display - Shows a wide variety of parameters for each connected receiver. Settings displayed include: Channel and Frequency, Receiver Title (a unique title applied by WSM),
RX1 and RX2 Titles, Audio Frequency (RX AF) on/off, Tone Squelch
Note that you can freely rearrange the order of the sixteen Status Displays simply by clicking on the one you want to move and then
6:RF Level Meters - When in Play or Record mode (see page 12 in this manual for more information), these show the continuous strength of the RF signal being received by the selected receiver’s “A” and “B” antennas. The antenna currently in use is lit green.
7:AF Level Meter - When in Play or Record mode (see page 12 in this manual for more information), these show the continuous strength of the AF signal being output by the selected receiver.
8:Scene Memory and Scene Number - Allows you to activate Scene Memory (by checking the “SCENE MEM” box) and to select the number of the Scene memory you wish to use.
10