COMPLETING THE INSTALLATION
Performing Leak Tests
Before completing the installation (insulation of the cables, hose and piping and fixing of the indoor unit to the installation plate), you must check that there are no gas leaks.
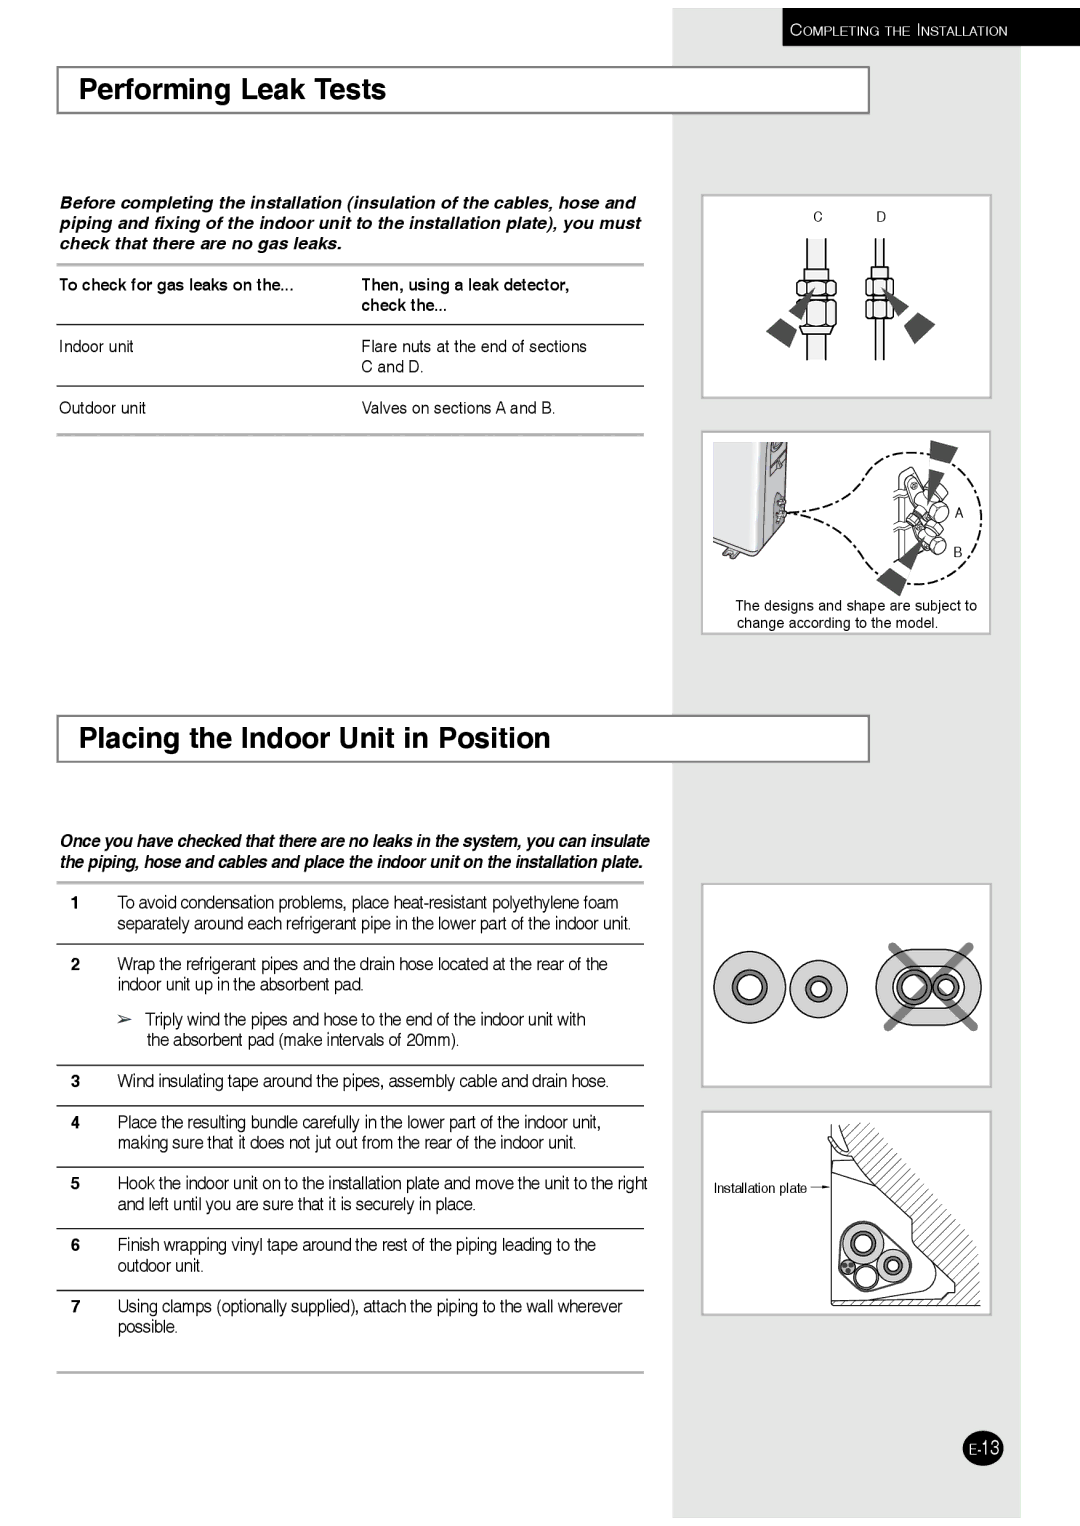
To check for gas leaks on the... | Then, using a leak detector, |
| check the... |
|
|
Indoor unit | Flare nuts at the end of sections |
| C and D. |
|
|
Outdoor unit | Valves on sections A and B. |
|
|
C D
![]()
![]()
![]() A
A
![]()
![]() B
B
The designs and shape are subject to change according to the model.
Placing the Indoor Unit in Position
Once you have checked that there are no leaks in the system, you can insulate the piping, hose and cables and place the indoor unit on the installation plate.
1To avoid condensation problems, place
2Wrap the refrigerant pipes and the drain hose located at the rear of the indoor unit up in the absorbent pad.
![]() Triply wind the pipes and hose to the end of the indoor unit with the absorbent pad (make intervals of 20mm).
Triply wind the pipes and hose to the end of the indoor unit with the absorbent pad (make intervals of 20mm).
3Wind insulating tape around the pipes, assembly cable and drain hose.
4Place the resulting bundle carefully in the lower part of the indoor unit, making sure that it does not jut out from the rear of the indoor unit.
5Hook the indoor unit on to the installation plate and move the unit to the right and left until you are sure that it is securely in place.
6Finish wrapping vinyl tape around the rest of the piping leading to the outdoor unit.
7Using clamps (optionally supplied), attach the piping to the wall wherever possible.
Installation plate ![]()