Samsung CLX-3170 Changing the Settings for Each Scan JOB, Changing the Default Scan Settings

Models: CLX-3170

1 143
Download 143 pages 24.33 Kb
Page 46
Image 46

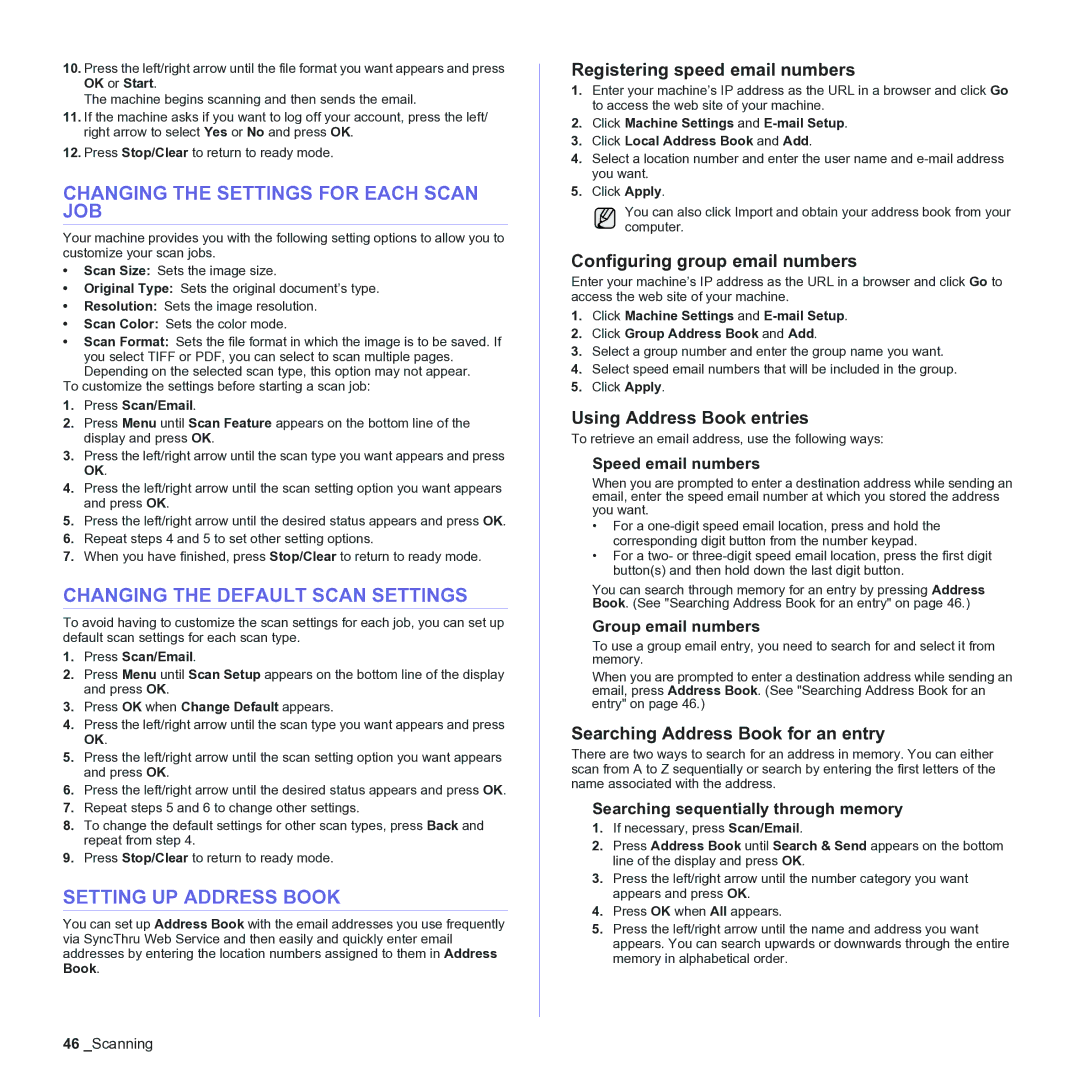
10.Press the left/right arrow until the file format you want appears and press OK or Start.

The machine begins scanning and then sends the email.

11.If the machine asks if you want to log off your account, press the left/ right arrow to select Yes or No and press OK.

12.Press Stop/Clear to return to ready mode.

CHANGING THE SETTINGS FOR EACH SCAN JOB

Your machine provides you with the following setting options to allow you to customize your scan jobs.

Scan Size: Sets the image size.

Original Type: Sets the original document’s type.

Resolution: Sets the image resolution.

Scan Color: Sets the color mode.

Scan Format: Sets the file format in which the image is to be saved. If

you select TIFF or PDF, you can select to scan multiple pages. Depending on the selected scan type, this option may not appear.

To customize the settings before starting a scan job:

1.Press Scan/Email.

2.Press Menu until Scan Feature appears on the bottom line of the display and press OK.

3.Press the left/right arrow until the scan type you want appears and press OK.

4.Press the left/right arrow until the scan setting option you want appears and press OK.

5.Press the left/right arrow until the desired status appears and press OK.

6.Repeat steps 4 and 5 to set other setting options.

7.When you have finished, press Stop/Clear to return to ready mode.

CHANGING THE DEFAULT SCAN SETTINGS

To avoid having to customize the scan settings for each job, you can set up default scan settings for each scan type.

1.Press Scan/Email.

2.Press Menu until Scan Setup appears on the bottom line of the display and press OK.

3.Press OK when Change Default appears.

4.Press the left/right arrow until the scan type you want appears and press OK.

5.Press the left/right arrow until the scan setting option you want appears and press OK.

6.Press the left/right arrow until the desired status appears and press OK.

7.Repeat steps 5 and 6 to change other settings.

8.To change the default settings for other scan types, press Back and repeat from step 4.

9.Press Stop/Clear to return to ready mode.

SETTING UP ADDRESS BOOK

You can set up Address Book with the email addresses you use frequently via SyncThru Web Service and then easily and quickly enter email addresses by entering the location numbers assigned to them in Address Book.

Registering speed email numbers

1.Enter your machine’s IP address as the URL in a browser and click Go to access the web site of your machine.

2.Click Machine Settings and E-mail Setup.

3.Click Local Address Book and Add.

4.Select a location number and enter the user name and e-mail address you want.

5.Click Apply.

You can also click Import and obtain your address book from your computer.

Configuring group email numbers

Enter your machine’s IP address as the URL in a browser and click Go to access the web site of your machine.

1.Click Machine Settings and E-mail Setup.

2.Click Group Address Book and Add.

3.Select a group number and enter the group name you want.

4.Select speed email numbers that will be included in the group.

5.Click Apply.

Using Address Book entries

To retrieve an email address, use the following ways:

Speed email numbers

When you are prompted to enter a destination address while sending an email, enter the speed email number at which you stored the address you want.

For a one-digit speed email location, press and hold the corresponding digit button from the number keypad.

For a two- or three-digit speed email location, press the first digit button(s) and then hold down the last digit button.

You can search through memory for an entry by pressing Address Book. (See "Searching Address Book for an entry" on page 46.)

Group email numbers

To use a group email entry, you need to search for and select it from memory.

When you are prompted to enter a destination address while sending an email, press Address Book. (See "Searching Address Book for an entry" on page 46.)

Searching Address Book for an entry

There are two ways to search for an address in memory. You can either scan from A to Z sequentially or search by entering the first letters of the name associated with the address.

Searching sequentially through memory

1.If necessary, press Scan/Email.

2.Press Address Book until Search & Send appears on the bottom line of the display and press OK.

3.Press the left/right arrow until the number category you want appears and press OK.

4.Press OK when All appears.

5.Press the left/right arrow until the name and address you want appears. You can search upwards or downwards through the entire memory in alphabetical order.

46_Scanning

Page 46
Image 46
Samsung CLX-3170 Changing the Settings for Each Scan JOB, Changing the Default Scan Settings, Setting UP Address Book

CLX-3170 specifications

The Samsung CLX-3170 is a versatile color laser multifunction printer that provides an array of features suitable for both home and small office environments. This compact device combines printing, scanning, copying, and faxing capabilities in one unit, enhancing productivity while saving space. With its sleek design and user-friendly interface, the CLX-3170 is both functional and aesthetically pleasing.

One of the standout features of the CLX-3170 is its ability to produce high-quality color prints at a resolution of up to 2400 x 600 dpi. This allows users to create vibrant documents, marketing materials, and images with precise detail and accuracy. Additionally, the printer boasts a printing speed of up to 19 pages per minute for black-and-white prints and up to 4 pages per minute for color prints, making it a reliable choice for users who require efficiency.

The CLX-3170 employs Samsung's unique Laser Beam Printing technology, which utilizes a laser to produce images on a drum. This technology not only enhances image quality but also reduces noise during operation, making it suitable for quiet office environments. The device is equipped with a flatbed scanner, which supports various media sizes and provides resolutions of up to 1200 x 1200 dpi for clear and detailed scans.

Another notable characteristic is its Eco Mode, which helps users save both toner and paper. This feature allows for easy duplex printing, reducing paper usage by enabling users to print on both sides of a page. This environmentally conscious approach is complemented by the printer's low-energy consumption, providing an eco-friendly printing solution.

Connectivity is another area where the CLX-3170 excels. It features USB 2.0 and Ethernet connectivity options, allowing seamless integration into different network environments. This makes it easy to share the printer among multiple users without compromising speed or quality.

Samsung’s easy-to-use control panel simplifies the operation of the CLX-3170, featuring a two-line LCD display and intuitive buttons for easy navigation. The printer also supports various media types, including plain paper, glossy paper, and envelopes, showing its versatility in handling diverse printing tasks.

In summary, the Samsung CLX-3170 is a well-rounded multifunction printer that brings together advanced printing technology, quality performance, and eco-friendly features. Its compact size, high-quality output, and efficient operation make it a strong contender for those seeking reliable printing solutions for small-scale applications.