VCR Checking a Preset Recording
Playing a Cassette | VCR |
|
|
|
|
|
|
|
|
|
|
|
|
|
| PR | Date | Start | Stop | Speed |
|
|
|
|
| WE 1 | 19 : 00 | 19 : 30 | SP |
|
|
|
|
|
| : | : |
|
|
GB |
|
|
|
| : | : |
|
|
|
|
|
| : | : |
|
| |
|
|
|
|
|
|
| ||
|
|
|
|
| : | : |
|
|
|
|
|
|
| : | : |
|
|
|
|
|
|
|
|
| ||
|
|
|
|
| : | : |
|
|
|
|
|
|
|
|
|
|
|
|
|
|
|
|
|
|
|
|
|
|
|
|
|
|
|
|
|
You can check your preset recordings:
◆When you have finished presetting the
◆If you have forgotten which programmes will be recorded
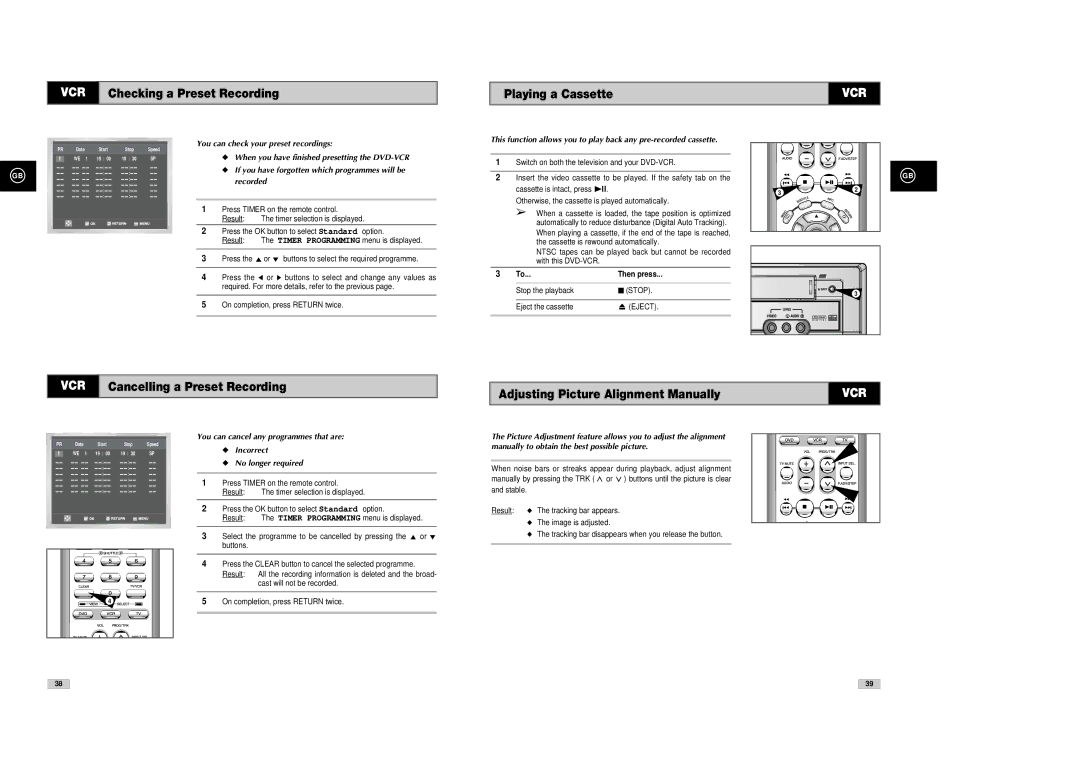
1Press TIMER on the remote control.
Result: The timer selection is displayed.
2Press the OK button to select Standard option.
Result: The TIMER PROGRAMMING menu is displayed.
3 | Press the or ❷ buttons to select the required programme. |
|
|
4Press the ➛ or ❿ buttons to select and change any values as required. For more details, refer to the previous page.
5On completion, press RETURN twice.
This function allows you to play back any
1 | Switch on both the television and your |
|
| |
2 | Insert the video cassette to be played. If the safety tab on the |
|
| |
| cassette is intact, press ❿ll. |
| 3 | 2 |
| Otherwise, the cassette is played automatically. |
| ||
|
|
| ||
| ➢ When a cassette is loaded, the tape position is optimized |
|
| |
| automatically to reduce disturbance (Digital Auto Tracking). |
|
| |
| When playing a cassette, if the end of the tape is reached, |
|
| |
| the cassette is rewound automatically. |
|
| |
| NTSC tapes can be played back but cannot be recorded |
|
| |
| with this |
|
|
|
3 | To... | Then press... |
|
|
|
|
|
| EJECT |
| Stop the playback | ■ (STOP). |
| 3 |
|
|
|
| |
| Eject the cassette | (EJECT). |
| LINE2 |
GB
VCR Cancelling a Preset Recording
Adjusting Picture Alignment Manually
VCR
|
|
|
|
|
|
|
|
|
|
|
|
| PR |
| Date | Start |
| Stop | Speed |
| |||
|
| WE 1 | 19 : 00 | 19 : 30 |
| SP |
| ||||
|
|
|
| : |
| : |
|
|
|
| |
|
|
|
| : |
| : |
|
|
|
| |
|
|
|
| : |
| : |
|
|
|
| |
|
|
|
| : |
| : |
|
|
|
| |
|
|
|
| : |
| : |
|
|
|
| |
|
|
|
| : |
| : |
|
|
|
| |
|
|
|
|
|
|
|
|
|
|
|
|
|
|
|
|
|
|
|
|
|
|
|
|
|
|
|
|
|
|
|
|
|
|
|
|
|
|
|
|
|
|
|
|
|
|
|
|
|
|
|
|
|
|
|
|
|
|
|
|
|
|
|
|
|
|
|
|
|
|
|
|
4 |
You can cancel any programmes that are:
◆Incorrect
◆No longer required
1Press TIMER on the remote control.
Result: The timer selection is displayed.
2Press the OK button to select Standard option.
Result: The TIMER PROGRAMMING menu is displayed.
3 | Select the programme to be cancelled by pressing the | or ❷ |
| buttons. |
|
|
|
|
4Press the CLEAR button to cancel the selected programme. Result: All the recording information is deleted and the broad-
cast will not be recorded.
5On completion, press RETURN twice.
The Picture Adjustment feature allows you to adjust the alignment manually to obtain the best possible picture.
When noise bars or streaks appear during playback, adjust alignment manually by pressing the TRK ( ![]() or
or ![]() ) buttons until the picture is clear and stable.
) buttons until the picture is clear and stable.
Result: ◆ The tracking bar appears.
◆The image is adjusted.
◆The tracking bar disappears when you release the button.
38
39
