4.4 Installing the appliance
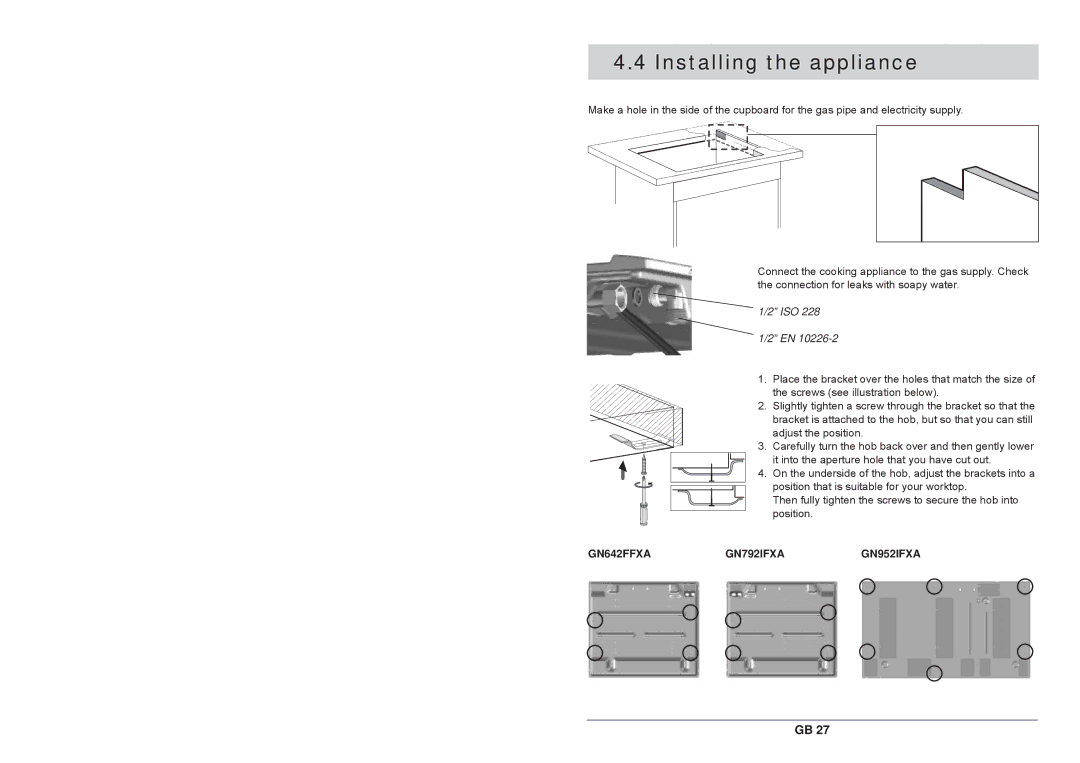
Make a hole in the side of the cupboard for the gas pipe and electricity supply.
Connect the cooking appliance to the gas supply. Check the connection for leaks with soapy water.
1/2” ISO 228
1/2” EN
1.Place the bracket over the holes that match the size of the screws (see illustration below).
2.Slightly tighten a screw through the bracket so that the
bracket is attached to the hob, but so that you can still adjust the position.
3. Carefully turn the hob back over and then gently lower it into the aperture hole that you have cut out.
4. On the underside of the hob, adjust the brackets into a position that is suitable for your worktop.
Then fully tighten the screws to secure the hob into position.
GN642FFXA | GN792IFXA | GN952IFXA |
GB 27