Main
DLPTV
Safety Instructions
Warning! Important Safety Instructions
CAUTION
Thank You for Choosing Samsung
Important Safety Information
FCC Information
Safety Instructions
Table of Contents
Page
Replacing the Lamp
1
2
5
4
3
Side Panel Buttons
Side Panel Jacks
List of Features
Checking Parts
Front Panel LED Indicators
Rear Panel Jacks
Installing Batteries in the Remote Control
2
1
3
Remote Control
Page
Connecting VHF and UHF Antennas
1
Antennas with 300-ohm Flat Twin Leads
2
1
2
1
Cable without a Cable Box
2
1
Cable with a Cable Box that Descrambles All Channels
Connecting a Cable Converter Box
Connecting a Cable Converter Box and a VCR
Connecting a DVD Player
2
Connecting to Y,PB,PR
3
2
1
Connecting to audio and video jacks
Connecting a Camcorder
Connecting a DTV Set Top Box
Connecting to Y,PB,PR
Connecting to DVI (Digital Visual Interface)
Connecting to R,G,B
Page
Turning the TV On and Off
1
Viewing the Menus and Displays
3
2
1
2
Displaying the Menus
Displaying Status Information
Selecting the Menu Language
1
2
3
2
1
Adding and Erasing Channels
Channel Memory
Selecting the Broadcast Source
Selecting Your Favorite Channels
4
To Store Your Favorite Channels:
To View Your Favorite Channels:
Changing Channels
Using the Channel Buttons
3
Labeling the Channels
5
1
Picture Control
1
Customizing the Picture
2
Using Automatic (Standard) Picture Settings
Guide to Automatic Picture Settings
3
4
2
1
Using Automatic(Standard) Sound Settings
1
5
4
2
5
1
6
11
10
9
3
Selecting the Signal Source
1
Assigning Names to External Input Mode
Special Features
Remote Control VCR/DVD Buttons
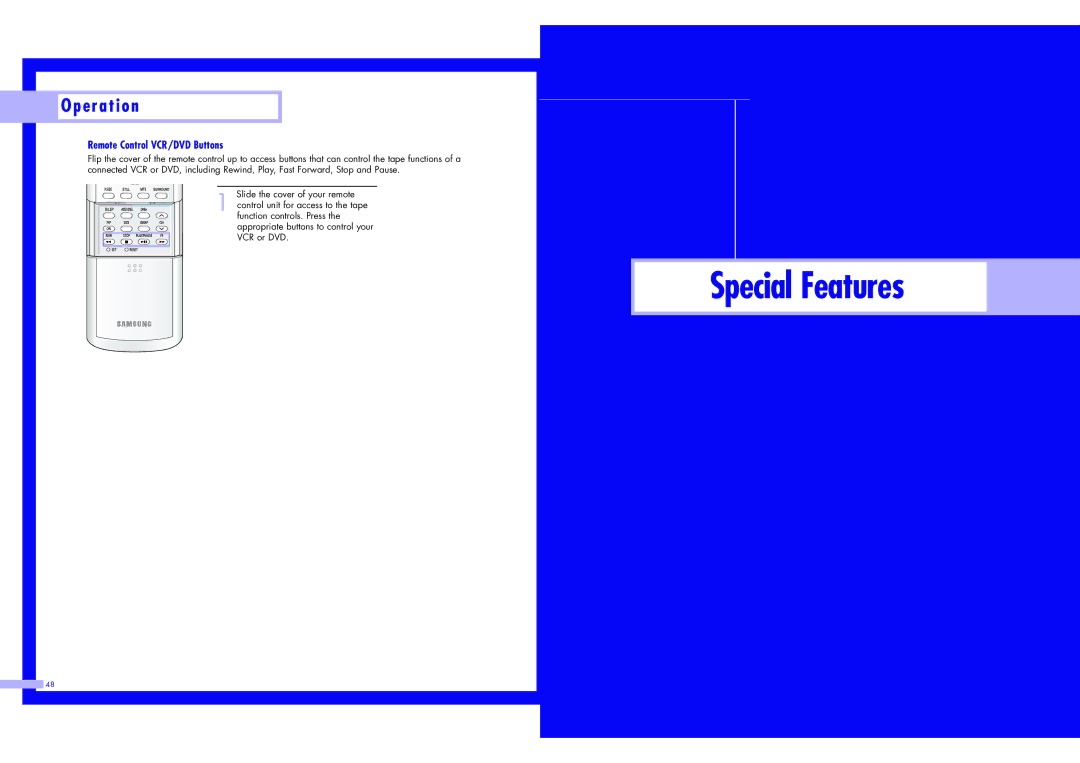
1
Setting Up Your Remote Control
Setting Up the Remote to Operate Your VCR
4
6
5
6
5
4
1
Note on Using Remote Control Modes: Cable Box
Setting Up the Remote to Operate Your DVD
1
6
5
4
the SET button.
1
Fine Tuning Channels
DNIeTM (Digital Natural Image engine)
Guide to DNIe Settings
Selecting the Color Tone
Setting the Film Mode
Setting the Blue Screen Mode
select Blue Screen, then
select On or Off, then press the ENTER button. Press the EXIT button to
Digital Noise Reduction
the ENTER button.
Special Audio Options
MTS Settings: Choosing a Soundtrack
Guide to MTS Settings
Changing the Screen Size
Wide
BBE
Virtual Dolby
Auto Volume
Press the or button to select Sound, then press
select Auto Volume, then
Setting The On/Off Melody
A melody sound can be set to come on when the TV is powered On or Off.
Press the or button to select Setup, then press
select Melody, then press
select On, then press the
1
Selecting a PIP Screen
4
3
2
4
Selecting an External Signal
Changing the Size of the PIP image
the ENTER button.
When ANT-B, Component mode, PC, or DVI is selected, the PIP Swap function doesnt work.
select PIP, then press the
select PIP Size, then
Changing the Picture-in-Picture Channel
the ENTER button.
select PIP, then press the
select PIP Channel, then
select PIP position you want, then press the ENTER button. Press the EXIT button to exit the menu.
1
How to Change Your Password
6
5
4
4
5
the ENTER button.
select V-Chip, then press
Press the number button to enter your current 4-digit PIN number.
4
5
5
Important Notes About Parental Locks
PC Display
TV (FCC) Age-Based Ratings
TV (FCC) Content Category
MPAA Rating System (Movies)
Using Your TV as a Computer (PC) Display
How to connect Your PC to the TV
How to Set up Your PC Software (Windows only)
How to Set up Your TV as a PC display
Display Modes
2
3
4
Fine tuning
6
7
5
4
Picture Quality Adjustment
5
Changing the Position of the Image (Moving left, right, up and down)
Aspect Supported settings
Changing the Screen Size (PC mode)
Wide TV
Wide PC
Expand
4:3
Page
Appendix
Troubleshooting
Specifications
Care and Maintenance
Placement