Viewing Closed Captions
Your TV decodes and displays the closed captions that are broadcast with certain TV shows. These captions are usually subtitles for the hearing impaired or foreign language translations. All VCRs record the closed caption signal from television programs, so
your television schedule and on the tape’s packaging: ![]() .
.
Note: The Caption feature does not work with DVD or DTV signals.
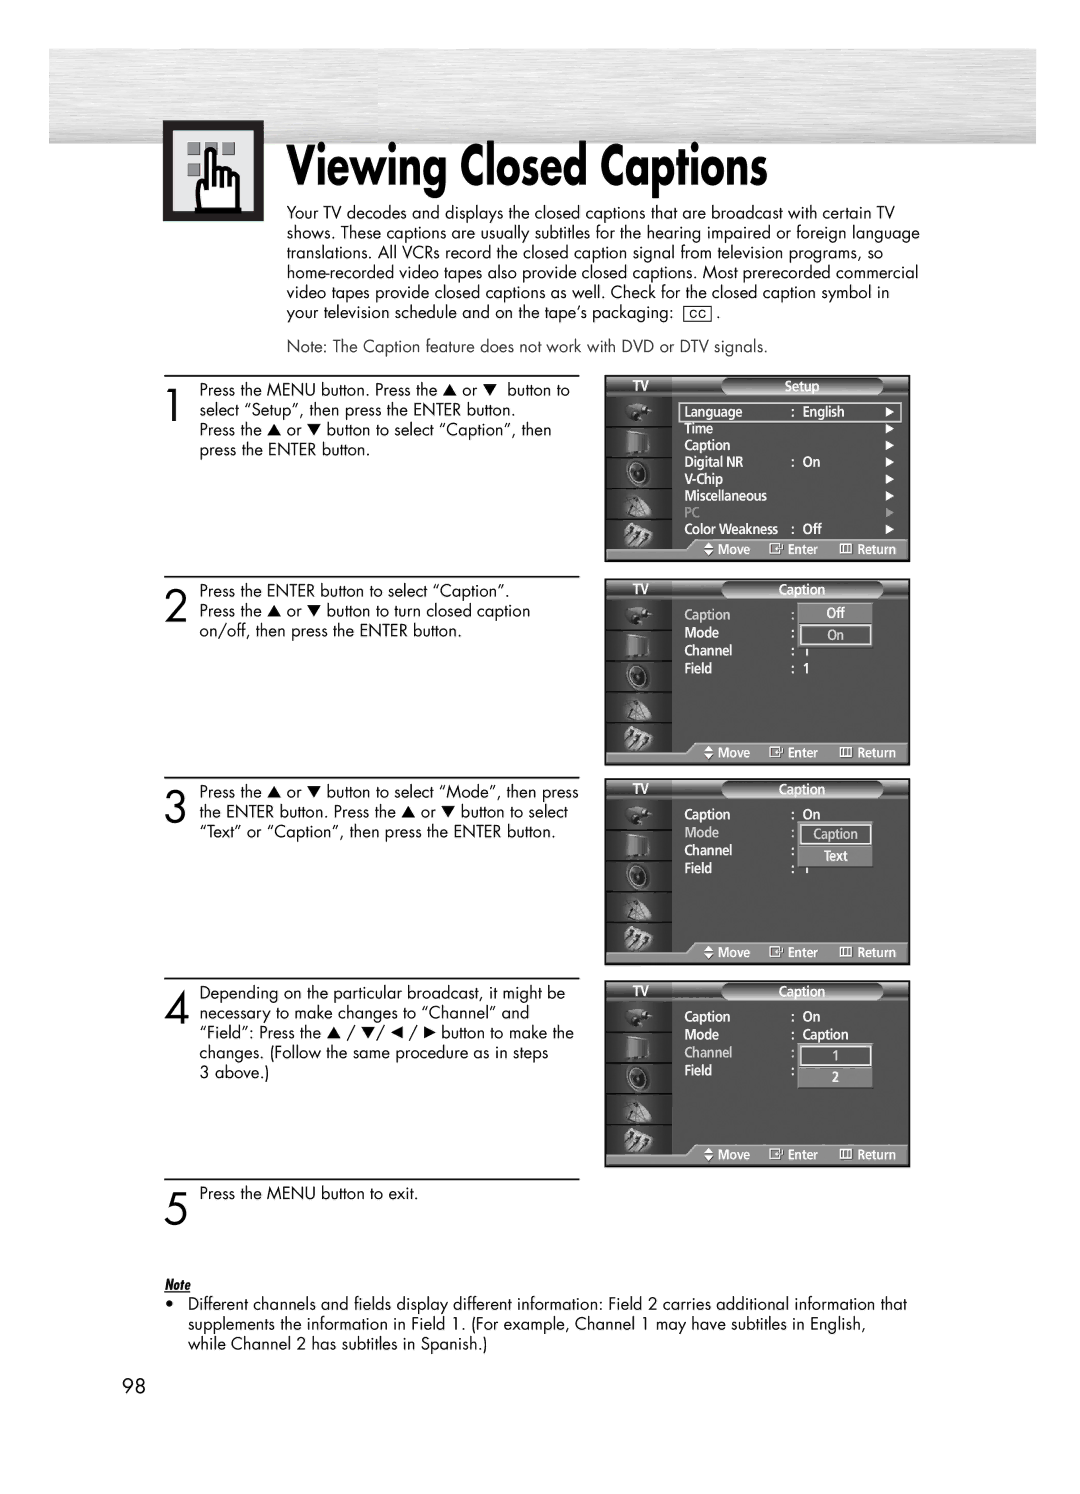
Press the MENU button. Press the ▲ or ▼ button to
1 select “Setup”, then press the ENTER button. Press the ▲ or ▼ button to select “Caption”, then press the ENTER button.
TV | Setup |
|
| |
|
|
|
|
|
| Language | : English | √ |
|
| Time |
| √ |
|
| Caption |
| √ | |
| Digital NR | : On | √ | |
|
| √ | ||
| Miscellaneous |
| √ | |
| PC |
| √ | |
| Color Weakness | : Off | √ | |
| Move | Enter | Return | |
|
|
|
|
|
Press the ENTER button to select “Caption”.
2 Press the ▲ or ▼ button to turn closed caption on/off, then press the ENTER button.
Press the ▲ or ▼ button to select “Mode”, then press
3 the ENTER button. Press the ▲ or ▼ button to select “Text” or “Caption”, then press the ENTER button.
TV | Caption | |
Caption | : On Off | |
Mode | : Caption | |
|
| On |
Channel | : | 1 |
Field | : | 1 |
Move | Enter | Return | ||
|
|
| ||
TV | Caption | |||
Caption | : On |
|
| |
Mode | : CaptionCaption | |||
Channel | : |
|
|
|
1 | Text | |||
Field | : | 1 |
|
|
![]() Move
Move ![]() Enter
Enter ![]() Return
Return
Depending on the particular broadcast, it might be
4 necessary to make changes to “Channel” and “Field”: Press the ▲ / ▼/ œ / √ button to make the changes. (Follow the same procedure as in steps
3 above.)
TV | Caption |
|
| |
Caption | : On |
|
| |
Mode | : Caption | |||
Channel | : | 1 | 1 |
|
Field | : | 1 | 2 |
|
|
|
|
| |
Move | Enter | Return | ||
|
|
|
|
|
5 Press the MENU button to exit.
Note
•Different channels and fields display different information: Field 2 carries additional information that supplements the information in Field 1. (For example, Channel 1 may have subtitles in English, while Channel 2 has subtitles in Spanish.)
98