Protecting the Screen Burning
ENG
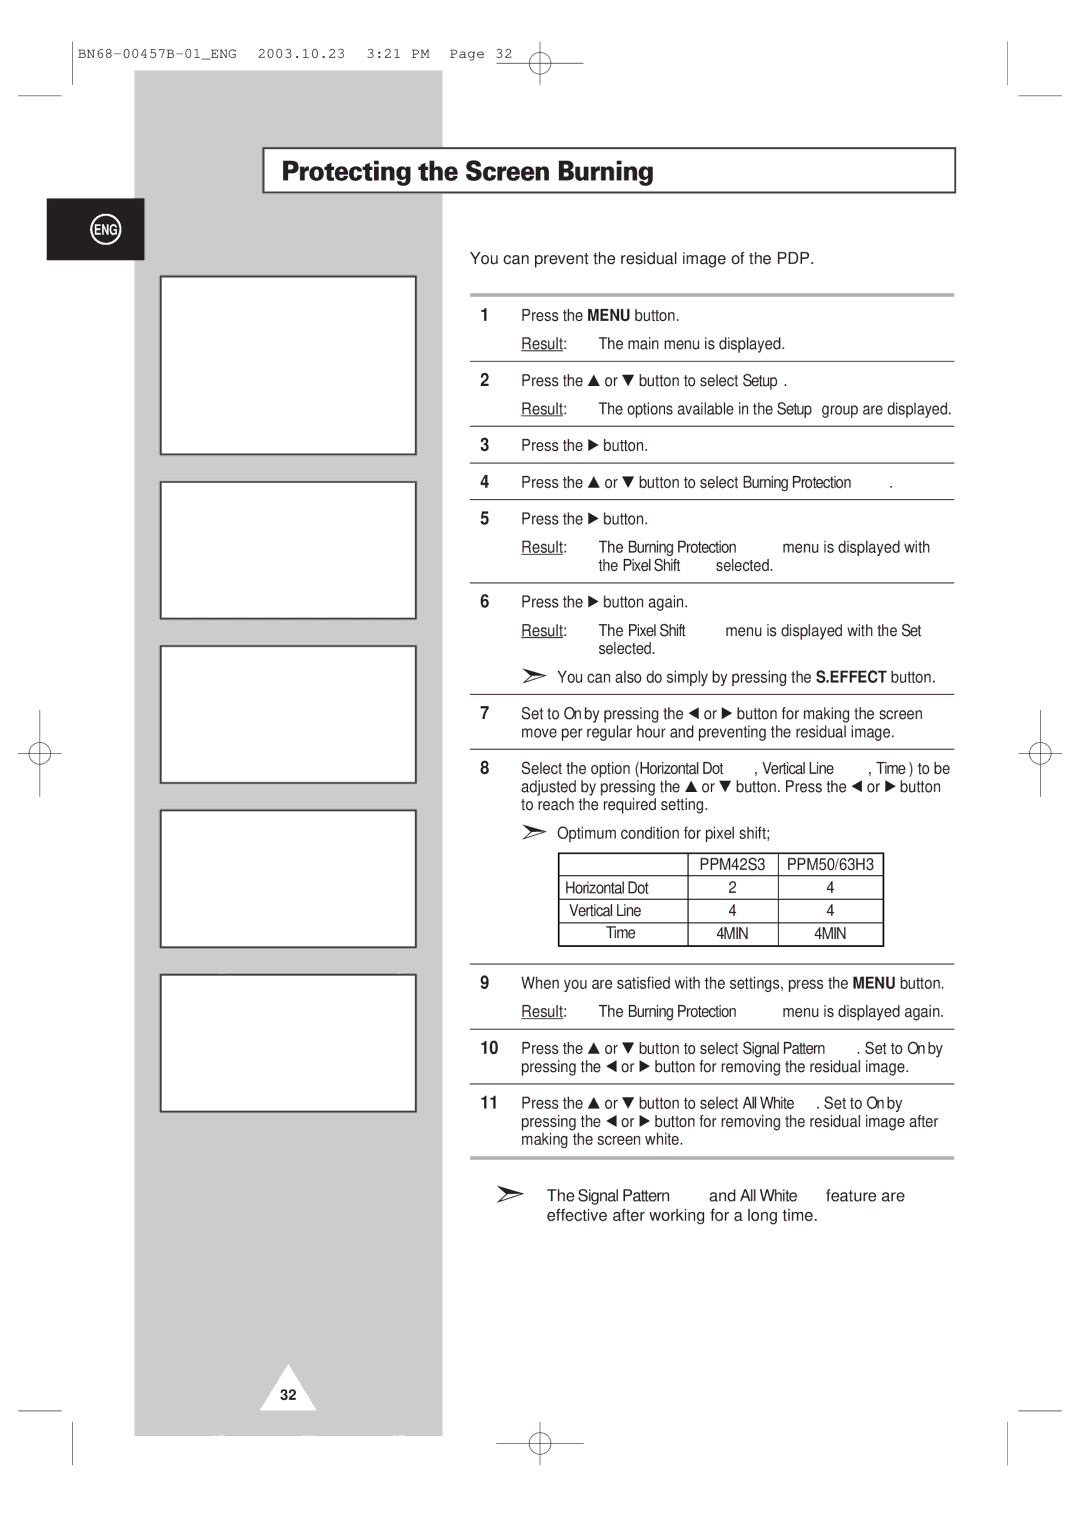
| Setup |
| |
Screen Adjust | √ |
| |
Key Lock |
| œ Off √ | |
Multi Control | √ |
| |
Burning Protection | √ |
| |
Video Wall | √ |
| |
Move | Enter | Return | |
|
| ||
|
|
|
|
Burning Protection |
| ||
Pixel Shift | √ |
| |
Signal Pattern | œ Off | √ | |
All White |
| œ Off | √ |
Move | √ Enter |
| Return |
|
|
|
|
|
|
|
|
| Pixel Shift |
|
|
Set |
| œ On √ | |
Horizontal Dot | 2 |
| |
Vertical Line | 4 |
| |
Time |
| 4 MIN | |
Move | œ √ Sel. |
| Return |
|
| ||
|
|
|
|
Burning Protection |
| ||
Pixel Shift | √ |
| |
Signal Pattern | œ Off | √ | |
All White |
| œ Off | √ |
Move | œ √ Sel. |
| Return |
|
| ||
|
| ||
Burning Protection |
| ||
Pixel Shift | √ |
| |
Signal Pattern | œ Off | √ | |
All White |
| œ Off | √ |
Move | œ √ Sel. |
| Return |
|
|
|
|
You can prevent the residual image of the PDP.
1Press the MENU button.
Result: The main menu is displayed.
2Press the ▲ or ▼ button to select Setup.
Result: The options available in the Setup group are displayed.
3Press the √ button.
4Press the ▲ or ▼ button to select Burning Protection.
5Press the √ button.
Result: The Burning Protection menu is displayed with the Pixel Shift selected.
6Press the √ button again.
Result: The Pixel Shift menu is displayed with the Set selected.
➣You can also do simply by pressing the S.EFFECT button.
7Set to On by pressing the œ or √ button for making the screen move per regular hour and preventing the residual image.
8Select the option (Horizontal Dot, Vertical Line, Time) to be adjusted by pressing the ▲ or ▼ button. Press the œ or √ button to reach the required setting.
➣Optimum condition for pixel shift;
|
| PPM42S3 | PPM50/63H3 |
|
| Horizontal Dot | 2 | 4 |
|
| Vertical Line | 4 | 4 |
|
| Time | 4MIN | 4MIN |
|
|
|
|
|
|
9When you are satisfied with the settings, press the MENU button.
Result: The Burning Protection menu is displayed again.
10Press the ▲ or ▼ button to select Signal Pattern. Set to On by pressing the œ or √ button for removing the residual image.
11Press the ▲ or ▼ button to select All White. Set to On by pressing the œ or √ button for removing the residual image after making the screen white.
➣The Signal Pattern and All White feature are effective after working for a long time.
32