EXIT
The EXIT menu is used to quit the CAMERA SET menu of the
-QUIT: Ignores the changed information and restores the saved information.
-SAVE: Saves the information of the setting condition of the menu.
-PRESET: Ignores the changed information and restores the initial factory defaults of the menu.
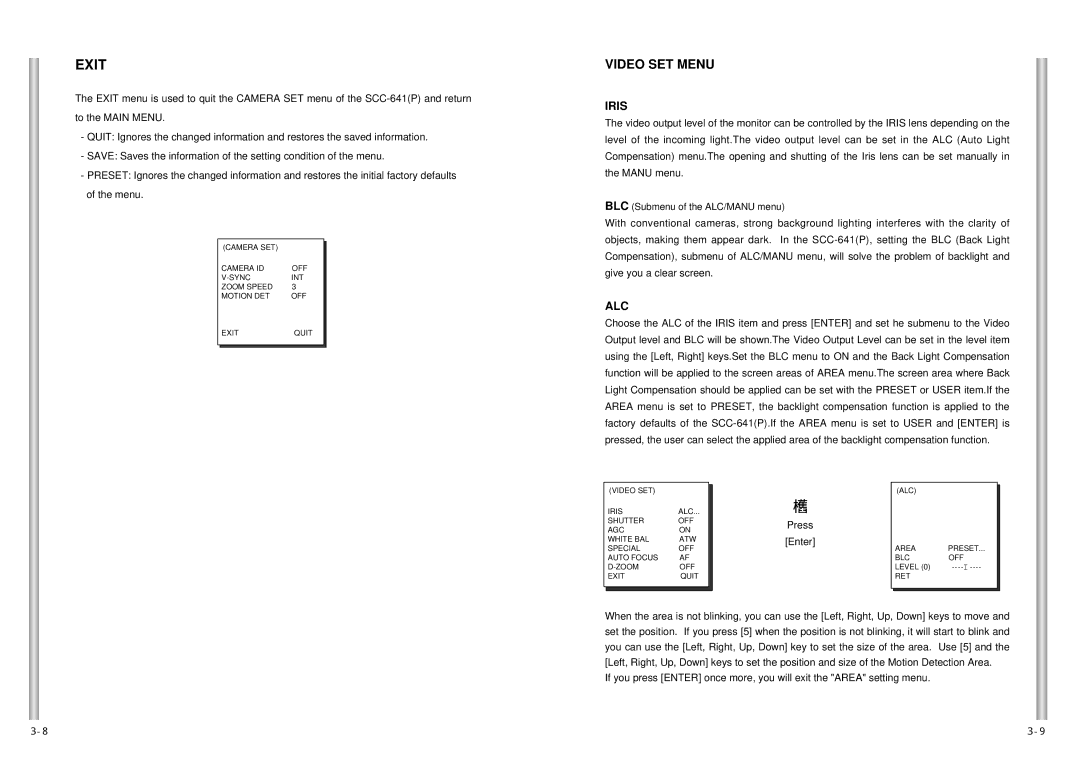
| (CAMERA SET) |
|
|
|
|
| |
| CAMERA ID | OFF |
|
| INT |
| |
| ZOOM SPEED | 3 |
|
| MOTION DET | OFF |
|
| EXIT | QUIT |
|
|
|
|
|
VIDEO SET MENU
IRIS
The video output level of the monitor can be controlled by the IRIS lens depending on the level of the incoming light.The video output level can be set in the ALC (Auto Light Compensation) menu.The opening and shutting of the Iris lens can be set manually in the MANU menu.
BLC (Submenu of the ALC/MANU menu)
With conventional cameras, strong background lighting interferes with the clarity of objects, making them appear dark. In the
ALC
Choose the ALC of the IRIS item and press [ENTER] and set he submenu to the Video Output level and BLC will be shown.The Video Output Level can be set in the level item using the [Left, Right] keys.Set the BLC menu to ON and the Back Light Compensation function will be applied to the screen areas of AREA menu.The screen area where Back Light Compensation should be applied can be set with the PRESET or USER item.If the AREA menu is set to PRESET, the backlight compensation function is applied to the factory defaults of the
| (VIDEO SET) |
|
|
|
|
| |
| IRIS | ALC... |
|
| SHUTTER | OFF |
|
| AGC | ON |
|
| WHITE BAL | ATW |
|
| SPECIAL | OFF |
|
| AUTO FOCUS | AF |
|
| OFF |
| |
| EXIT | QUIT |
|
|
|
|
|
|
|
|
|
➞
Press
[Enter]
(ALC)
AREA | PRESET... |
BLC | OFF |
LEVEL (0) | |
RET |
|
When the area is not blinking, you can use the [Left, Right, Up, Down] keys to move and set the position. If you press [5] when the position is not blinking, it will start to blink and you can use the [Left, Right, Up, Down] key to set the size of the area. Use [5] and the [Left, Right, Up, Down] keys to set the position and size of the Motion Detection Area.
If you press [ENTER] once more, you will exit the "AREA" setting menu.