3 CHAPTER THREE
Operation
Setting the Time and Date
First, select a channel that has a Digital Signal.
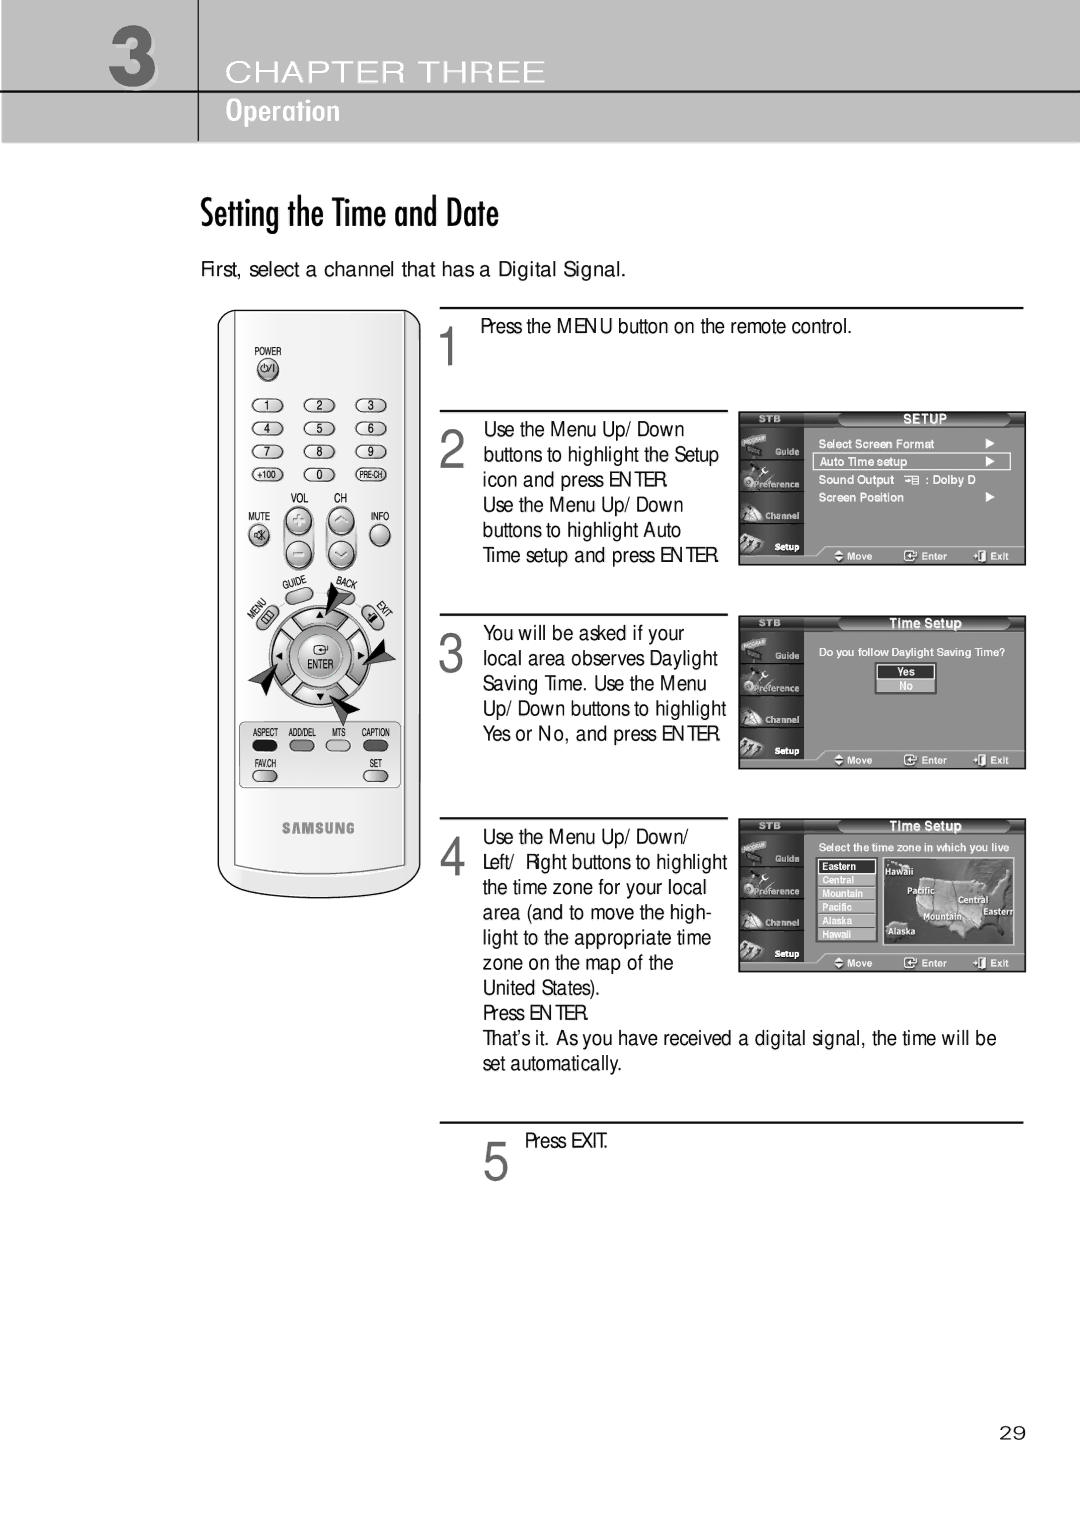
1 Press the MENU button on the remote control.
Use the Menu Up/Down
2 buttons to highlight the Setup icon and press ENTER.
Use the Menu Up/Down buttons to highlight Auto Time setup and press ENTER.
SETUP
Select Screen Format | √ | |
Auto Time setup |
| √ |
Sound Output | : Dolby D |
|
Screen Position |
| √ |
You will be asked if your
3 local area observes Daylight Saving Time. Use the Menu Up/Down buttons to highlight Yes or No, and press ENTER.
Time Setup
Do you follow Daylight Saving Time?
Yes |
No |
Use the Menu Up/Down/
4 Left/ Right buttons to highlight the time zone for your local
area (and to move the high-
light to the appropriate time zone on the map of the
United States).
Press ENTER.
That’s it. As you have received a digital signal, the time will be set automatically.
5 Press EXIT.
29