using the DVR
•Duration : Sets the alarm duration for the alarm signal and beep sound.
-If <BEEP> was selected, a beep will sound.
-If <All> was selected, both beep sound and alarm signal through rear side ports will output.
M <Check> status means that the HDD is operating but it has problems that require technical examination.
( ![]()
![]() ) appears on the Live screen.
) appears on the Live screen.
<Replace> status means that the HDD has defect and requires immediate replacement.
( ![]()
![]()
![]() ) appears on the Live screen.
) appears on the Live screen.
4.When the HDD Alarm setup is done, press <OK>.
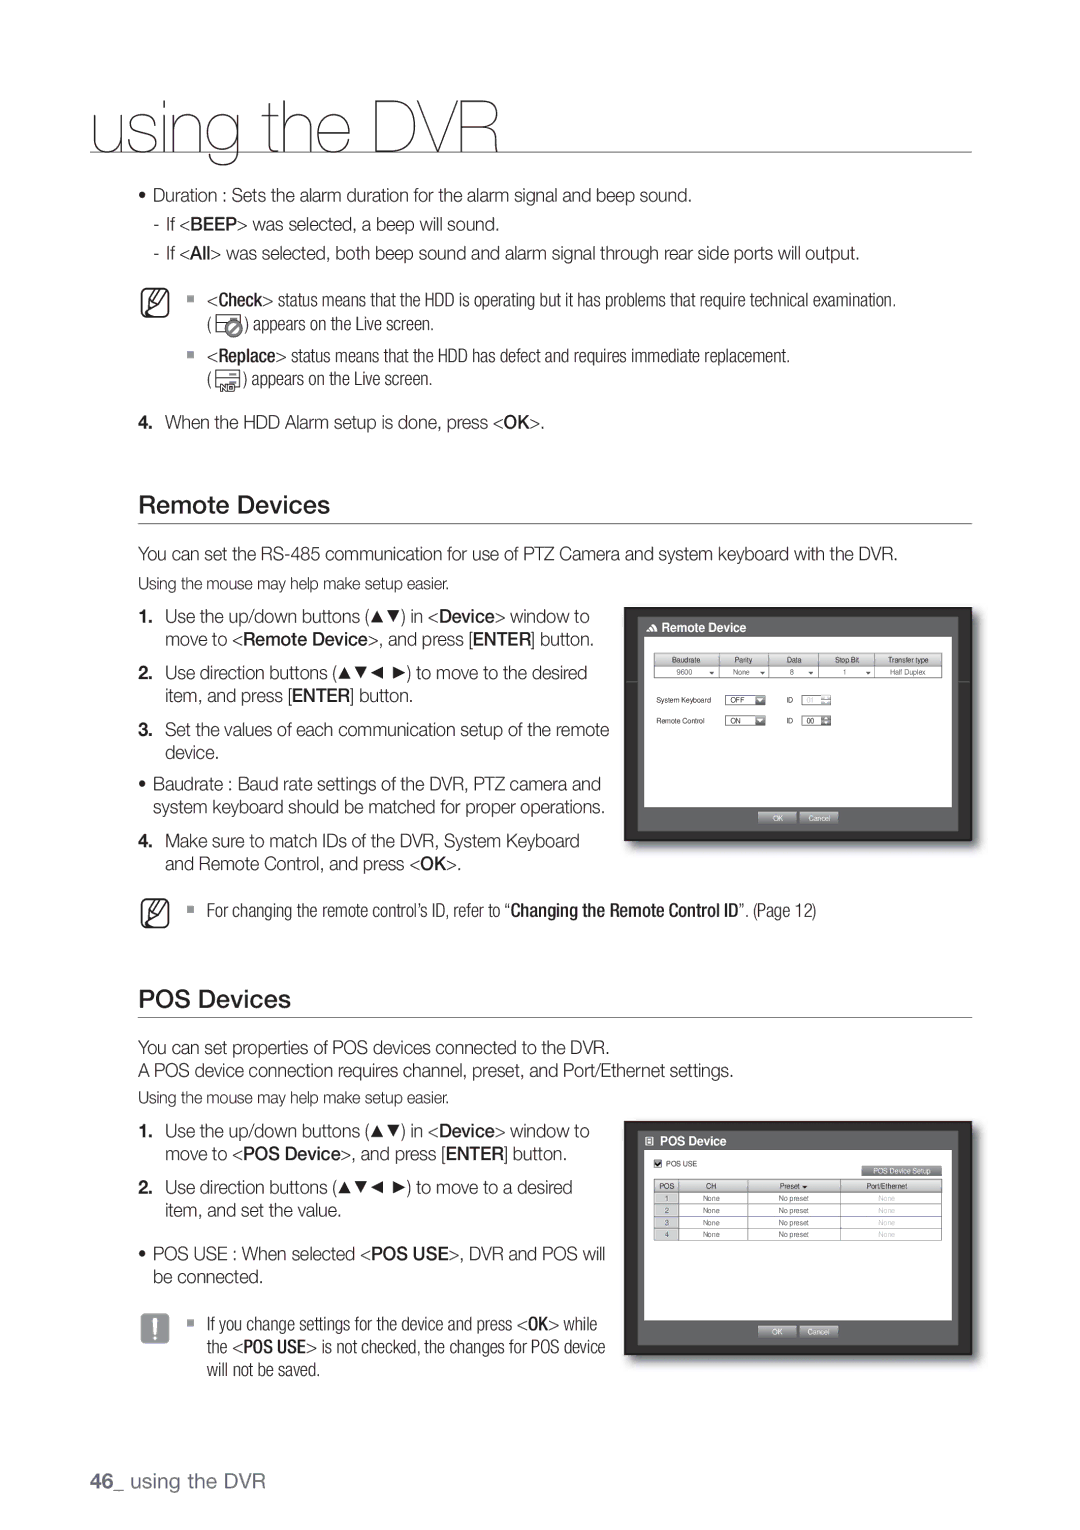
Remote Devices
You can set the
Using the mouse may help make setup easier.
1. | Use the up/down buttons ( | ) in <Device> window to |
2. | move to <Remote Device>, and press [ENTER] button. | |
Use direction buttons ( | ) to move to the desired | |
| item, and press [ENTER] button. | |
3.Set the values of each communication setup of the remote device.
•Baudrate : Baud rate settings of the DVR, PTZ camera and system keyboard should be matched for proper operations.
4.Make sure to match IDs of the DVR, System Keyboard and Remote Control, and press <OK>.
Remote Device |
|
|
|
|
|
| ||
Baudrate |
| Parity |
| Data |
| Stop Bit |
| Transfer type |
9600 | | None | | 8 | | 1 | | Half Duplex |
System Keyboard | OFF |
| ID | 01 |
|
|
| |
Remote Control |
| ON |
| ID | 00 |
|
|
|
|
|
| OK |
| Cancel |
|
|
|
M For changing the remote control’s ID, refer to “Changing the Remote Control ID”. (Page 12)
POS Devices
You can set properties of POS devices connected to the DVR.
A POS device connection requires channel, preset, and Port/Ethernet settings.
Using the mouse may help make setup easier.
1. | Use the up/down buttons ( | ) in <Device> window to |
2. | move to <POS Device>, and press [ENTER] button. | |
Use direction buttons ( | ) to move to a desired | |
| item, and set the value. |
|
•POS USE : When selected <POS USE>, DVR and POS will be connected.
J If you change settings for the device and press <OK> while the <POS USE> is not checked, the changes for POS device will not be saved.
 POS Device
POS USE
POS Device Setup
POS | CH | Preset | Port/Ethernet |
1 | None | No preset | None |
2 | None | No preset | None |
3 | None | No preset | None |
4 | None | No preset | None |
OK Cancel