ENGLISH
Advanced Recording
Use of various Functions
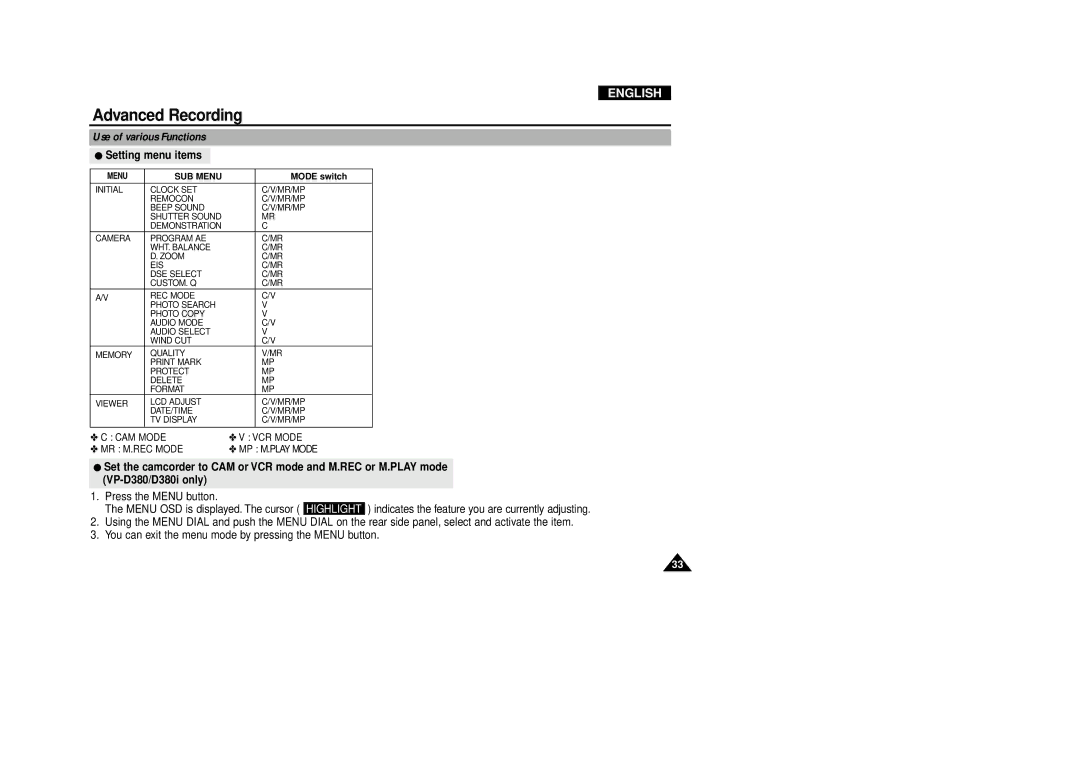
●Setting menu items
MENU | SUB MENU |
| MODE switch |
|
|
|
|
INITIAL | CLOCK SET |
| C/V/MR/MP |
| REMOCON |
| C/V/MR/MP |
| BEEP SOUND |
| C/V/MR/MP |
| SHUTTER SOUND |
| MR |
| DEMONSTRATION |
| C |
CAMERA | PROGRAM AE |
| C/MR |
| WHT. BALANCE |
| C/MR |
| D. ZOOM |
| C/MR |
| EIS |
| C/MR |
| DSE SELECT |
| C/MR |
| CUSTOM. Q |
| C/MR |
A/V | REC MODE |
| C/V |
| PHOTO SEARCH |
| V |
| PHOTO COPY |
| V |
| AUDIO MODE |
| C/V |
| AUDIO SELECT |
| V |
| WIND CUT |
| C/V |
MEMORY | QUALITY |
| V/MR |
| PRINT MARK |
| MP |
| PROTECT |
| MP |
| DELETE |
| MP |
| FORMAT |
| MP |
VIEWER | LCD ADJUST |
| C/V/MR/MP |
| DATE/TIME |
| C/V/MR/MP |
| TV DISPLAY |
| C/V/MR/MP |
✤ C : CAM MODE | ✤ V : VCR MODE | ||
✤ MR : M.REC MODE | ✤ MP : M.PLAY MODE | ||
●Set the camcorder to CAM or VCR mode and M.REC or M.PLAY mode
1.Press the MENU button.
The MENU OSD is displayed. The cursor ( HIGHLIGHT ) indicates the feature you are currently adjusting.
2.Using the MENU DIAL and push the MENU DIAL on the rear side panel, select and activate the item.
3.You can exit the menu mode by pressing the MENU button.
33
