Setting up the Organizer after Initialization
The Organizer takes you through the various steps needed to set up the Organizer before use. These steps are described below. We strongly recommend that you complete the entire SET UP procedure before starting to actually use your Organizer.
*Welcome messages and instructions
*Setting the Owner Information
*Setting the Clock
*User’s Preferences
Welcome messages and instructions
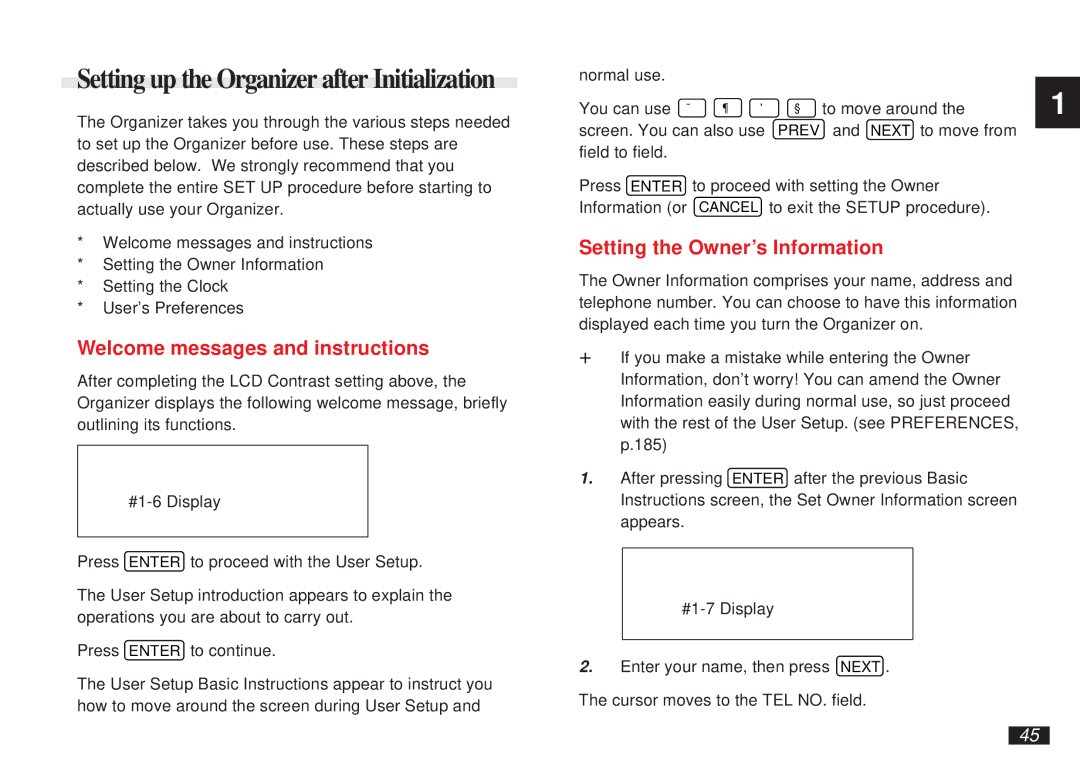
After completing the LCD Contrast setting above, the Organizer displays the following welcome message, briefly outlining its functions.
Press ENTER to proceed with the User Setup.
The User Setup introduction appears to explain the operations you are about to carry out.
Press ENTER to continue.
The User Setup Basic Instructions appear to instruct you how to move around the screen during User Setup and
normal use. |
|
|
|
|
You can use ˜ | ¶ | ' | § | to move around the |
screen. You can also use | PREV | and NEXT to move from | ||
field to field. |
|
|
|
|
Press ENTER to proceed with setting the Owner | ||||
Information (or | CANCEL to exit the SETUP procedure). | |||
Setting the Owner’s Information
The Owner Information comprises your name, address and telephone number. You can choose to have this information displayed each time you turn the Organizer on.
☞If you make a mistake while entering the Owner Information, don’t worry! You can amend the Owner Information easily during normal use, so just proceed with the rest of the User Setup. (see PREFERENCES, p.185)
1.After pressing ENTER after the previous Basic Instructions screen, the Set Owner Information screen appears.
2.Enter your name, then press NEXT . The cursor moves to the TEL NO. field.
1
45