3 |
NORMAL RECORDING/TIMER RECORDING
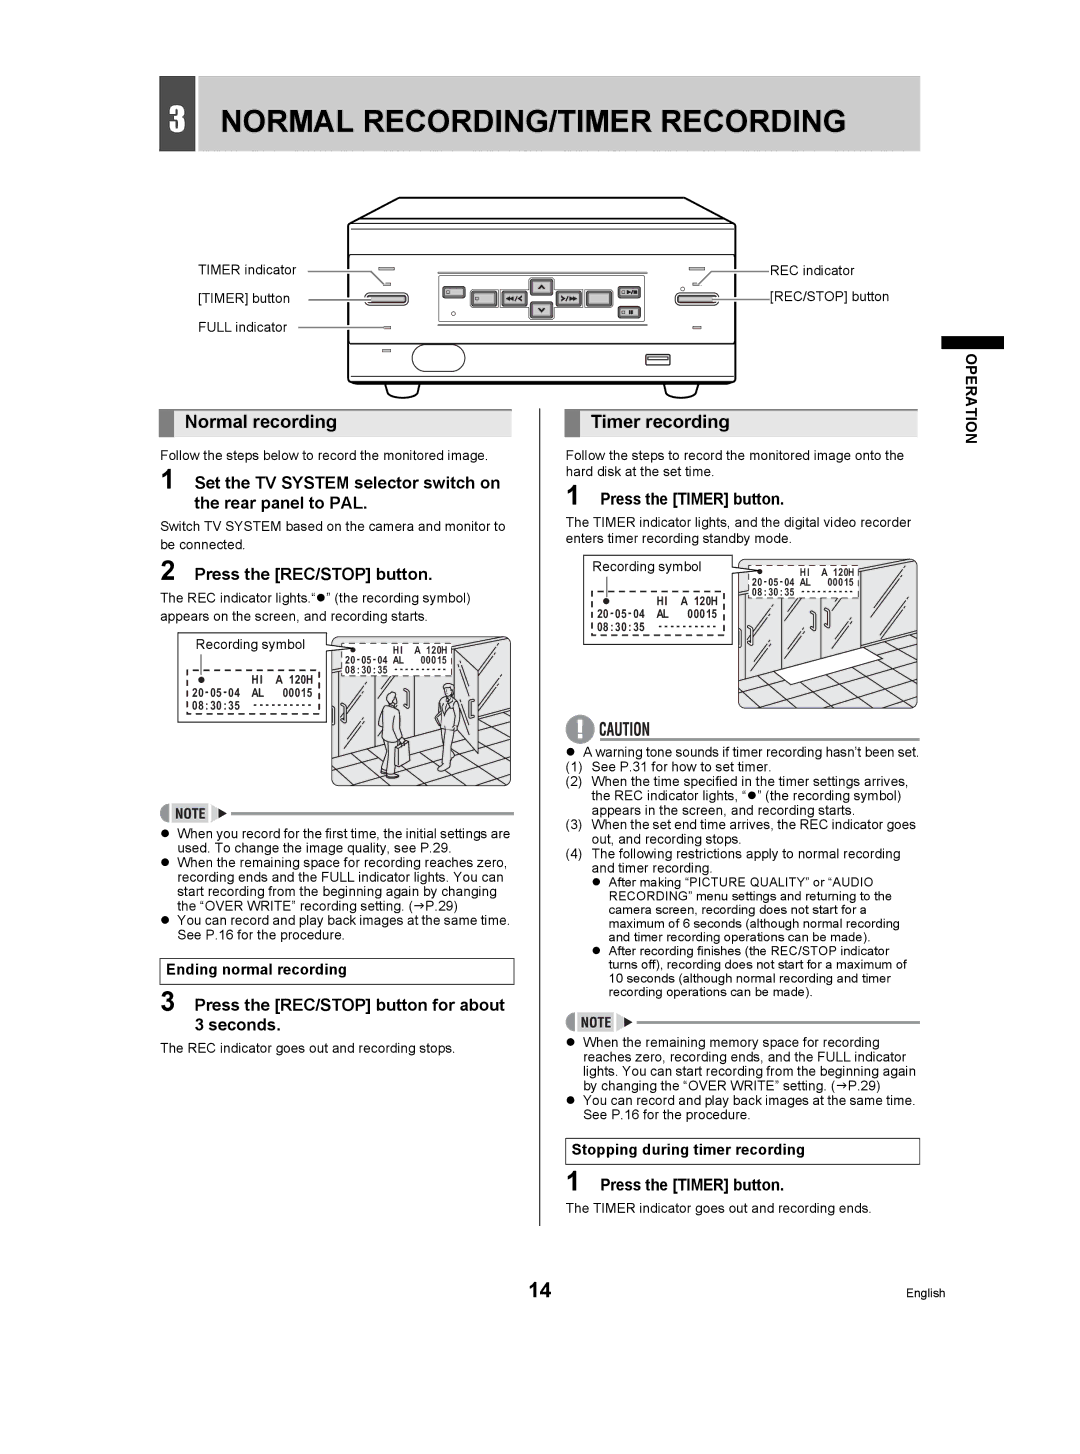
TIMER indicator
[TIMER] button
FULL indicator
Normal recording
Follow the steps below to record the monitored image.
1 Set the TV SYSTEM selector switch on the rear panel to PAL.
Switch TV SYSTEM based on the camera and monitor to be connected.
2 Press the [REC/STOP] button.
The REC indicator lights.“z” (the recording symbol) appears on the screen, and recording starts.
Recording symbol | HI | A 120H | ||
|
|
| 00015 | |
|
|
| 08:30:35 | |
| HI | A 120H |
|
|
AL | 00015 |
|
| |
08:30:35 |
|
| ||
zWhen you record for the first time, the initial settings are used. To change the image quality, see P.29.
zWhen the remaining space for recording reaches zero, recording ends and the FULL indicator lights. You can start recording from the beginning again by changing the “OVER WRITE” recording setting. (JP.29)
zYou can record and play back images at the same time. See P.16 for the procedure.
Ending normal recording
3 Press the [REC/STOP] button for about
3 seconds.
The REC indicator goes out and recording stops.
![]()
![]() REC indicator
REC indicator ![]() [REC/STOP] button
[REC/STOP] button
Timer recording
Follow the steps to record the monitored image onto the hard disk at the set time.
1 Press the [TIMER] button.
The TIMER indicator lights, and the digital video recorder enters timer recording standby mode.
Recording symbol | HI | A 120H | ||
|
|
| 00015 | |
| HI | A 120H | 08:30:35 | |
|
|
| ||
AL | 00015 |
|
| |
08:30:35 |
|
| ||
zA warning tone sounds if timer recording hasn’t been set.
(1) See P.31 for how to set timer.
(2) When the time specified in the timer settings arrives, the REC indicator lights, “z” (the recording symbol) appears in the screen, and recording starts.
(3) When the set end time arrives, the REC indicator goes out, and recording stops.
(4) The following restrictions apply to normal recording and timer recording.
z After making “PICTURE QUALITY” or “AUDIO RECORDING” menu settings and returning to the camera screen, recording does not start for a maximum of 6 seconds (although normal recording and timer recording operations can be made).
z After recording finishes (the REC/STOP indicator turns off), recording does not start for a maximum of 10 seconds (although normal recording and timer recording operations can be made).
zWhen the remaining memory space for recording reaches zero, recording ends, and the FULL indicator lights. You can start recording from the beginning again by changing the “OVER WRITE” setting. (JP.29)
zYou can record and play back images at the same time. See P.16 for the procedure.
Stopping during timer recording
1 Press the [TIMER] button.
The TIMER indicator goes out and recording ends.
OPERATION
14 | English |
