DISPLAY ADJUST
AUTO PC ADJUSTMENT
Auto PC Adjustment function is provided to automatically adjust Fine sync, Total dots and Picture Position to conform to your computer. Auto PC Adjustment function can be operated as follows.
|
|
|
|
|
| Auto PC Adj. |
|
|
| ||
1 | Press MENU button and | ||
POINT LEFT/RIGHT button to move a red frame pointer to | |||
| DISPLAY ADJUST Menu icon. | ||
2 | Press POINT DOWN button to move a red frame pointer to | ||
AUTO PC Adj. icon and then press SELECT button twice. | |||
This Auto PC Adjustment can be also executed by pressing AUTO PC ADJ. button on Side Control or on Remote Control Unit.
Store adjustment parameters.
Adjustment parameters from Auto PC Adjustment can be memorized in this projector. Once parameters are memorized, setting can be done just by selecting Mode in SYSTEM SELECT Menu (P27). Refer to step 3 of MANUAL DISPLAY ADJUSTMENT section (P32).
NOTE
●Fine sync, Total dots and Picture Position of some computers can not be fully adjusted with this Auto PC Adjustment function. When image is not provided properly through this function, manual adjustments are required. (Refer to page 31, 32)
●Auto PC Adjustment function cannot be operated in Digital Signal input on DVI terminal and “480i”, “575i”, “480p”, “575p”, “720p (HDTV)”, “1035i (HDTV)”, “1080i/50 (HDTV)” or “1080i/60 (HDTV)” is selected on SYSTEM SELECT Menu (P27).
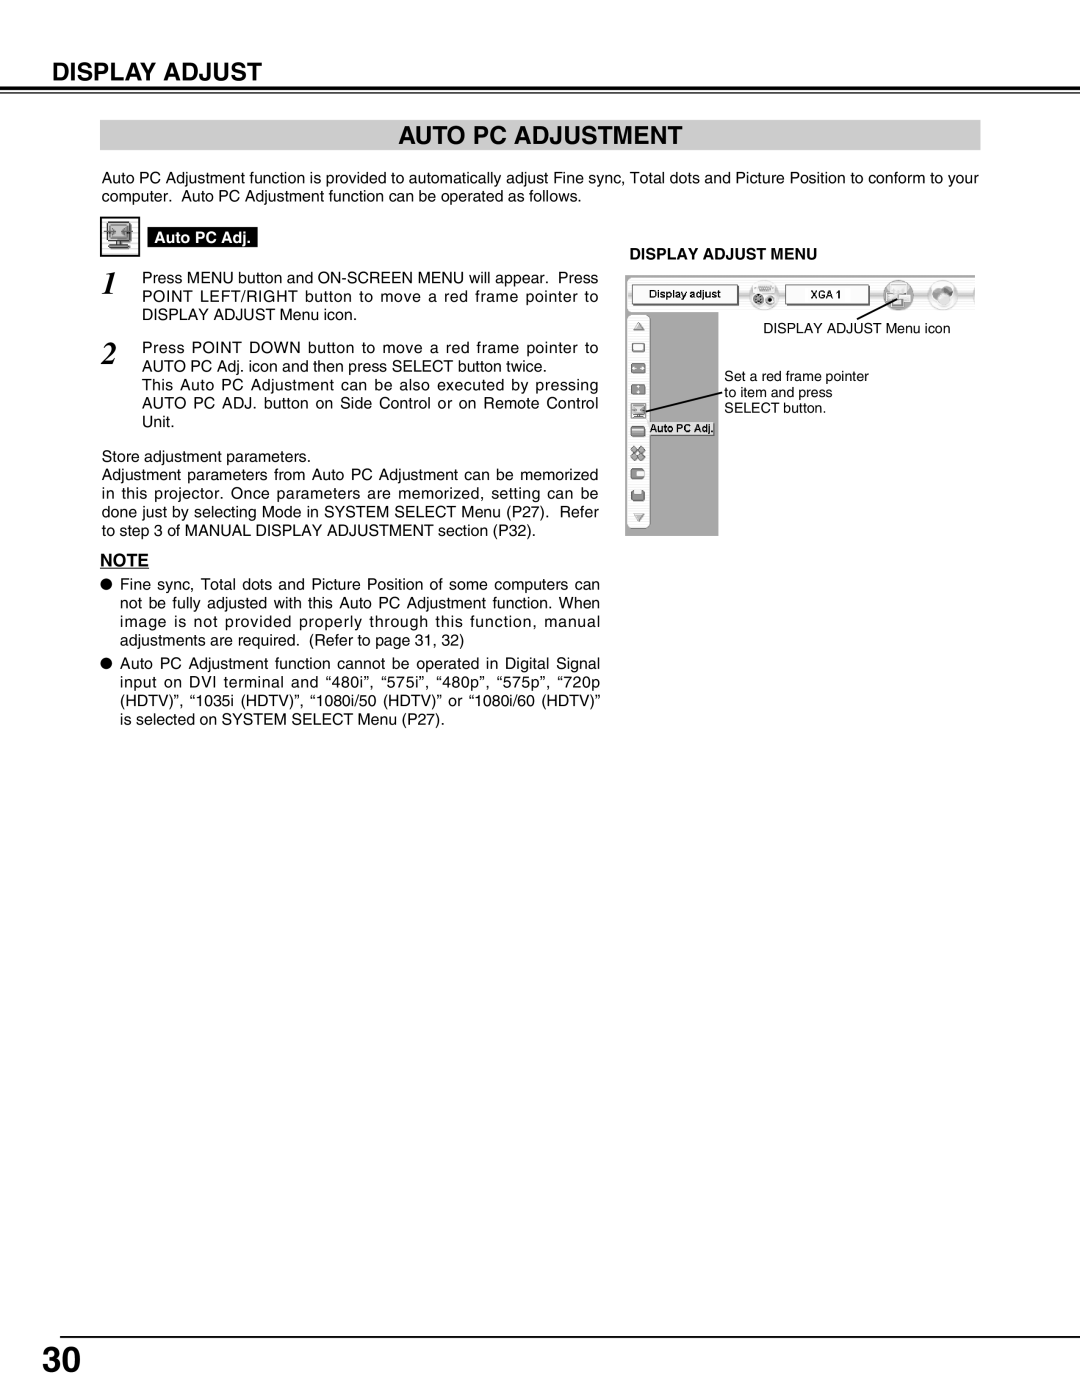
DISPLAY ADJUST MENU
DISPLAY ADJUST Menu icon
Set a red frame pointer to item and press SELECT button.
30