Installation | Chapter 3 |
Installing the drive
The internal drive can be installed in a
The following section provides directions for mounting the drive in either a
1.Before you install the drive, write down the serial number and model number shown on the drive and put this information in a safe place. You need this information if you ever call for service.
2.With the computer cover removed, remove the face plate from the drive bay in which you plan to install the drive. Refer to the manual that you received with your computer for instructions about removing the face plate if necessary.
Note: If devices are installed in any drive bays adjacent to the one you are using for the internal drive, partially removing those devices might give you more working space.
3.Attach any special mounting hardware to the drive that your system might require. Refer to the manual that you received with your computer for requirements.
4.Locate the mounting screw holes in the drive brackets. Each side contains two sets of holes. Use the set that aligns the drive properly within the drive bay.
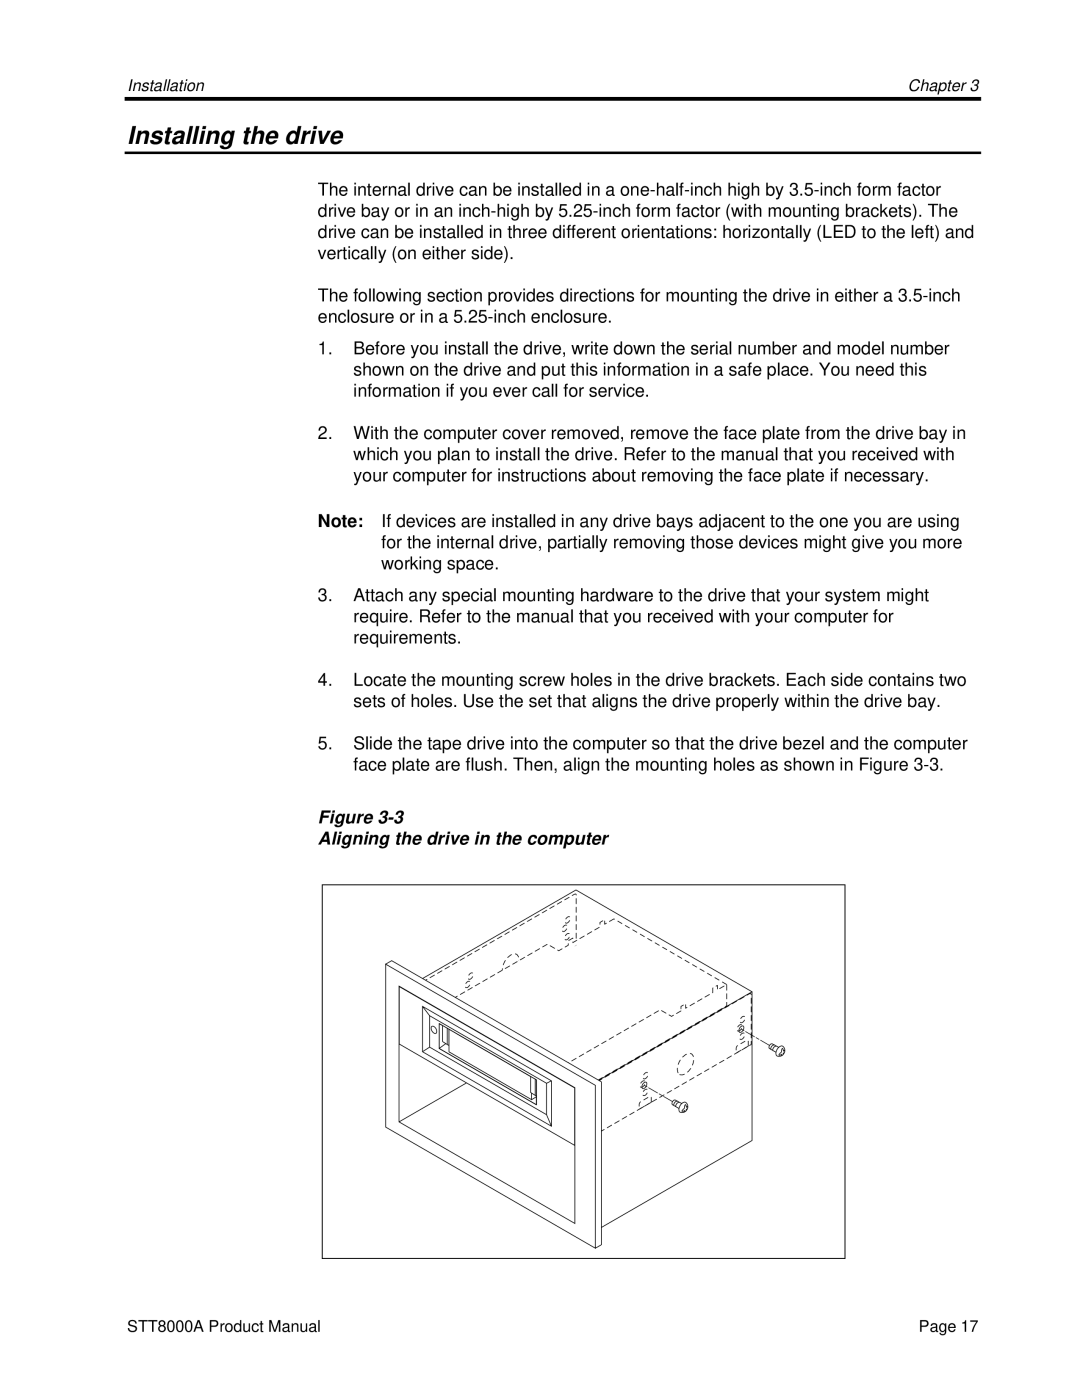
5.Slide the tape drive into the computer so that the drive bezel and the computer face plate are flush. Then, align the mounting holes as shown in Figure
Figure
Aligning the drive in the computer
STT8000A Product Manual | Page 17 |