FULLONEYEARWARRANTONCRAFrSMABENCHTOPTOOLS.
If this Band Saw fails due to a defect in material or workmanship, within one years from the ' date of purchase, RETURN IT TO THE NEAREST SEARS SERVICE CENTER IN THE UNITED STATES, and Sears will repair it, free of charge.
If this Band Saw is used for commercial or rental purposes, this warranty will apply for ninety days from the date of purchase.
This warranty applies only while this product is in the United States,
This warranty gives you specific legal rights, and you may also have other rights which vary from state to state.
Sears, Roebuck and Co., D/817 WA Hoffman Estates, IL 60179 | ._ |
Safety Instructions
Safety is a combination of common sense, staying alert and knowing how your band saw works. Read this manual to understand this saw.
Safety Signal Words
DANGER: means if the safety information is not fol- lowed someone will be seriously injured or killed WARNING: means if the safety information is not fol- lowed someone could be seriously injured or killed. CAUTION: means if the safety information is not fol- lowed someone might be injured_
BEFORE USING THE SAW:
WARNING: To avoid mistakes that could cause serious, permanent Injury, do not plug the saw in until the following steps are completed,
i ,,,,,,,,,,i,,,i,iH,
for Band Saw
•Assembly and alignment. (See pages
•Learn the use and function of the
•Review and understand all of the safety instruc- tion and operating procedures in this manual
•Review the maintenance methods for this saw.
(See page 19)
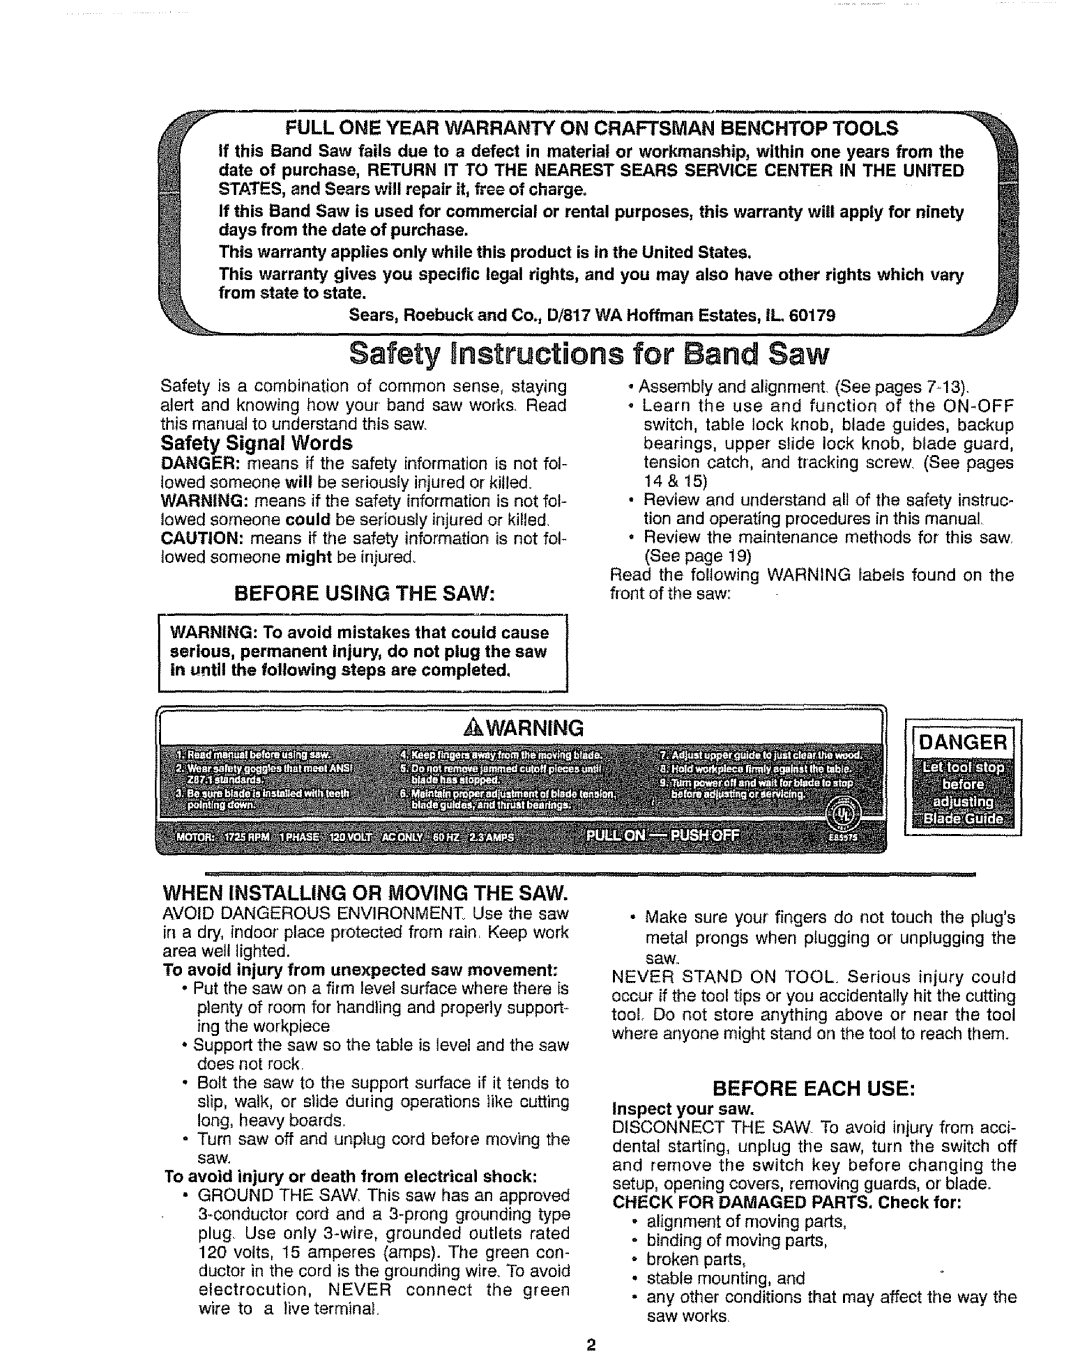
Read the following WARNING labels found on the front of the saw:
WARNING
WHEN INSTALLING OR MOVING THE SAW.
AVOID DANGEROUS ENVIRONMENT Use the saw
in a dry, indoor place protected from rain, Keep work
area well lighted.
To avoid injury from unexpected saw movement:
•Put the saw on a firm level surface where there is plenty of room for handling and properly support- ing the workpiece
•Support the saw so the table is level and the saw does not rock.
•Bolt the saw to the support surface if it tends to
slip, walk, or slide during operations like cutting long, heavy boards.
•Turn saw off and unplug cord before moving the saw.
To avoid injury or death from electrical shock:
•GROUND THE SAW This saw has an approved
electrocution, NEVER connect the green wire to a live terminal
DANGER
• Make sure your fingers do not touch the plug's metal prongs when plugging or'unplugging the
saw,.
NEVER STAND ON TOOL. Serious injury could occur if the tool tips or you accidentally hit the cutting tool, Do not store anything above or near the tool where anyone might stand on the tool to reach them.
BEFORE EACH USE:
Inspect your saw.
DISCONNECT THE SAW To avoid injury from acci- dental starting, unplug the saw, turn the switch off and remove the switch key before changing the
setup, opening covers, removing guards, or'blade_ CHECK FOR DAMAGED PARTS. Check for:
,alignment of moving parts, o binding of moving parts, o broken parts,
• stable mounting, and
- any other conditions that may affect the way the saw works.