DISPLAY:

Once you have programmed your control for any operation, you can display the setting by pressing the appropriate pad. For example, if you are using the TIMER and want to see the time of day, press CLOCK.

The display will show the time of day.

NOTE: You cannot set BAKE, BROIL or COOK TIME while the oven door Is In the locked position. If you try, the word "door" will appear In the display. The oven door lock Is to be used for Self-Cleaning only.

TONES:

The end-of-cycle tone will sound at the end of timer use and automatic oven functions. The end-of-cycle tone is 3 short beeps followed by I beep every 6 seconds that repeat until you press any operation. If you would like to eliminate the repeating beeps, push and hold CLEAR/ OFF for ten seconds. To return the 1 beep every 6 seconds, push and hold CLEAR/OFF for 10 seconds.

To cancel the end-of-cycle tone, press any key except the UP or DOWN arrow key.

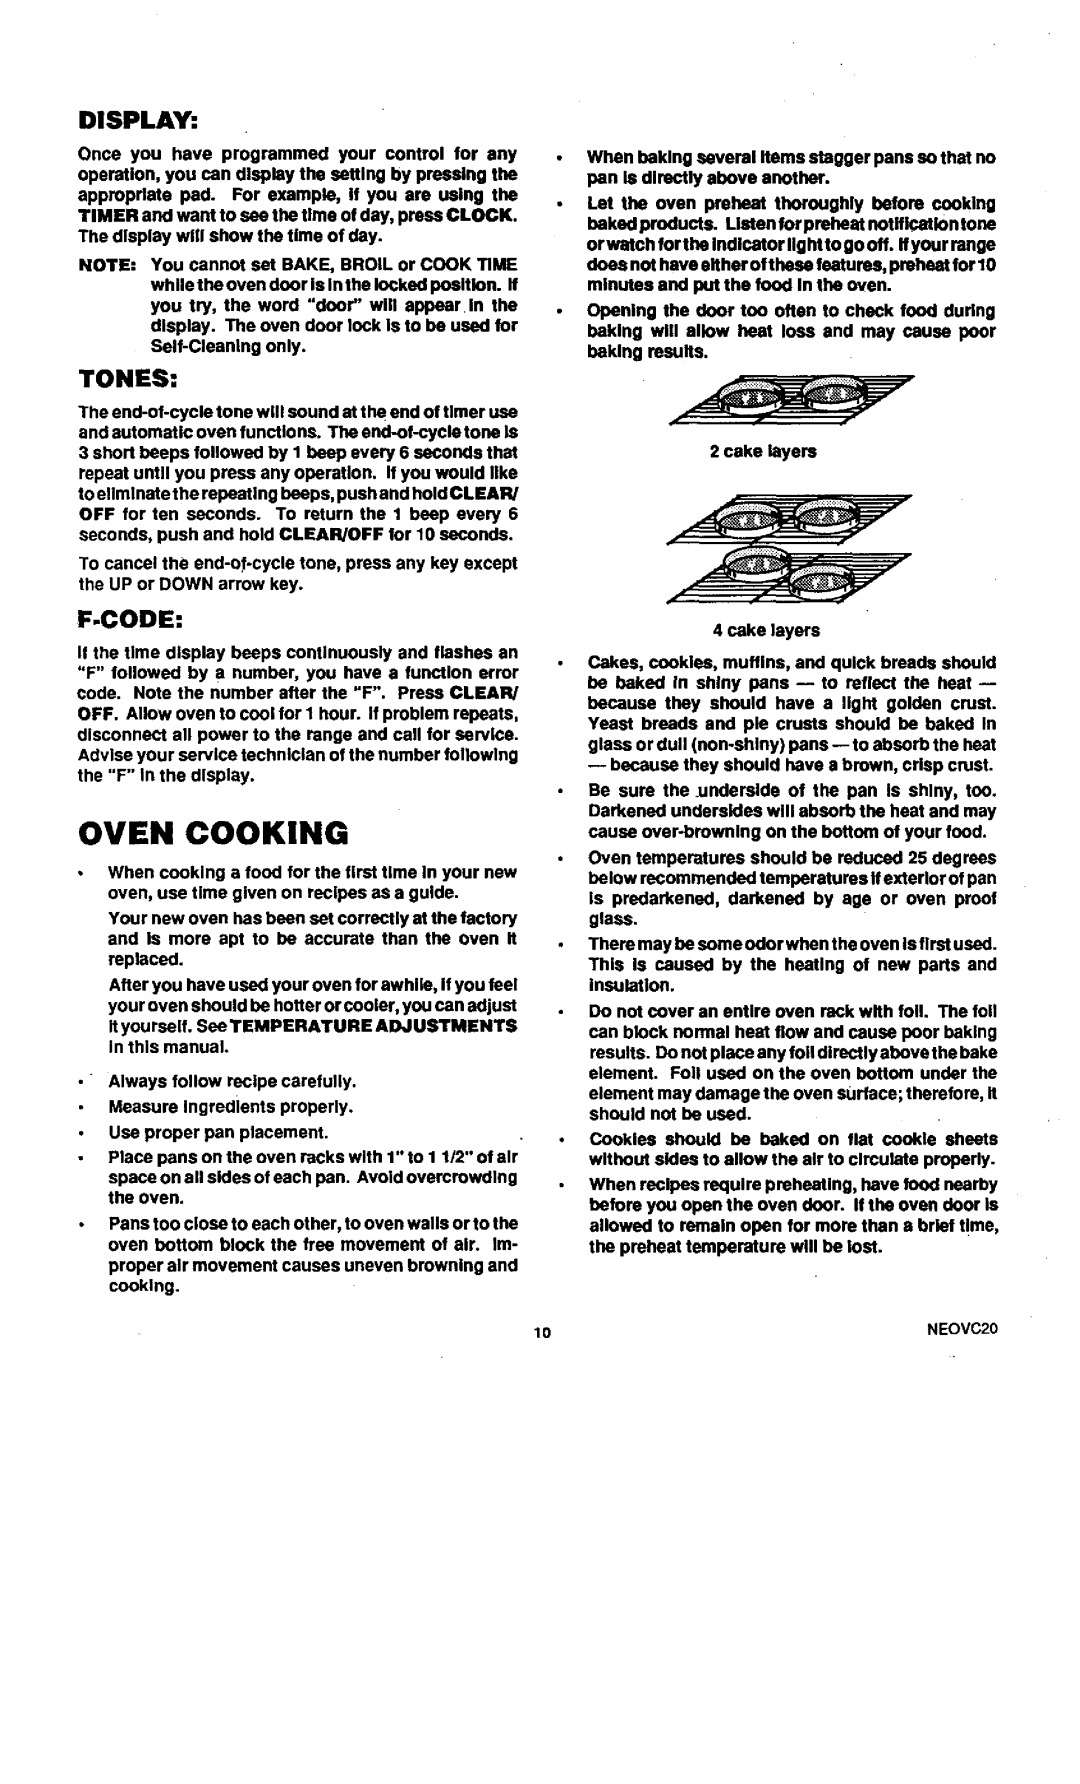
when heklng several hems stagger pans so that no pan Is dlrecUy above another.

Let the oven preheat thoroughly before cooking baked products. Listen for preheat notification tone orwatch forths Indicator Ilghtto go off. If your range does not have either of these features, preheat for 10 minutes end put the food In the oven.

Opening the door too often to check food during baking will allow heat loss end may cause poor baking results.

2 cake layers

F-CODE:

If the time display beeps continuously and flashes an

"F" followed by a number, you have a function error code. Note the number after the "F". Press CLEAR/

OFF. Allow oven to cool for 1 hour. If problem repeats, dleconnoct all power to the range and call for service. Advise your service technician of the number following the "F" In the display.

OVEN COOKING

When cooking a fond for the first time In your new oven, use time given on recipes as a guide.

Your new oven has been set correctly at the factory and Is more apt to be accurate than the oven It

replaced.

After you have used your oven for awhile, If you feel your oven should be hotter or cooler, you can adjust

It yourself. See TEMPERATURE ADJUSTMENTS In this manual.

Always follow recipe carefully. Measure Ingredients properly. Use proper pan placement.

Place pans on the oven racks with 1" to 1 1/2" of air

space on all sides of each pan. Avoid overcrowding the oven.

Pans too close to each other, to oven walls or to the oven bottom block the free movement of air. Im- proper air movement causes uneven browning and cooking.

4 cake layers

Cakes, cookies, muffins, and quick breads should be baked in shiny pens --to reflect the heat --because they should have a light golden crust.

Yeast breads end pie crusts should be baked In glass or dull (non-shiny) pans --to absorb the heat

--because they should have s brown, crisp crust.

Be sure the .undarslde of the pan Is shiny, too. Darkened undersides will absorb the heat and may cause over-browning on the bottom of your food.

Oven temperatures should be reduced 25 degrees below recommended temperatures If exterior of pan Is predarkened, darkened by age or oven proof glass.

There may be some odor when t he oven Is first used.

This Is caused by the hesUng of new parts and Insulation.

Do not cover an entire oven rack with foil. The foil can block normal heat flow and cause poor baking results. Do not place any foil dlrecUyabove the bake element. Foil used on the oven bottom under the element may damage the oven surface; therefore, It should not be used.

Cookies should be baked on flat cookie sheets without sides to allow the air to clreulate properly.

When recipes requlra preheating, have food nearby before you open the oven door. If the oven door is allowed to remain open for more then s brief t!me, the preheat temperature will be lost.

lO

NEOVC20

Page 11
Image 11
Sears 45520, 45521 warranty Oven Cooking, Display, Tones, Code

45520, 45521 specifications

Sears models 45521 and 45520 are notable entries within the catalog of tools and equipment that target both enthusiasts and professional tradespeople alike. These models have garnered attention for their blend of practicality, durability, and innovative features.

The Sears 45521 is designed with a focus on precision and versatility. One of its standout features is the adjustable speed settings, allowing users to tailor the performance to suit different applications. Whether it is for drilling, sanding, or cutting, this model provides the flexibility needed to tackle a variety of tasks.

On the other hand, the Sears 45520 emphasizes its powerful motor, which enables it to handle more demanding tasks with ease. The robust construction of this tool not only promises longevity but also reduces the risk of wear and tear over time. The ergonomic design ensures user comfort, reducing fatigue during extended use.

Both models are equipped with advanced safety features that protect users while they work. These include protective guards and overload protection, which help prevent accidents and ensure reliable operation.

In terms of technology, Sears has integrated some modern advancements into the 45521 and 45520 models. For example, both feature an easy-to-read digital display that provides real-time feedback on performance metrics, including speed and power usage. This level of precision allows users to make informed adjustments and optimize their workflow.

Another characteristic shared by these models is their compatibility with a wide range of accessories. This includes drill bits, blades, and sanding attachments, making them highly adaptable tools that can meet various project needs. Furthermore, both models come with comprehensive user manuals, providing detailed guidance on setup, operation, and maintenance, which enhances their usability for individuals at all skill levels.

In summary, the Sears 45521 and 45520 models offer a combination of versatility, power, and safety, making them excellent choices for DIY enthusiasts and professionals alike. With their advanced features and robust design, they stand as reliable tools that can handle a diverse array of tasks in various settings.