PROVIDED ACCESSORIES |
|
| EN 5 | |
or |
|
|
| |
| Battery Pack | Power Cord | AAA (R03) Battery | |
AC Adapter | x 2 (for remote | |||
| ||||
| control unit) | |||
|
|
| or |
|
Cable Adapter | Lens Cap |
|
Shoulder Strap | (See below for | Remote |
| attachment) | Control Unit |
|
| |
PC Connection Cable |
|
|
|
|
|
USB Cable
Lens hood (Already attached to the camcorder;
Memory Card 8 MB
Core Filter x 1
(for optional
Audio/Video Cable (ø3.5
Core Filter x 1
(for PC Connection cable provided with optional
Editing Cable
Both plugs have 1 ring around the pin.
NOTE:
In order to maintain optimum performance of the camcorder, provided cables may be equipped with one or more core filter. If a cable has only one core filter, the end that is closest to the filter should be connected to the camcorder.
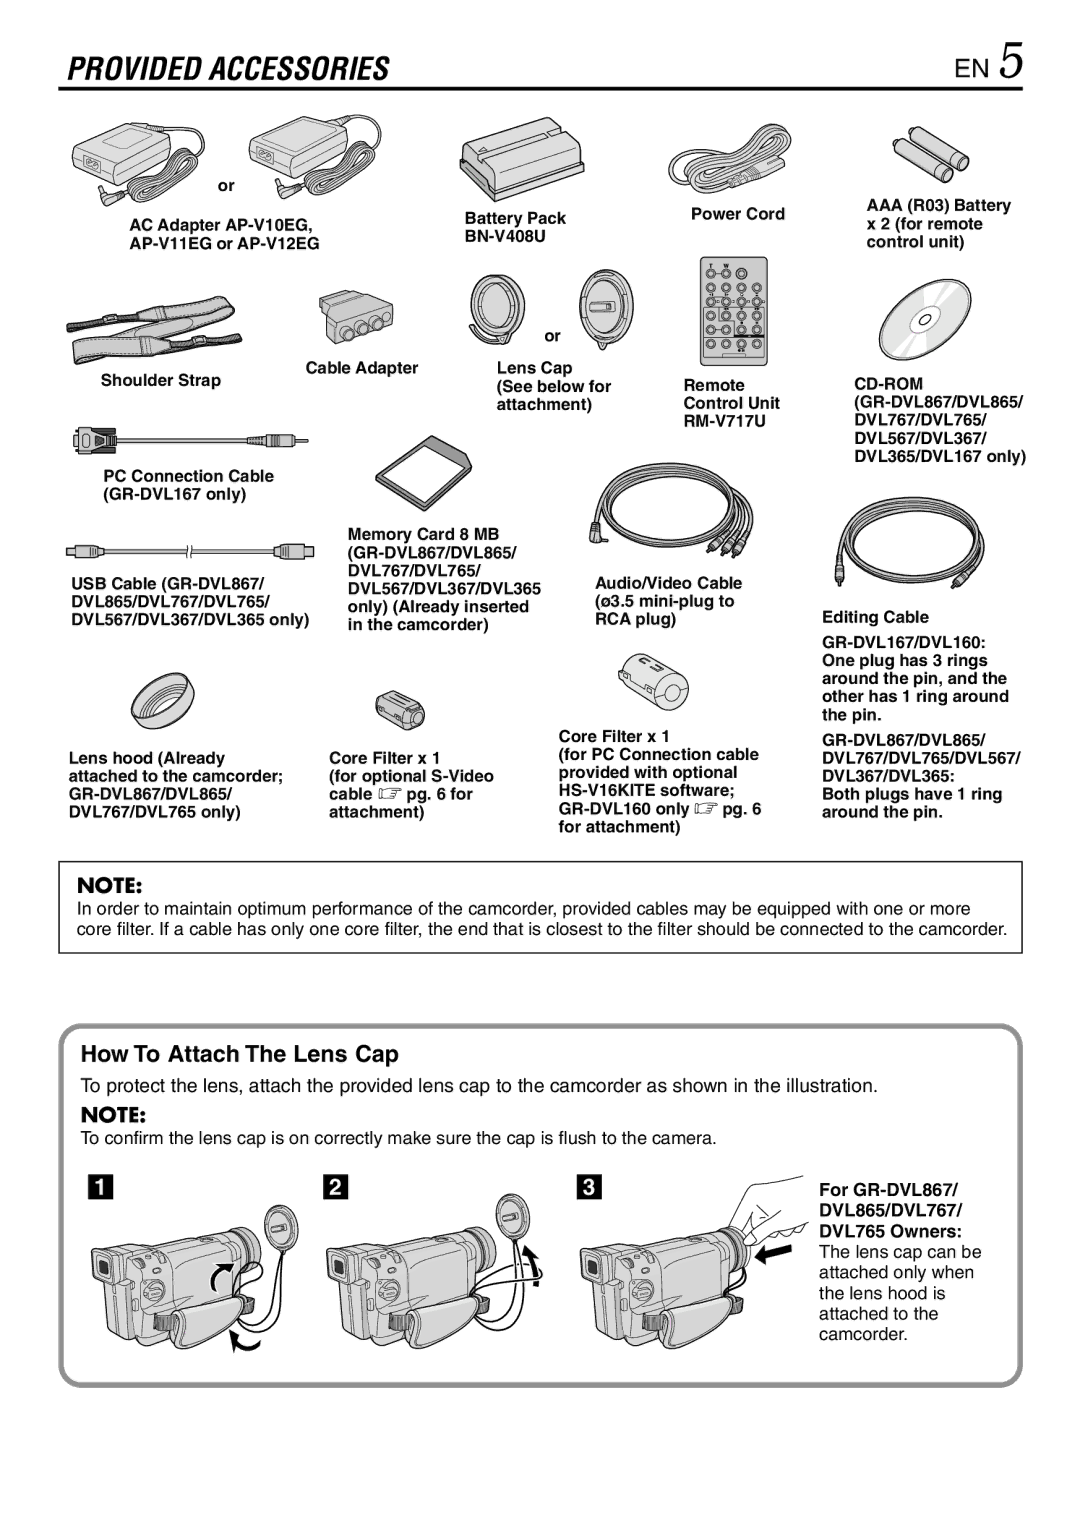
How To Attach The Lens Cap
To protect the lens, attach the provided lens cap to the camcorder as shown in the illustration.
NOTE:
To confirm the lens cap is on correctly make sure the cap is flush to the camera.
1 | 2 | 3 | For |
|
|
| DVL865/DVL767/ |
DVL765 Owners: The lens cap can be attached only when the lens hood is attached to the camcorder.