Timer and sleep operation (Remote control only) (continued)
■Sleep operation
The radio, compact disc, iPod, USB, Audio In can all be turned off automatically.
1� Play back the desired sound source.
2� Press the SLEEP button.
3� Within 5 seconds, press the Numeric buttons to set the time. (1 minute ~ 99 minutes)
4� “SLEEP” will appear.
5� The unit will enter the power
To confirm the remaining sleep time:
While “SLEEP” is indicated, press the SLEEP button.
To cancel the sleep operation:
Press the
1� While “SLEEP” is indicated, press the SLEEP button. 2� Within 5 seconds, press the “0” button twice until
“SLEEP 00” appears.
■To use timer and sleep operation together
Sleep and timer playback:
For example, you can fall asleep listening to the radio and wake up to CD in the next morning.
1� Set the sleep time (see above, steps 1 - 5).
2� While the sleep timer is set, set the timer playback (steps 2 - 9, page 19).
Sleep timer | Timer playback |
| End time | |||
setting | setting |
|
|
| ||
|
|
|
|
|
| |
|
|
| Desired time |
| ||
Sleep operation will | Timer playback start | |||||
automatically stop |
| time | ||||
Enhancing your system
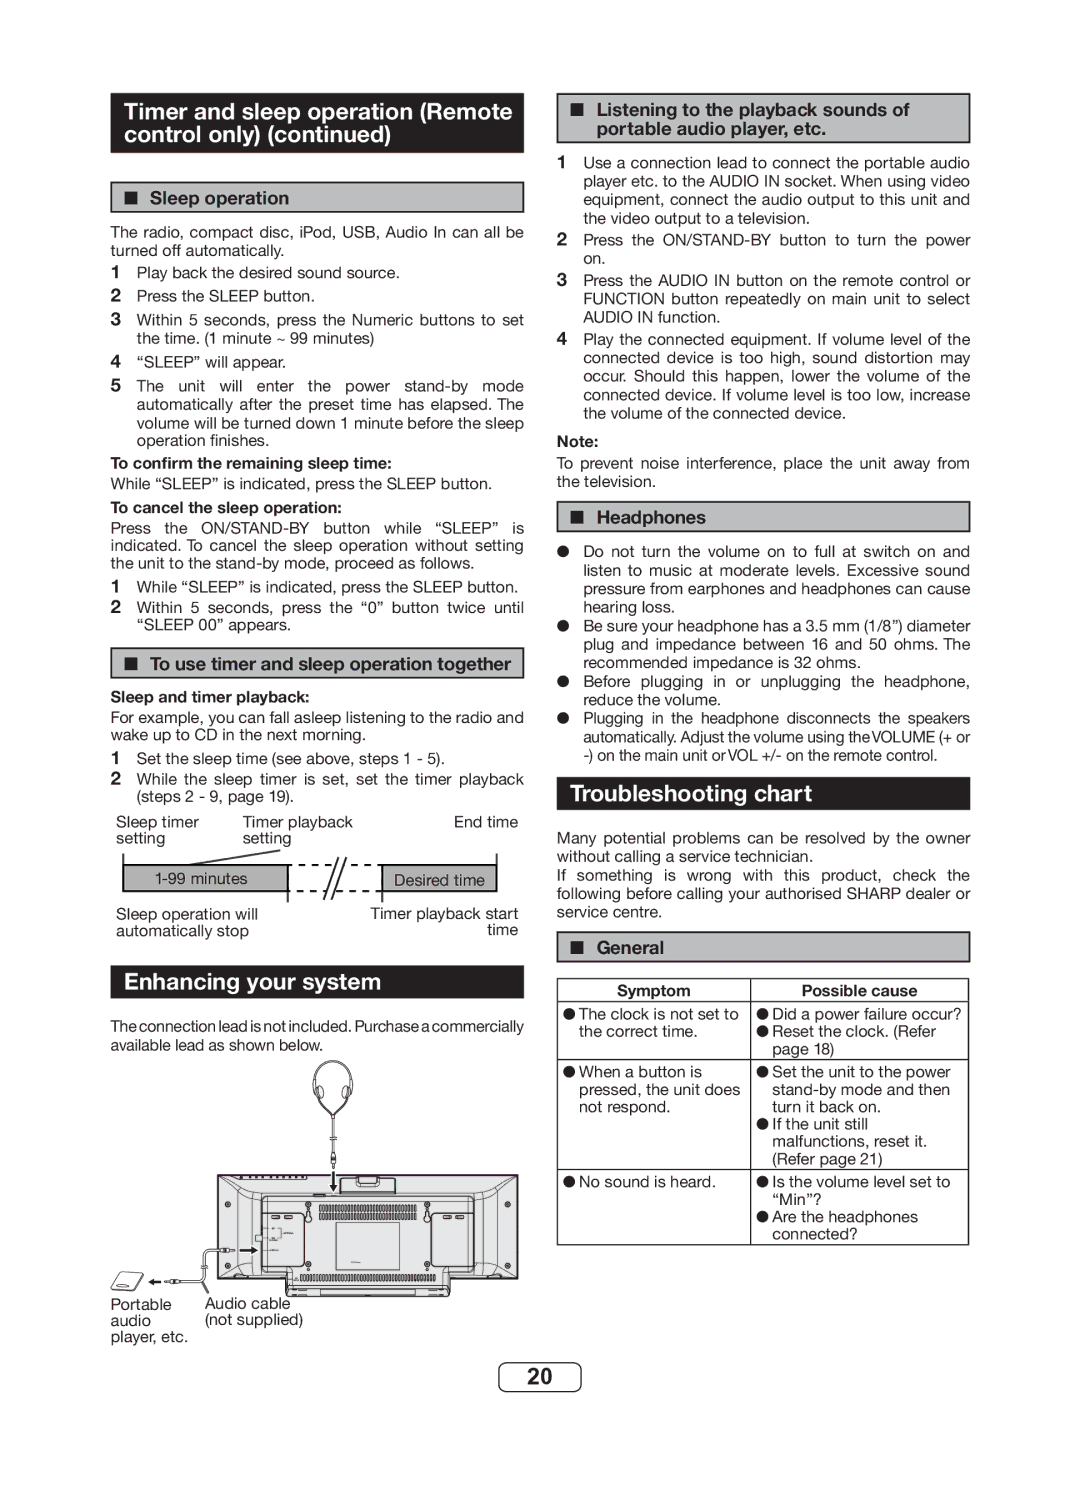
The connection lead is not included. Purchase a commercially available lead as shown below.
Portable | Audio cable |
audio | (not supplied) |
player, etc. |
|
■Listening to the playback sounds of portable audio player, etc.
1� Use a connection lead to connect the portable audio player etc. to the AUDIO IN socket. When using video equipment, connect the audio output to this unit and the video output to a television.
2� Press the
3� Press the AUDIO IN button on the remote control or FUNCTION button repeatedly on main unit to select AUDIO IN function.
4� Play the connected equipment. If volume level of the connected device is too high, sound distortion may occur. Should this happen, lower the volume of the connected device. If volume level is too low, increase the volume of the connected device.
Note:
To prevent noise interference, place the unit away from the television.
■Headphones
●Do not turn the volume on to full at switch on and listen to music at moderate levels. Excessive sound pressure from earphones and headphones can cause hearing loss.
●Be sure your headphone has a 3.5 mm (1/8”) diameter plug and impedance between 16 and 50 ohms. The recommended impedance is 32 ohms.
●Before plugging in or unplugging the headphone, reduce the volume.
●Plugging in the headphone disconnects the speakers automatically. Adjust the volume using the VOLUME (+ or
Troubleshooting chart
Many potential problems can be resolved by the owner without calling a service technician.
If something is wrong with this product, check the following before calling your authorised SHARP dealer or service centre.
■ General
Symptom | Possible cause |
● The clock is not set to | ● Did a power failure occur? |
the correct time. | ● Reset the clock. (Refer |
| page 18) |
● When a button is | ● Set the unit to the power |
pressed, the unit does | |
not respond. | turn it back on. |
| ● If the unit still |
| malfunctions, reset it. |
| (Refer page 21) |
● No sound is heard. | ● Is the volume level set to |
| “Min”? |
| ● Are the headphones |
| connected? |
20
