Preset (Continued)
Channel Setting (AUTO)
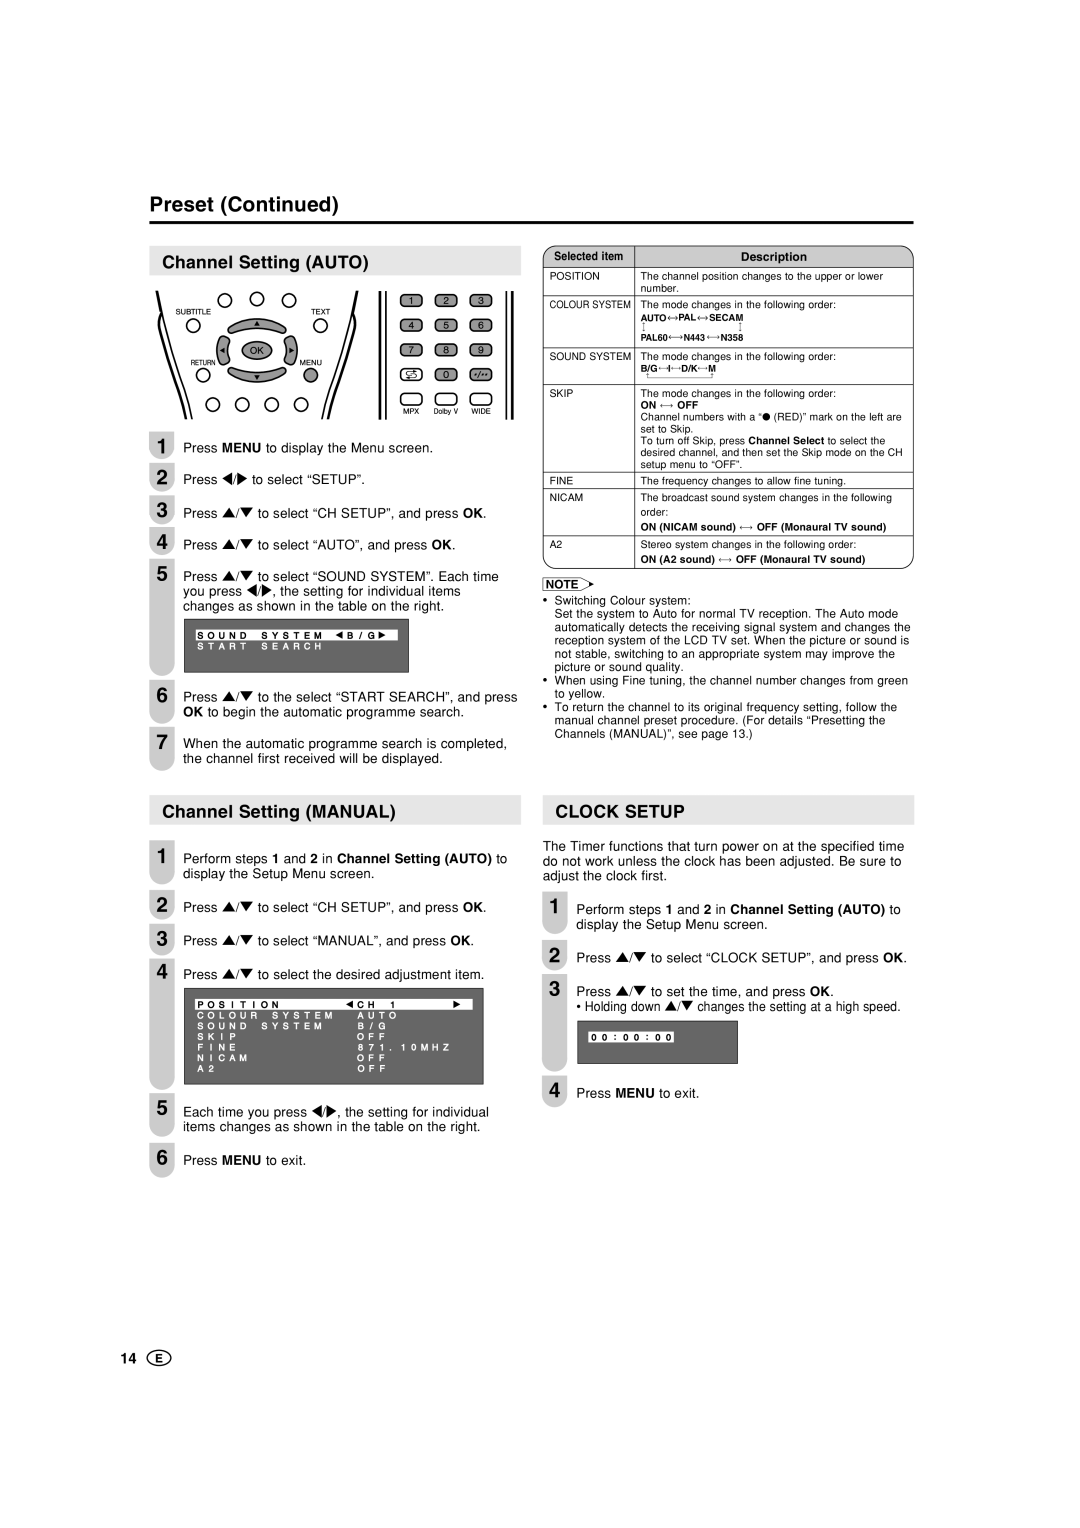
1 Press MENU to display the Menu screen.
2 Press \/to select “SETUP”.
3 Press '/" to select “CH SETUP”, and press OK.
4 Press '/" to select “AUTO”, and press OK.
5 Press '/" to select “SOUND SYSTEM”. Each time you press \/, the setting for individual items changes as shown in the table on the right.
|
|
|
|
|
| S O U N D | S Y S T E M | B / G |
|
| S T A R T | S E A R C H |
|
|
|
|
|
|
|
6 Press '/" to the select “START SEARCH”, and press OK to begin the automatic programme search.
7 When the automatic programme search is completed, the channel first received will be displayed.
Channel Setting (MANUAL)
1 | Perform steps 1 and 2 in Channel Setting (AUTO) to | ||||||
| display the Setup Menu screen. | ||||||
2 | |||||||
Press '/" to select “CH SETUP”, and press OK. | |||||||
|
| ||||||
3 | Press '/" to select “MANUAL”, and press OK. | ||||||
| |||||||
|
| ||||||
4 | Press '/" to select the desired adjustment item. | ||||||
|
|
|
|
|
|
| |
|
|
|
|
|
| ||
|
|
| P O S I T I O N | C H 1 |
|
| |
|
|
| C O L O U R S Y S T E M | A U T O |
| ||
|
|
| S O U N D S Y S T E M | B / G |
| ||
|
|
| S K I P | O F F |
| ||
|
|
| F I N E | 8 7 1 . 1 0 M H Z |
| ||
|
|
| N I C A M | O F F |
| ||
|
|
| A 2 | O F F |
| ||
|
|
|
|
|
|
| |
|
| ||||||
5 | Each time you press \/, the setting for individual | ||||||
| items changes as shown in the table on the right. | ||||||
| |||||||
|
|
|
|
| |||
6 | Press MENU to exit. |
|
|
| |||
|
|
|
| ||||
Selected item |
|
|
|
| Description |
POSITION | The channel position changes to the upper or lower | ||||
| number. |
|
| ||
|
| ||||
COLOUR SYSTEM | The mode changes in the following order: | ||||
| AUTO | PAL | SECAM | ||
|
|
|
|
|
|
| PAL60 | N443 |
| N358 | |
|
| ||||
SOUND SYSTEM | The mode changes in the following order: | ||||
| B/G I | D/K | M | ||
|
|
|
| ||
|
| ||||
SKIP | The mode changes in the following order: | ||||
| ON | OFF |
|
| |
| Channel numbers with a “● (RED)” mark on the left are | ||||
| set to Skip. |
|
| ||
| To turn off Skip, press Channel Select to select the | ||||
| desired channel, and then set the Skip mode on the CH | ||||
| setup menu to “OFF”. | ||||
|
| ||||
FINE | The frequency changes to allow fine tuning. | ||||
|
| ||||
NICAM | The broadcast sound system changes in the following | ||||
| order: |
|
| ON (NICAM sound) | OFF (Monaural TV sound) |
|
| |
A2 | Stereo system changes in the following order: | |
| ON (A2 sound) | OFF (Monaural TV sound) |
NOTE
•Switching Colour system:
Set the system to Auto for normal TV reception. The Auto mode automatically detects the receiving signal system and changes the reception system of the LCD TV set. When the picture or sound is not stable, switching to an appropriate system may improve the picture or sound quality.
•When using Fine tuning, the channel number changes from green to yellow.
•To return the channel to its original frequency setting, follow the manual channel preset procedure. (For details “Presetting the Channels (MANUAL)”, see page 13.)
CLOCK SETUP
The Timer functions that turn power on at the specified time do not work unless the clock has been adjusted. Be sure to adjust the clock first.
1 Perform steps 1 and 2 in Channel Setting (AUTO) to display the Setup Menu screen.
2 Press '/" to select “CLOCK SETUP”, and press OK.
3 Press '/" to set the time, and press OK.
• Holding down '/" changes the setting at a high speed.
0 0 : 0 0 : 0 0
4 Press MENU to exit.
14