Basic Adjustment Settings (Continued)
I/P SETUP | FILM MODE |
Adjusting the image and input signal can give you a more beautiful picture.
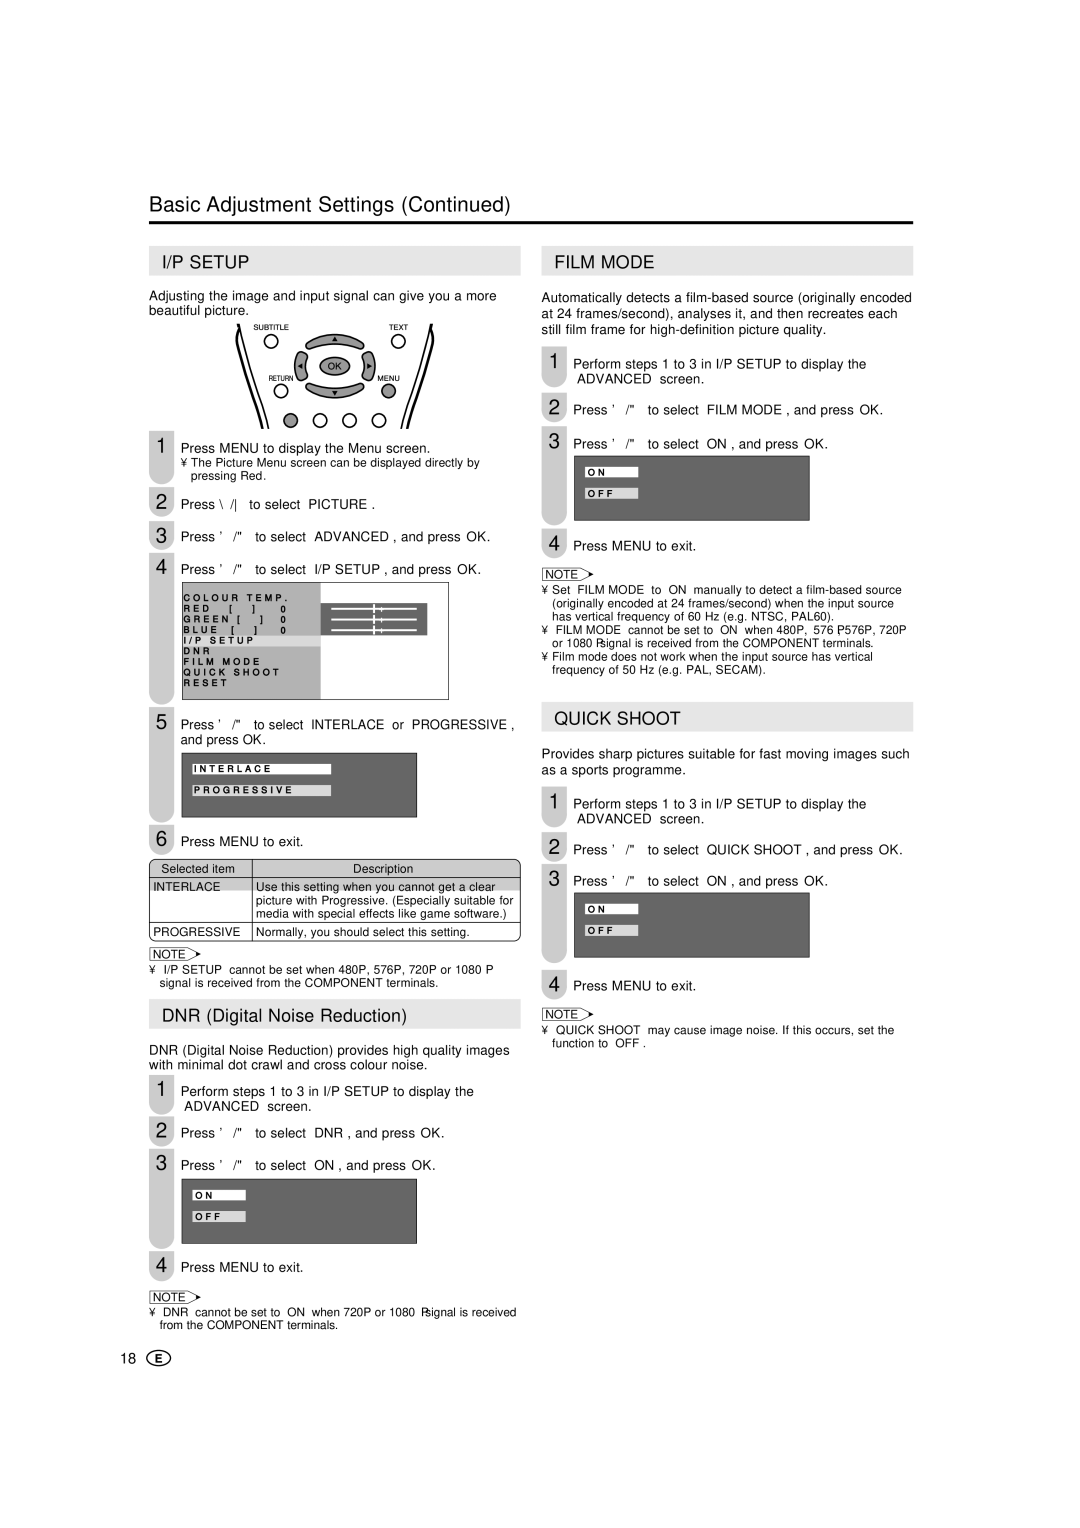
1 Press MENU to display the Menu screen.
•The Picture Menu screen can be displayed directly by pressing Red.
2 Press \/to select “PICTURE”.
3 Press '/" to select “ADVANCED”, and press OK.
4 Press '/" to select “I/P SETUP”, and press OK.
C O L O U R T E M P . |
|
|
|
| |||
R E D | [ | 0 | ] | – |
| + |
|
G R E E N | [ | 0 | ] | – |
| + |
|
B L U E | [ | 0 | ] | – |
| + |
|
I / P S E T U P |
|
|
|
|
|
| |
D N R |
|
|
|
|
|
|
|
F I L M | M O D E |
|
|
|
|
|
|
Q U I C K | S H O O T |
|
|
|
| ||
R E S E T |
|
|
|
|
|
|
|
|
|
|
|
|
|
|
|
Automatically detects a
1 Perform steps 1 to 3 in I/P SETUP to display the “ADVANCED” screen.
2 Press '/" to select “FILM MODE”, and press OK.
3 Press '/" to select “ON”, and press OK.
ON
OF F
4 Press MENU to exit.
NOTE
•Set “FILM MODE” to “ON” manually to detect a
•“FILM MODE” cannot be set to “ON” when 480P, 576Ι, 576P, 720P or 1080Ι signal is received from the COMPONENT terminals.
•Film mode does not work when the input source has vertical frequency of 50 Hz (e.g. PAL, SECAM).
5 Press '/" to select “INTERLACE” or “PROGRESSIVE”, and press OK.
I N T E R L A C E
P R O G R E S S I V E
6 Press MENU to exit.
Selected item | Description |
INTERLACE | Use this setting when you cannot get a clear |
| picture with Progressive. (Especially suitable for |
| media with special effects like game software.) |
|
|
PROGRESSIVE | Normally, you should select this setting. |
|
|
NOTE
•“I/P SETUP” cannot be set when 480P, 576P, 720P or 1080Ι signal is received from the COMPONENT terminals.
DNR (Digital Noise Reduction)
DNR (Digital Noise Reduction) provides high quality images with minimal dot crawl and cross colour noise.
1 Perform steps 1 to 3 in I/P SETUP to display the “ADVANCED” screen.
2 Press '/" to select “DNR”, and press OK. 3 Press '/" to select “ON”, and press OK.
ON
OF F
4 Press MENU to exit.
NOTE
•“DNR” cannot be set to “ON” when 720P or 1080Ι signal is received from the COMPONENT terminals.
18
QUICK SHOOT
Provides sharp pictures suitable for fast moving images such as a sports programme.
1 Perform steps 1 to 3 in I/P SETUP to display the “ADVANCED” screen.
2 Press '/" to select “QUICK SHOOT”, and press OK.
3 Press '/" to select “ON”, and press OK.
ON
OF F
4 Press MENU to exit.
NOTE
•“QUICK SHOOT” may cause image noise. If this occurs, set the function to “OFF”.