Basic adjustment
Analogue setting
1Repeat steps 1 and 2 in Digital setting.
2The “Analogue setting” screen displays, and then press A.
3Repeat steps 4 and 5 in Digital setting.
NOTE
•The “Analogue setting” menu is available only for watching TV in ATV mode.
Additional search
Use this menu to add new services automatically after “Analogue search” in the “Auto installation” menu has been completed.
•Start searching channels after selecting the colour system and sound system.
Manual adjust
You can reconfigure the analogue TV channels settings automatically or manually.
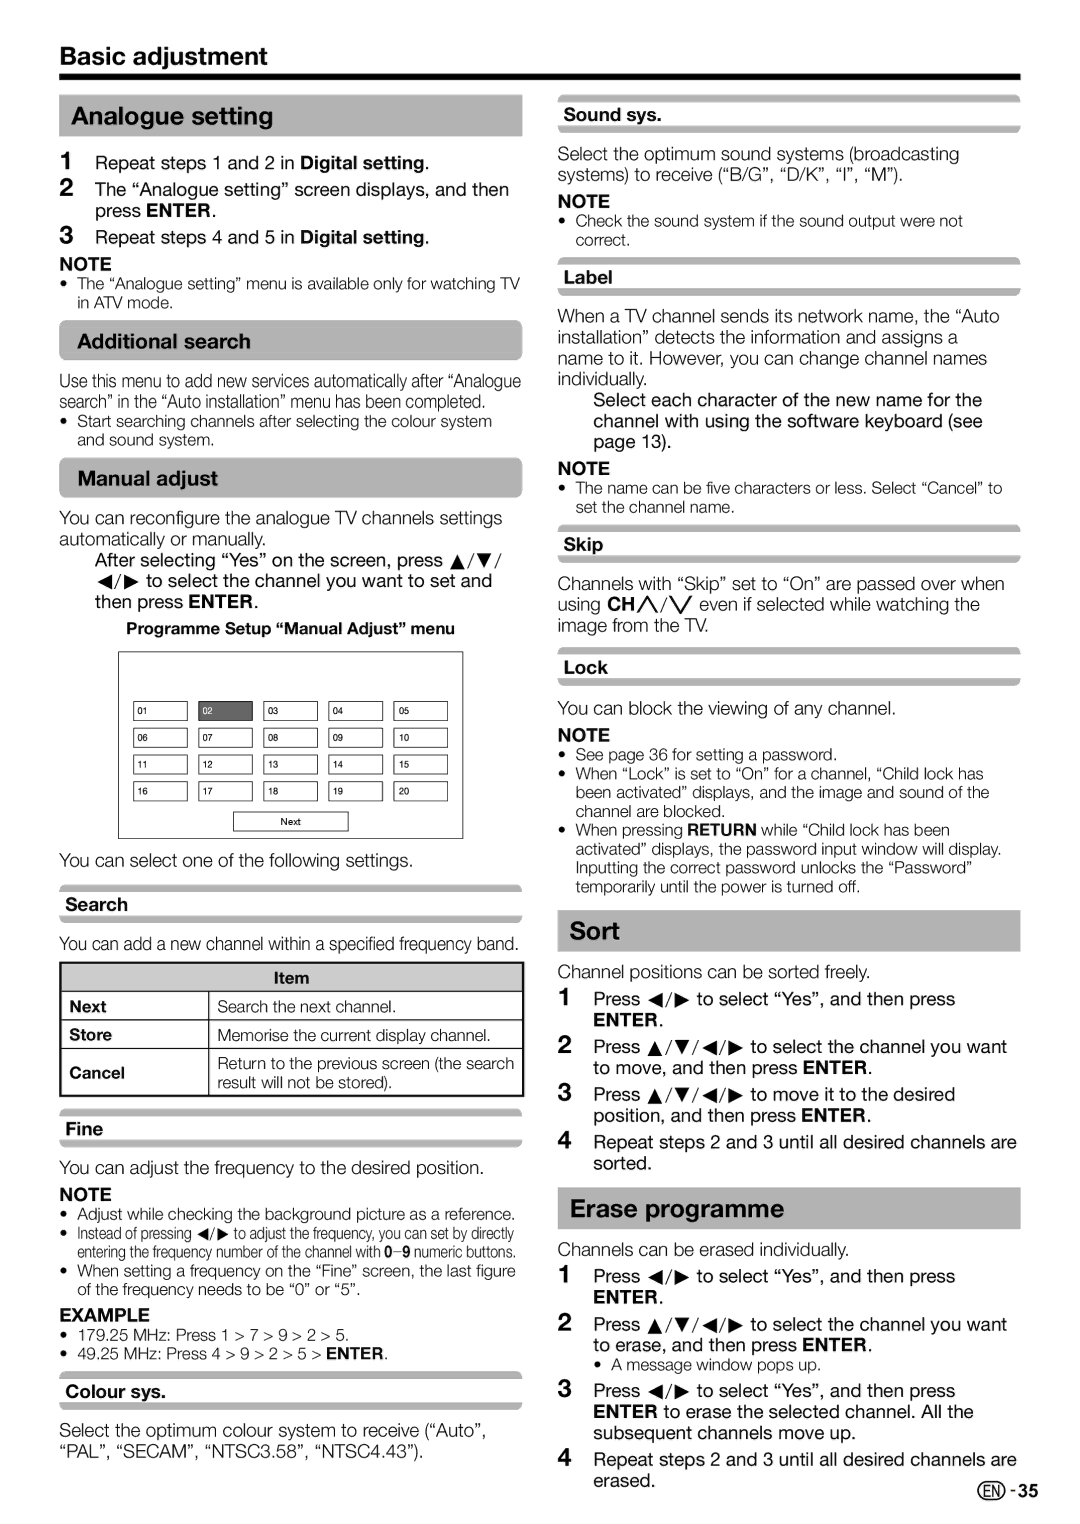
After selecting “Yes” on the screen, press a/b/ c/dto select the channel you want to set and then press A.
Programme Setup “Manual Adjust” menu
Sound sys.
Select the optimum sound systems (broadcasting systems) to receive (“B/G”, “D/K”, “I”, “M”).
NOTE
•Check the sound system if the sound output were not correct.
Label
When a TV channel sends its network name, the “Auto installation” detects the information and assigns a name to it. However, you can change channel names individually.
Select each character of the new name for the channel with using the software keyboard (see page 13).
NOTE
•The name can be five characters or less. Select “Cancel” to set the channel name.
Skip
Channels with “Skip” set to “On” are passed over when using !r/seven if selected while watching the image from the TV.
Next |
You can select one of the following settings.
Lock
You can block the viewing of any channel.
NOTE
•See page 36 for setting a password.
•When “Lock” is set to “On” for a channel, “Child lock has been activated” displays, and the image and sound of the channel are blocked.
•When pressing Cwhile “Child lock has been activated” displays, the password input window will display. Inputting the correct password unlocks the “Password” temporarily until the power is turned off.
Search
You can add a new channel within a specified frequency band.
| Item | |
Next | Search the next channel. | |
|
| |
Store | Memorise the current display channel. | |
|
| |
Cancel | Return to the previous screen (the search | |
result will not be stored). | ||
|
Fine
You can adjust the frequency to the desired position.
NOTE
•Adjust while checking the background picture as a reference.
•Instead of pressing c/dto adjust the frequency, you can set by directly entering the frequency number of the channel with 0_9 numeric buttons.
•When setting a frequency on the “Fine” screen, the last figure of the frequency needs to be “0” or “5”.
EXAMPLE
•179.25 MHz: Press 1 > 7 > 9 > 2 > 5.
•49.25 MHz: Press 4 > 9 > 2 > 5 > A.
Sort
Channel positions can be sorted freely.
1Press c/dto select “Yes”, and then press
A.
2Press a/b/c/dto select the channel you want to move, and then press A.
3Press a/b/c/dto move it to the desired position, and then press A.
4Repeat steps 2 and 3 until all desired channels are sorted.
Erase programme
Channels can be erased individually.
1Press c/dto select “Yes”, and then press
A.
2Press a/b/c/dto select the channel you want to erase, and then press A.
• A message window pops up.
Colour sys.
Select the optimum colour system to receive (“Auto”, “PAL”, “SECAM”, “NTSC3.58”, “NTSC4.43”).
3Press c/dto select “Yes”, and then press Ato erase the selected channel. All the subsequent channels move up.
4Repeat steps 2 and 3 until all desired channels are
erased. | 35 |
|