Adjusting the screen display
Manual screen adjustment
Fine adjustments can be made using the On Screen Display (OSD) Menu provided.
The screen display during adjustment
If using Windows, the Adjustment Pattern on the accompanying Utility Disk for Windows can be used. (p. 17)
If using a computer other than Windows, the adjust- ment pattern cannot be used. Display an image that makes the entire screen very bright, and adjust while watching the screen.
Note:
- This explanation is based on using the Adjust- ment Pattern (for Windows) to make adjustments.
Adjusting
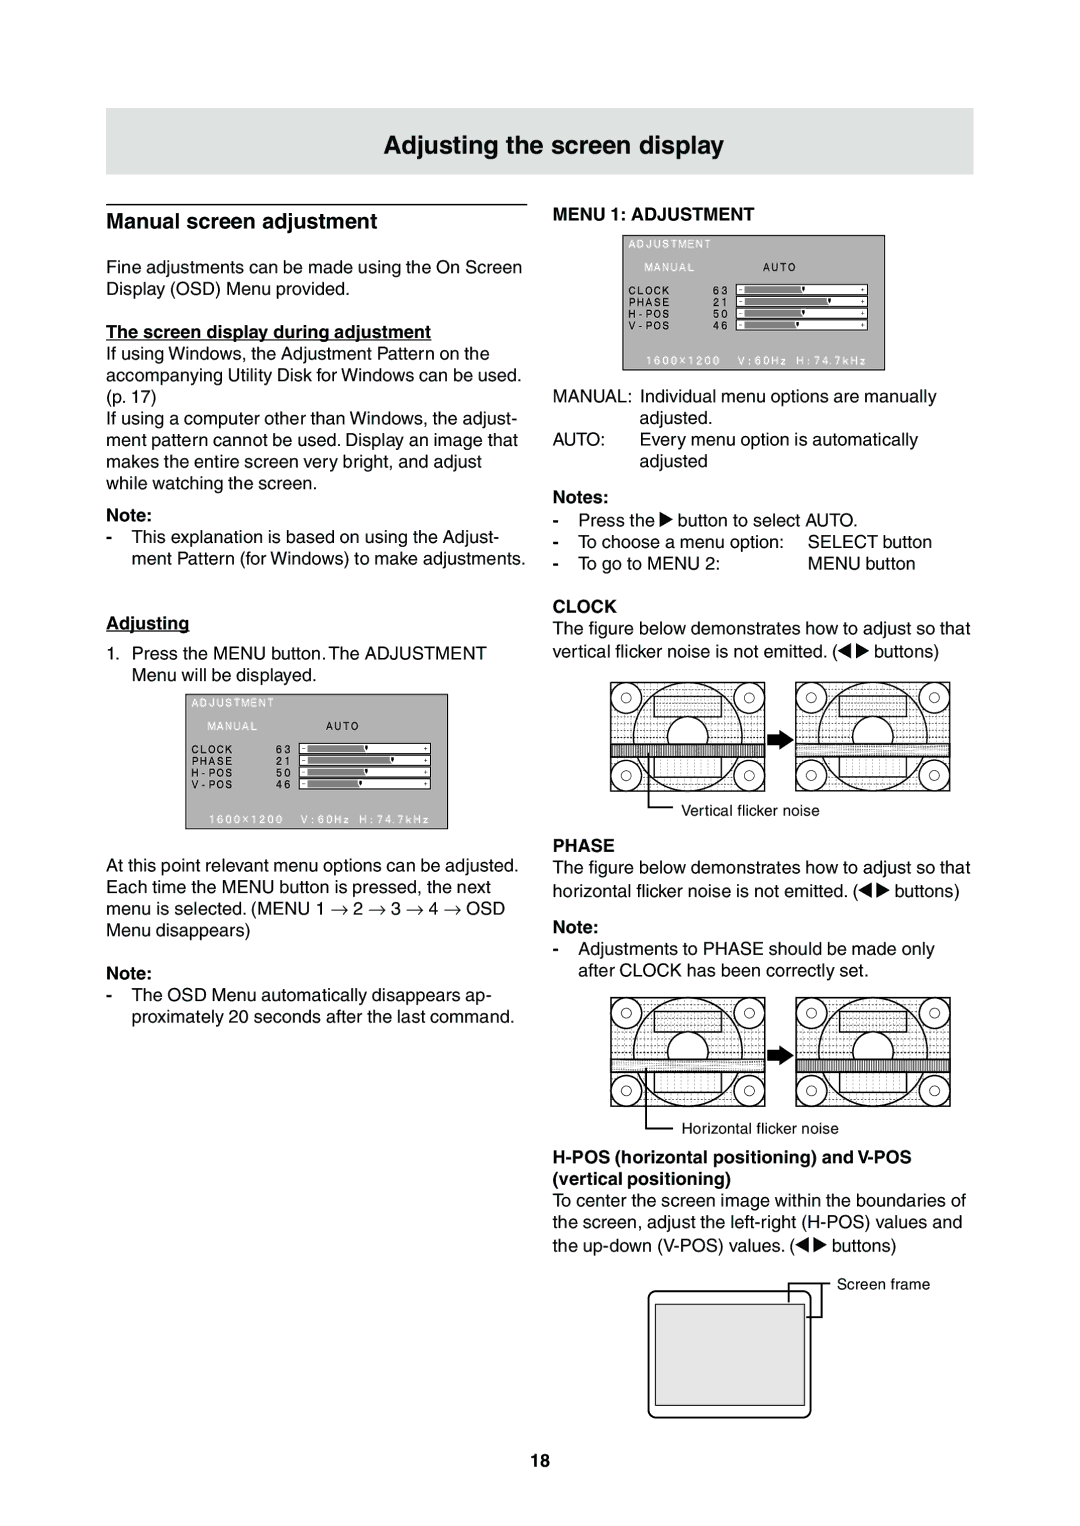
1.Press the MENU button. The ADJUSTMENT Menu will be displayed.
MENU 1: ADJUSTMENT
MANUAL: Individual menu options are manually adjusted.
AUTO: Every menu option is automatically adjusted
Notes:
-Press the ![]() button to select AUTO.
button to select AUTO.
-To choose a menu option: SELECT button
- To go to MENU 2: | MENU button |
CLOCK
The figure below demonstrates how to adjust so that
vertical flicker noise is not emitted. (
 buttons)
Vertical flicker noise
At this point relevant menu options can be adjusted. Each time the MENU button is pressed, the next menu is selected. (MENU 1 → 2 → 3 → 4 → OSD Menu disappears)
Note:
- The OSD Menu automatically disappears ap- proximately 20 seconds after the last command.
PHASE
The figure below demonstrates how to adjust so that
horizontal flicker noise is not emitted. (
 buttons)
Note:
-Adjustments to PHASE should be made only after CLOCK has been correctly set.
Horizontal flicker noise
H-POS (horizontal positioning) and V-POS (vertical positioning)
To center the screen image within the boundaries of the screen, adjust the
the ![]()
![]() buttons)
buttons)
![]()
![]() Screen frame
Screen frame
18