Product description
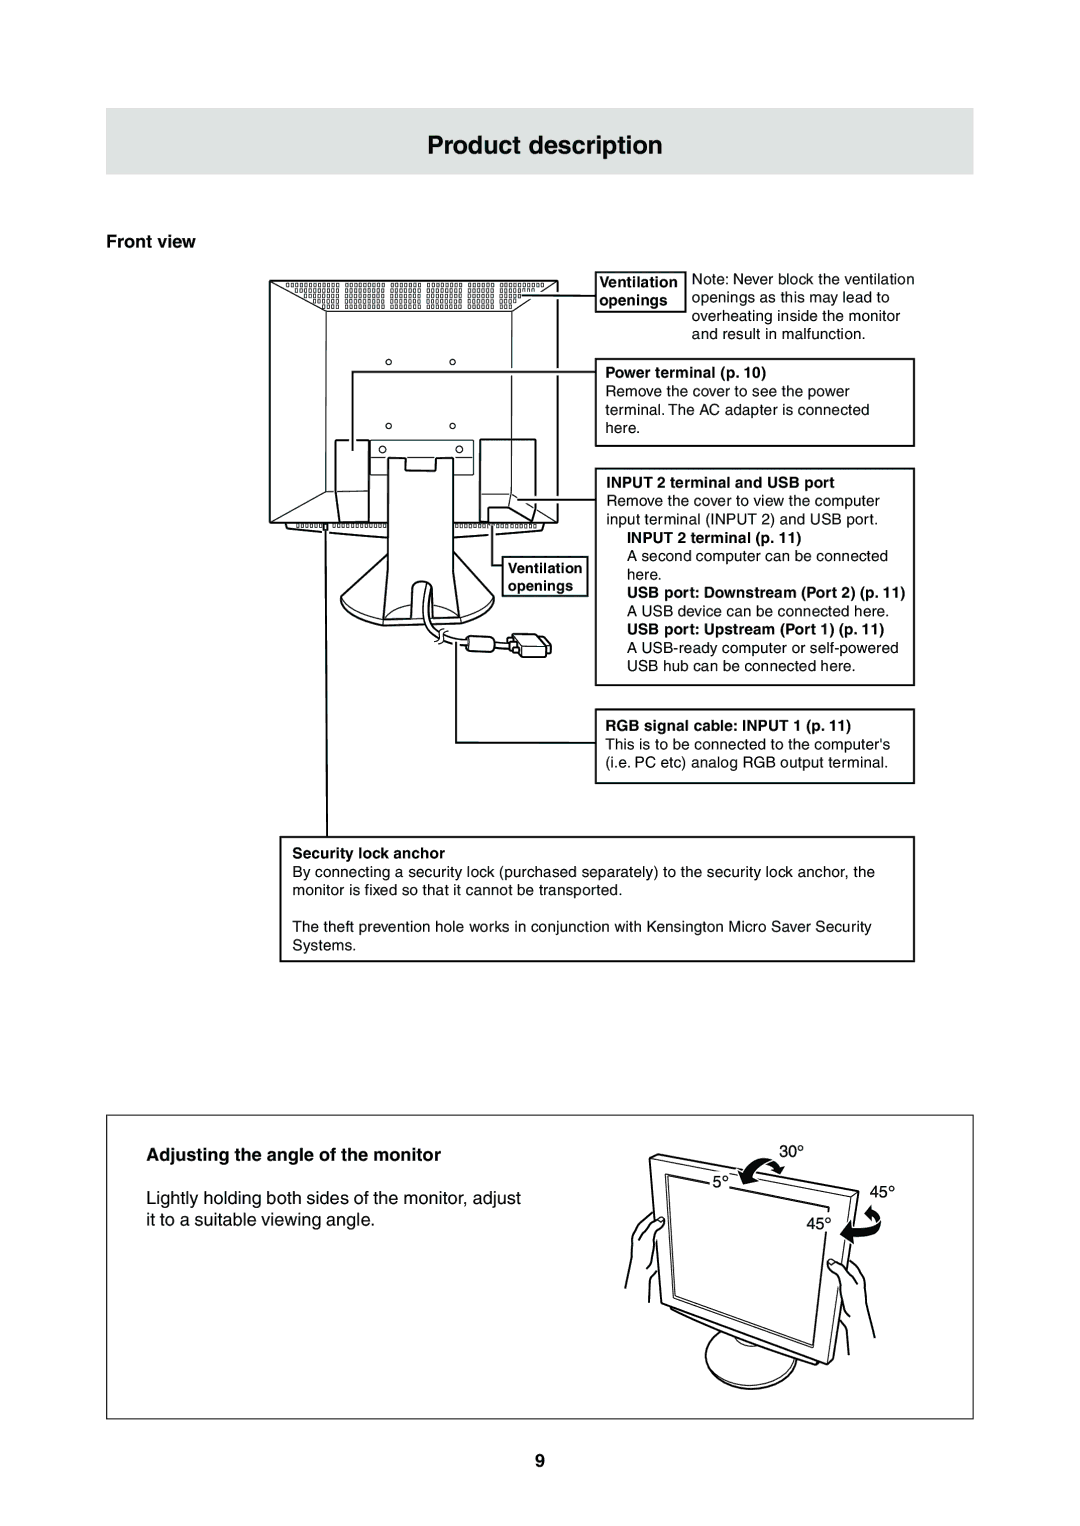
Front view
Ventilation openings
Ventilation | Note: Never block the ventilation |
openings | openings as this may lead to |
| overheating inside the monitor |
| |
| and result in malfunction. |
Power terminal (p. 10)
Remove the cover to see the power terminal. The AC adapter is connected here.
INPUT 2 terminal and USB port Remove the cover to view the computer input terminal (INPUT 2) and USB port.
INPUT 2 terminal (p. 11)
A second computer can be connected here.
USB port: Downstream (Port 2) (p. 11)
A USB device can be connected here.
USB port: Upstream (Port 1) (p. 11)
A
RGB signal cable: INPUT 1 (p. 11)
This is to be connected to the computer's (i.e. PC etc) analog RGB output terminal.
Security lock anchor
By connecting a security lock (purchased separately) to the security lock anchor, the monitor is fixed so that it cannot be transported.
The theft prevention hole works in conjunction with Kensington Micro Saver Security Systems.
Adjusting the angle of the monitor
Lightly holding both sides of the monitor, adjust it to a suitable viewing angle.
9