SETUP IN A WINDOWS ENVIRONMENT
2 Click the [Standard installation] button.
When [Custom installation] is selected, you can change any of the items below. When [Standard installation] is selected, the installation will take place as indicated below.
•Machine connection method: LPR Direct Print (Auto Search)
•Set as default printer:Yes (excluding the
•Printer driver name: Cannot be changed
•PCL printer display fonts: Installed
If you selected [Custom installation], select [LPR Direct Print (Auto Search)] and click the [Next] button. If you selected other than [LPR Direct Print (Auto Search)], see the following pages in the Operation Guide:
•LPR Direct Print (Specify Address): page
•IPP: page
•Connected to this computer: page
3 Printers connected to the network are detected. Select the machine and click the [Next] button.
•If the machine is not found, make sure that the machine is powered on and that the machine is connected to the network, and then click the
•You can also click the [Specify condition] button and search for the machine by entering the machine's
name (host name) or IP address.
☞Checking the IP address of the machine (page 29)
4 A confirmation window appears. Check the contents and then click the [Next] button.
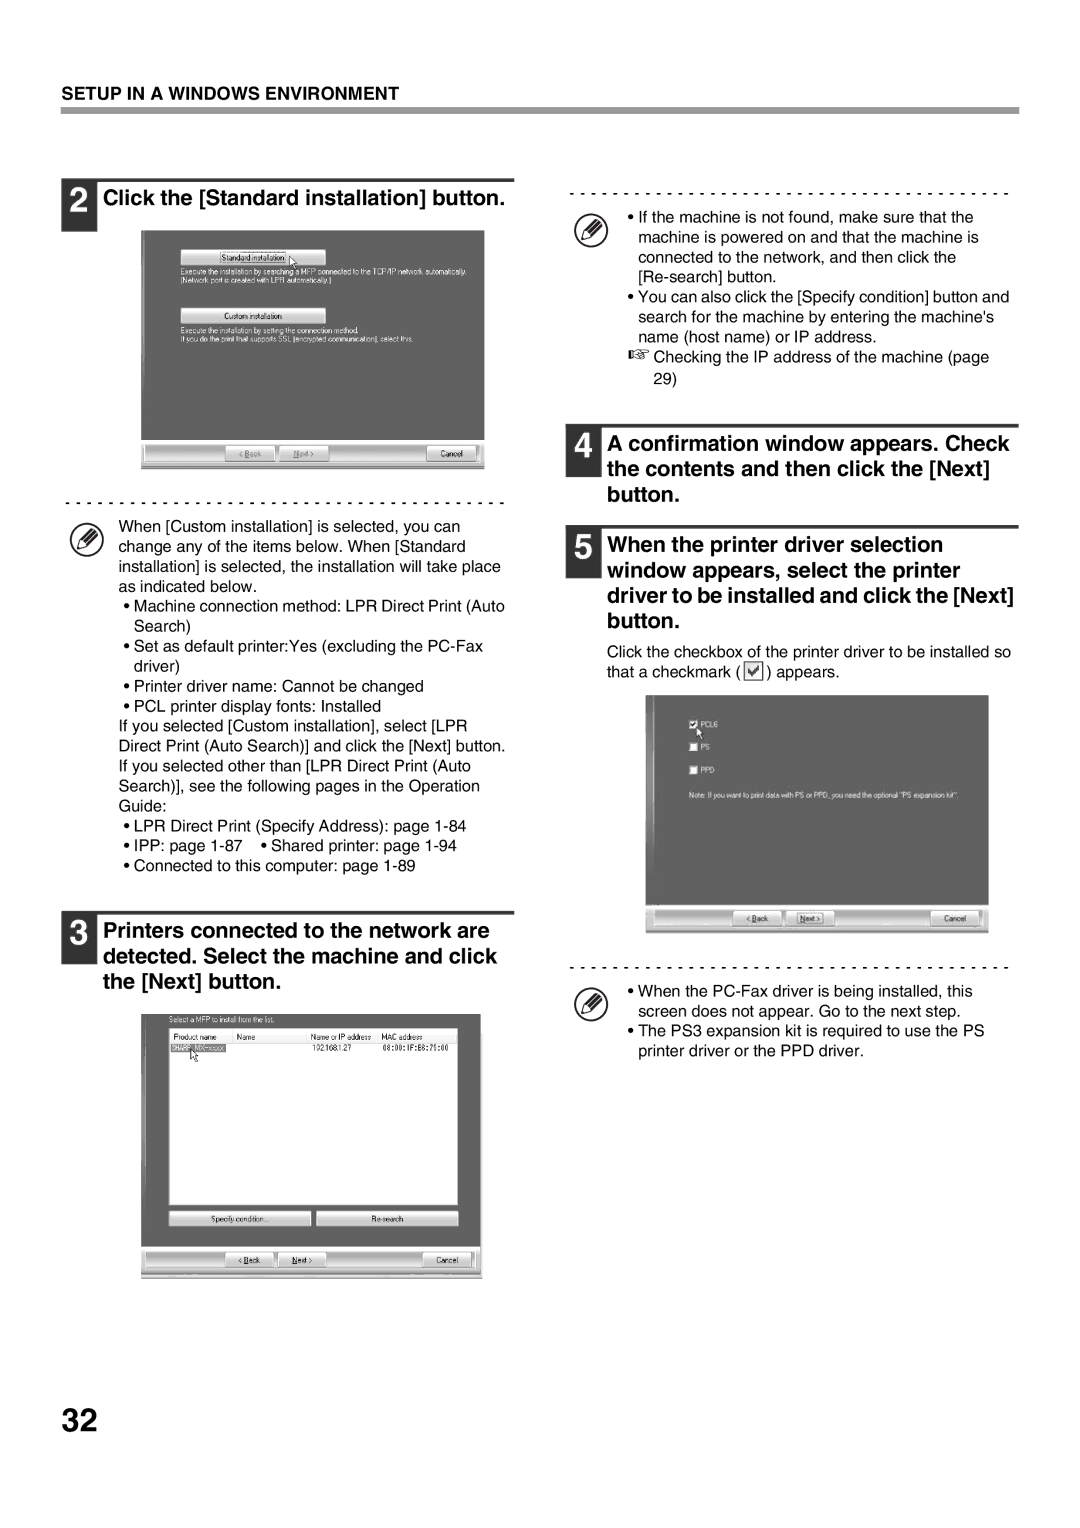
5 When the printer driver selection window appears, select the printer driver to be installed and click the [Next] button.
Click the checkbox of the printer driver to be installed so that a checkmark ( ![]() ) appears.
) appears.
•When the
•The PS3 expansion kit is required to use the PS printer driver or the PPD driver.
32