Image Projection (Continued)
Switching the Input Mode
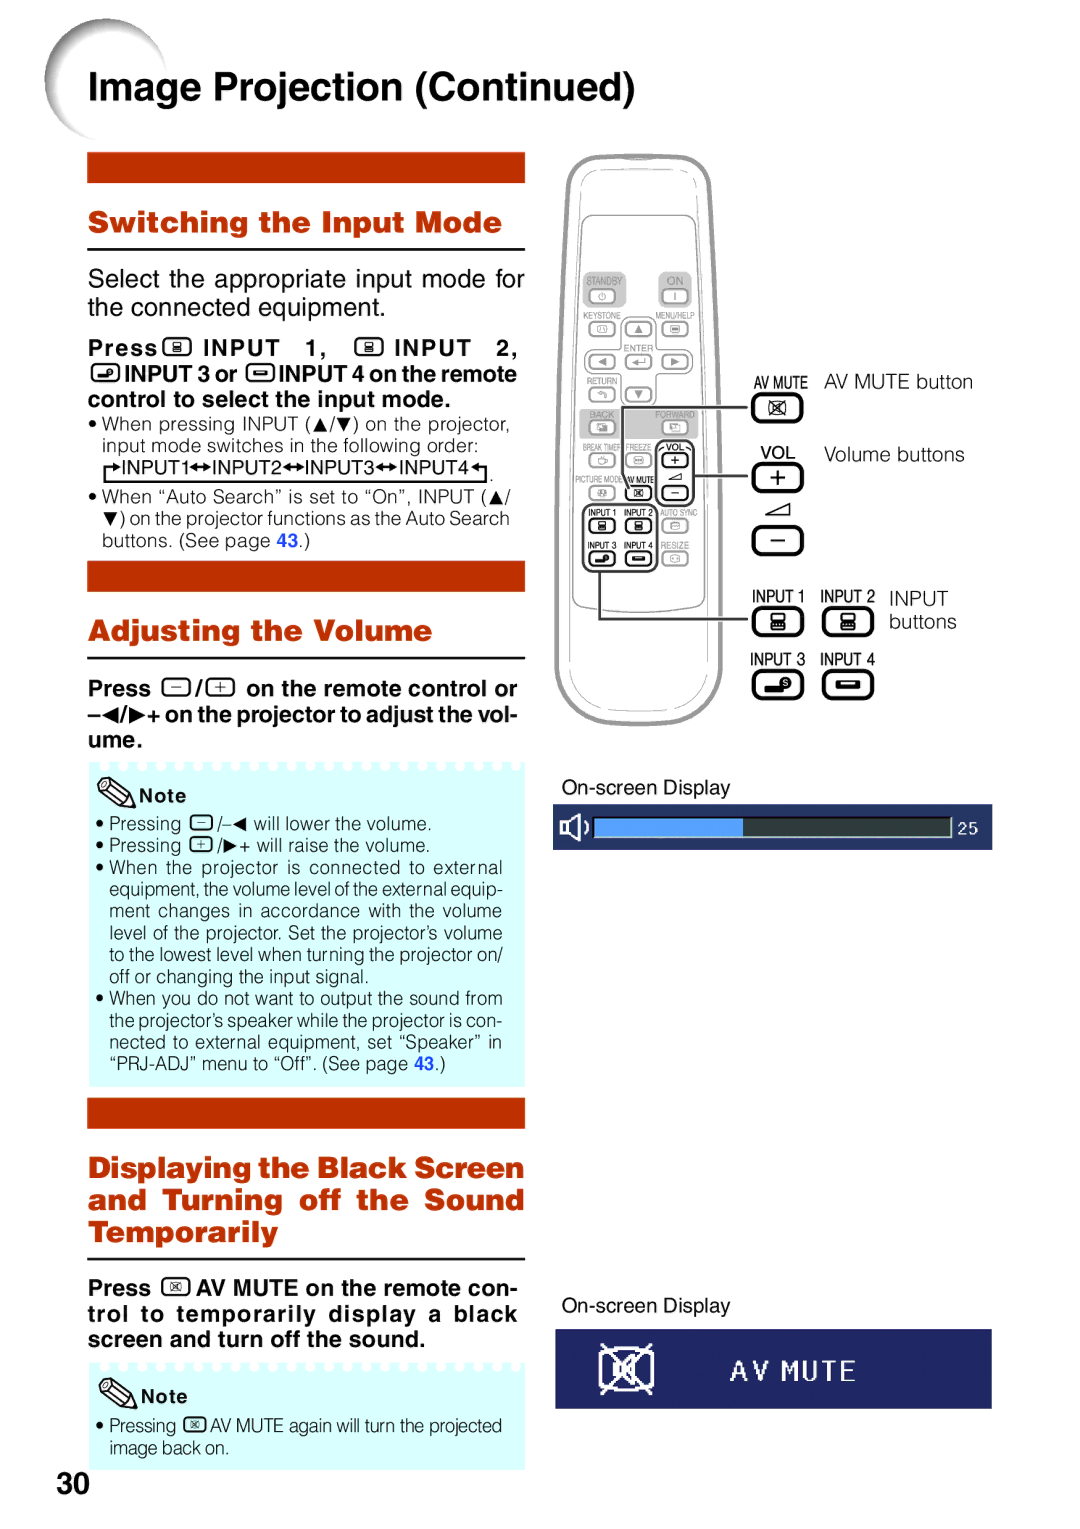
Select the appropriate input mode for the connected equipment.
PressC INPUT 1, C INPUT 2, DINPUT 3 or EINPUT 4 on the remote control to select the input mode.
• When pressing INPUT (P/R) on the projector, input mode switches in the following order:

 INPUT1
 INPUT2
 INPUT3
 INPUT4
 .
.
• When “Auto Search” is set to “On”, INPUT (P/ R) on the projector functions as the Auto Search buttons. (See page 43.)
Adjusting the Volume
Press K/L on the remote control or
Note | |
|
•Pressing
•Pressing L/Q+ will raise the volume.
•When the projector is connected to external equipment, the volume level of the external equip- ment changes in accordance with the volume level of the projector. Set the projector’s volume to the lowest level when turning the projector on/ off or changing the input signal.
•When you do not want to output the sound from the projector’s speaker while the projector is con- nected to external equipment, set “Speaker” in
Displaying the Black Screen and Turning off the Sound Temporarily
Press MAV MUTE on the remote con-
trol to temporarily display a black
![]() Note
Note
•Pressing MAV MUTE again will turn the projected image back on.
AV MUTE button
Volume buttons

 INPUT buttons
30