Mixing fuel
CAUTION!
■■Never use any type of gasoline containing more than 10% alcohol by volume! Some types of gasoline contain alcohol as an oxygenate. Oxygenated gasoline may cause increased operating temperatures. Under certain conditions, alcohol- based gasoline may also reduce the lubricating qualities of some
■■Generic oils and some outboard oils may not be intended for use in
CAUTION!
This engine is designed to operate on a 50:1 mixture consisting of unleaded gasoline and
■■Use only fresh, clean unleaded gasoline with a pump octane of 87 or higher.
■■Mix all fuel with a
Examples of 50:1 mixing quantities
Gasoline | ||||
liters |
| milliliters | ||
2.5 | - | 1 | 50 | ml |
5 | - | 1 | 100 | ml |
10 | - | 1 | 200 | ml |
20 | - | 1 | 400 | ml |
IMPORTANT!
Mix only enough fuel for your immediate needs! If fuel must be stored longer than 30
days and | oil with fuel stabilizer is not |
used, it should first be treated with a fuel stabilizer such as
![]() Oil is a registered JASO FC classi- fied oil and also meets or exceeds
Oil is a registered JASO FC classi- fied oil and also meets or exceeds
Filling the fuel tank
WARNING!
Minimize the Risk of Fire
■■NEVER smoke or light fires near the engine.
■■ALWAYS stop the engine and allow it to cool before refueling.
■■ALWAYS Wipe all spilled fuel and move at least 3 meters from the fuel- ing point and source before starting.
■■NEVER place flammable material close to the engine muffler.
■■NEVER operate the engine with- out the muffler and spark arrester screen in place.
■■FUEL IS HIGHLY FLAMABLE.
■■ALWAYS store gasoline in a con- tainer approved for flammable liquids.
■■ALWAYS inspect the unit for fuel leaks before each use. During each refill, check that no fuel leaks from around the fuel cap and/or fuel tank. If fuel leaks are evident, stop using the unit immediately. Fuel leaks must be repaired before using the unit.
■■ALWAYS move the unit at least 3 meters away from a fuel storage area or other readily flammable materials before starting the engine.
1.Place the unit on a flat, level surface.
2.Clear any dirt or other debris from around the fuel filler cap.
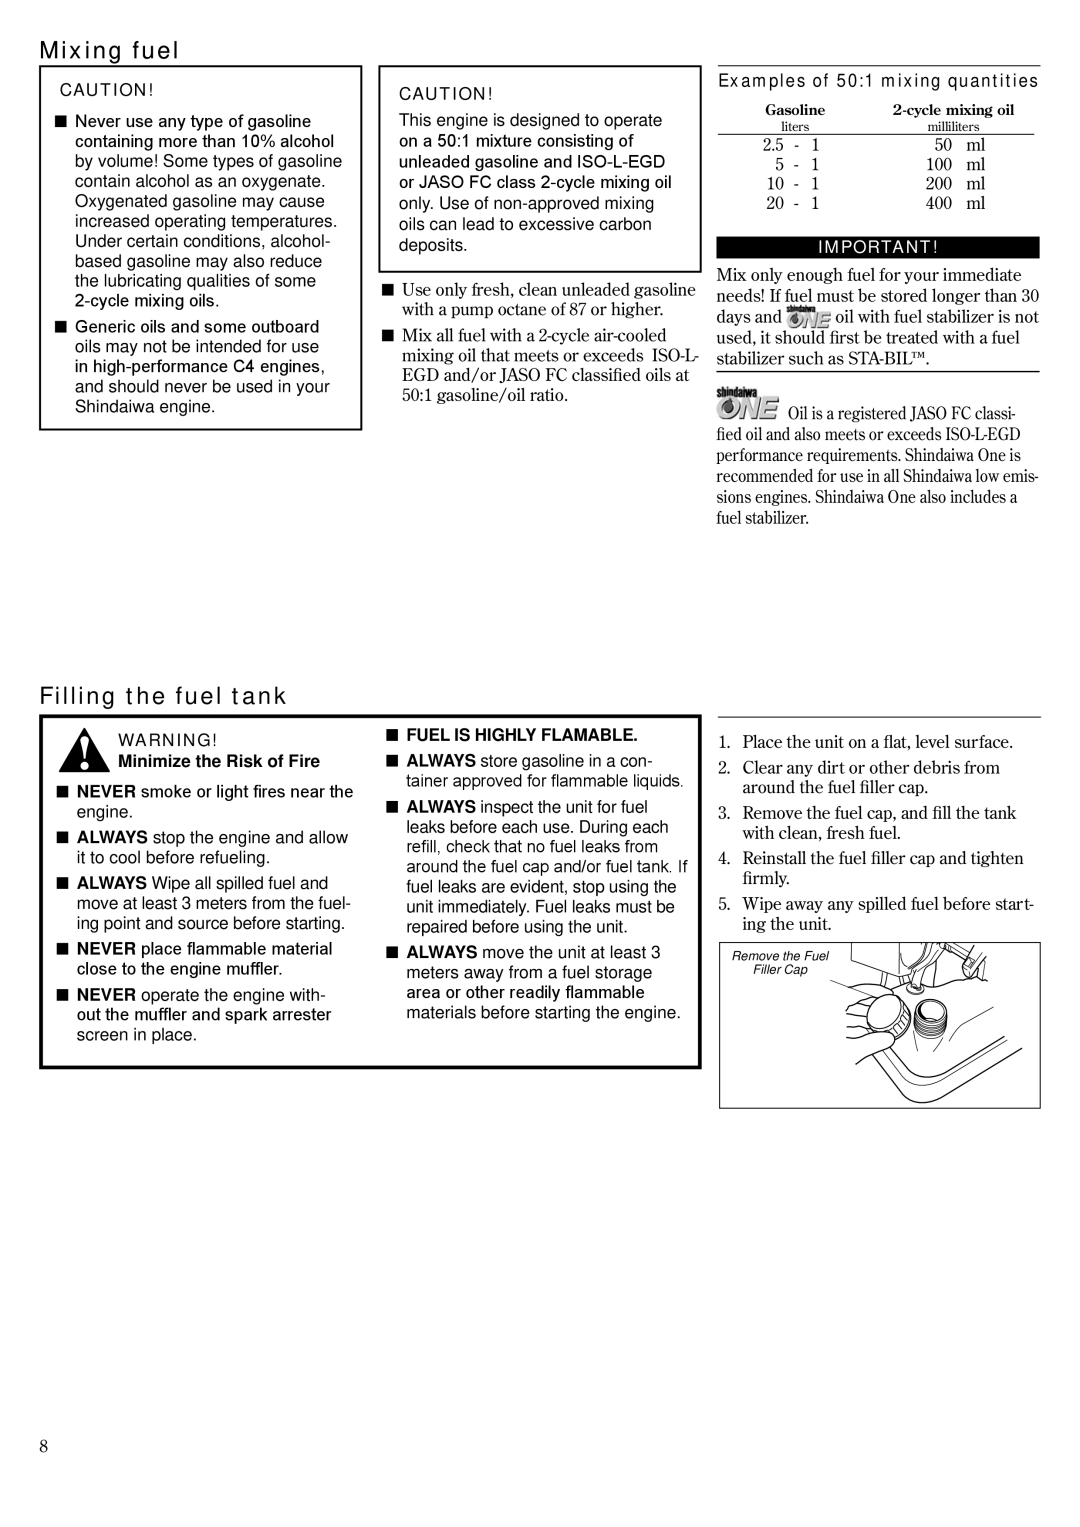
3.Remove the fuel cap, and fill the tank with clean, fresh fuel.
4.Reinstall the fuel filler cap and tighten firmly.
5.Wipe away any spilled fuel before start- ing the unit.
Remove the Fuel
Filler Cap
8
