Starting Procedure
IMPORTANT!
Engine ignition is controlled by a
When the Engine Starts or Fires
1. | Open the choke by moving the choke |
| lever backward (toward the fuel tank). |
2. | If the engine does not continue to run, |
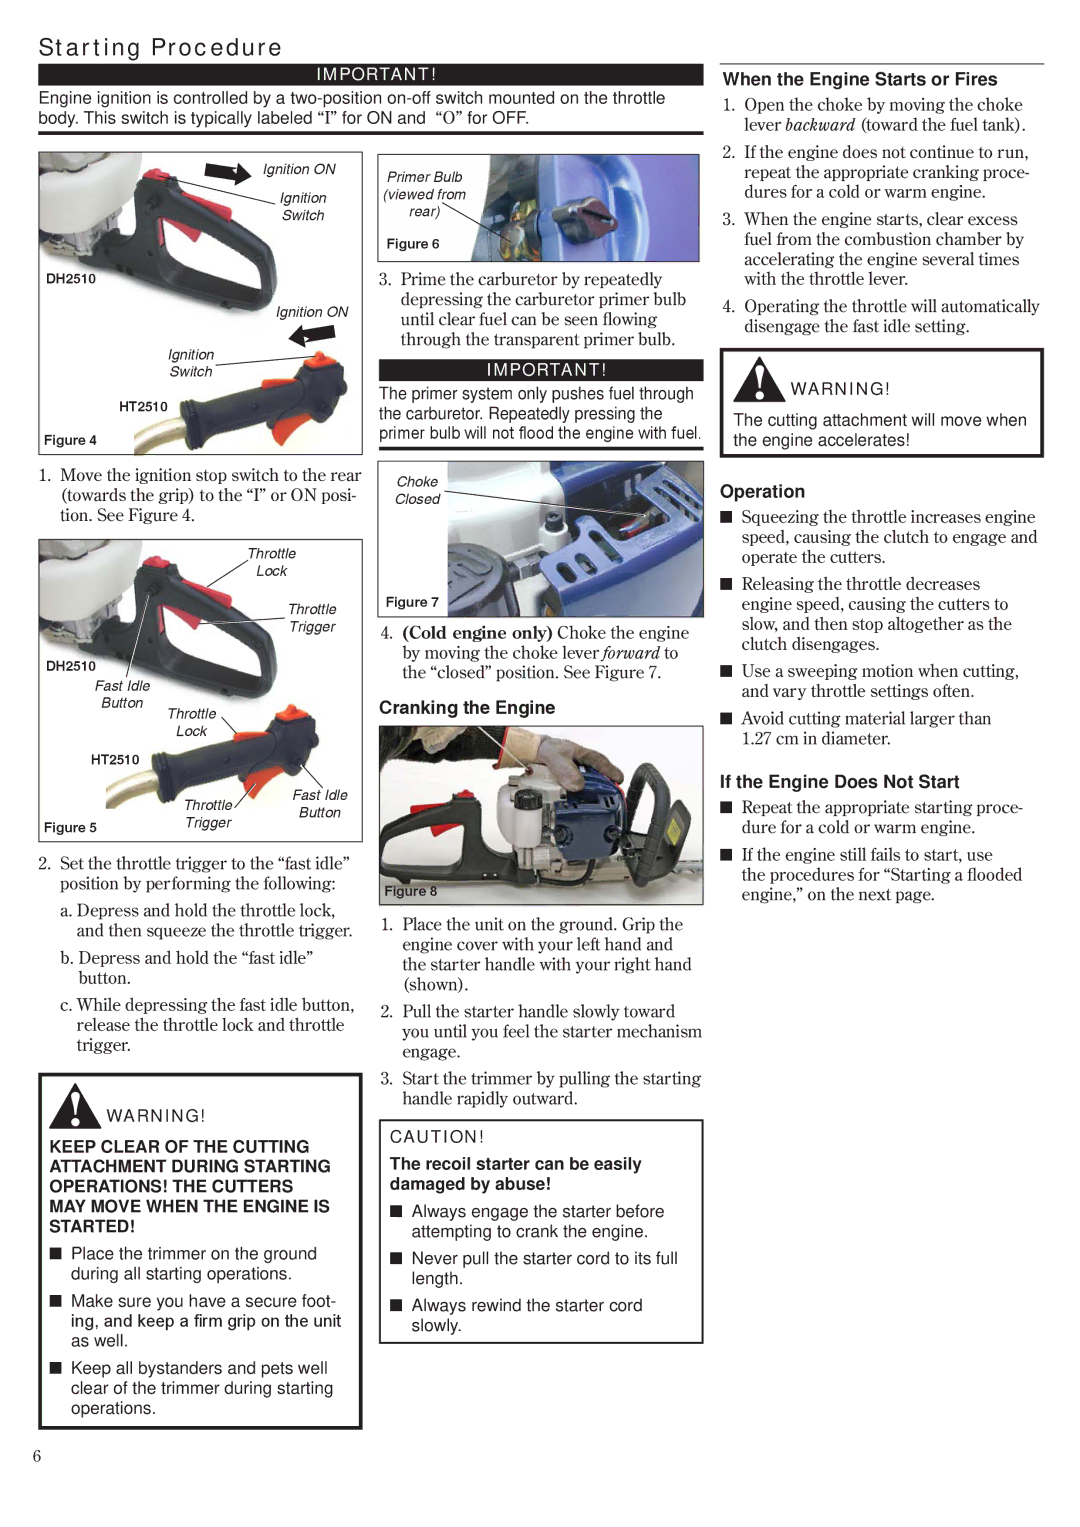
Ignition ON
![]() Ignition
Ignition
Switch
DH2510
Ignition ON
Ignition
Switch
HT2510
Figure 4
1.Move the ignition stop switch to the rear (towards the grip) to the “I” or ON posi- tion. See Figure 4.
|
| Throttle | |
|
| Lock | |
|
| Throttle | |
|
| Trigger | |
DH2510 |
|
| |
Fast Idle |
|
| |
Button | Throttle |
| |
|
| ||
| Lock |
| |
HT2510 |
|
| |
| Throttle | Fast Idle | |
| Button | ||
Figure 5 | Trigger | ||
| |||
|
| ||
|
|
|
2.Set the throttle trigger to the “fast idle” position by performing the following:
a.Depress and hold the throttle lock, and then squeeze the throttle trigger.
b.Depress and hold the “fast idle” button.
c.While depressing the fast idle button, release the throttle lock and throttle trigger.
![]() WARNING!
WARNING!
KEEP CLEAR OF THE CUTTING ATTACHMENT DURING STARTING OPERATIONS! THE CUTTERS MAY MOVE WHEN THE ENGINE IS STARTED!
nPlace the trimmer on the ground during all starting operations.
nMake sure you have a secure foot- ing, and keep a firm grip on the unit as well.
nKeep all bystanders and pets well clear of the trimmer during starting operations.
Primer Bulb (viewed from rear)
Figure 6
3.Prime the carburetor by repeatedly depressing the carburetor primer bulb until clear fuel can be seen flowing through the transparent primer bulb.
IMPORTANT!
The primer system only pushes fuel through the carburetor. Repeatedly pressing the primer bulb will not flood the engine with fuel.
Choke
Closed ![]()
Figure 7
4.(Cold engine only) Choke the engine by moving the choke lever forward to the “closed” position. See Figure 7.
Cranking the Engine
Figure 8
1.Place the unit on the ground. Grip the engine cover with your left hand and the starter handle with your right hand (shown).
2.Pull the starter handle slowly toward you until you feel the starter mechanism engage.
3.Start the trimmer by pulling the starting handle rapidly outward.
CAUTION!
The recoil starter can be easily damaged by abuse!
nAlways engage the starter before attempting to crank the engine.
nNever pull the starter cord to its full length.
nAlways rewind the starter cord slowly.
| repeat the appropriate cranking proce- |
| dures for a cold or warm engine. |
3. | When the engine starts, clear excess |
| fuel from the combustion chamber by |
| accelerating the engine several times |
| with the throttle lever. |
4. | Operating the throttle will automatically |
| disengage the fast idle setting. |
![]() WARNING!
WARNING!
The cutting attachment will move when the engine accelerates!
Operation
nSqueezing the throttle increases engine speed, causing the clutch to engage and operate the cutters.
nReleasing the throttle decreases engine speed, causing the cutters to slow, and then stop altogether as the clutch disengages.
nUse a sweeping motion when cutting, and vary throttle settings often.
nAvoid cutting material larger than 1.27 cm in diameter.
If the Engine Does Not Start
nRepeat the appropriate starting proce- dure for a cold or warm engine.
nIf the engine still fails to start, use the procedures for “Starting a flooded engine,” on the next page.