2. Hints
2.1 Getting started with the RWF40 menu
The RWF40 menu system has three Levels, beyond the Basic Display, the User Level,
the Parameter Level and
the Configuration Level.
![]() RWF40 user manual Section 6 Operation.
RWF40 user manual Section 6 Operation.
2.1.1 Start with the Basic Display
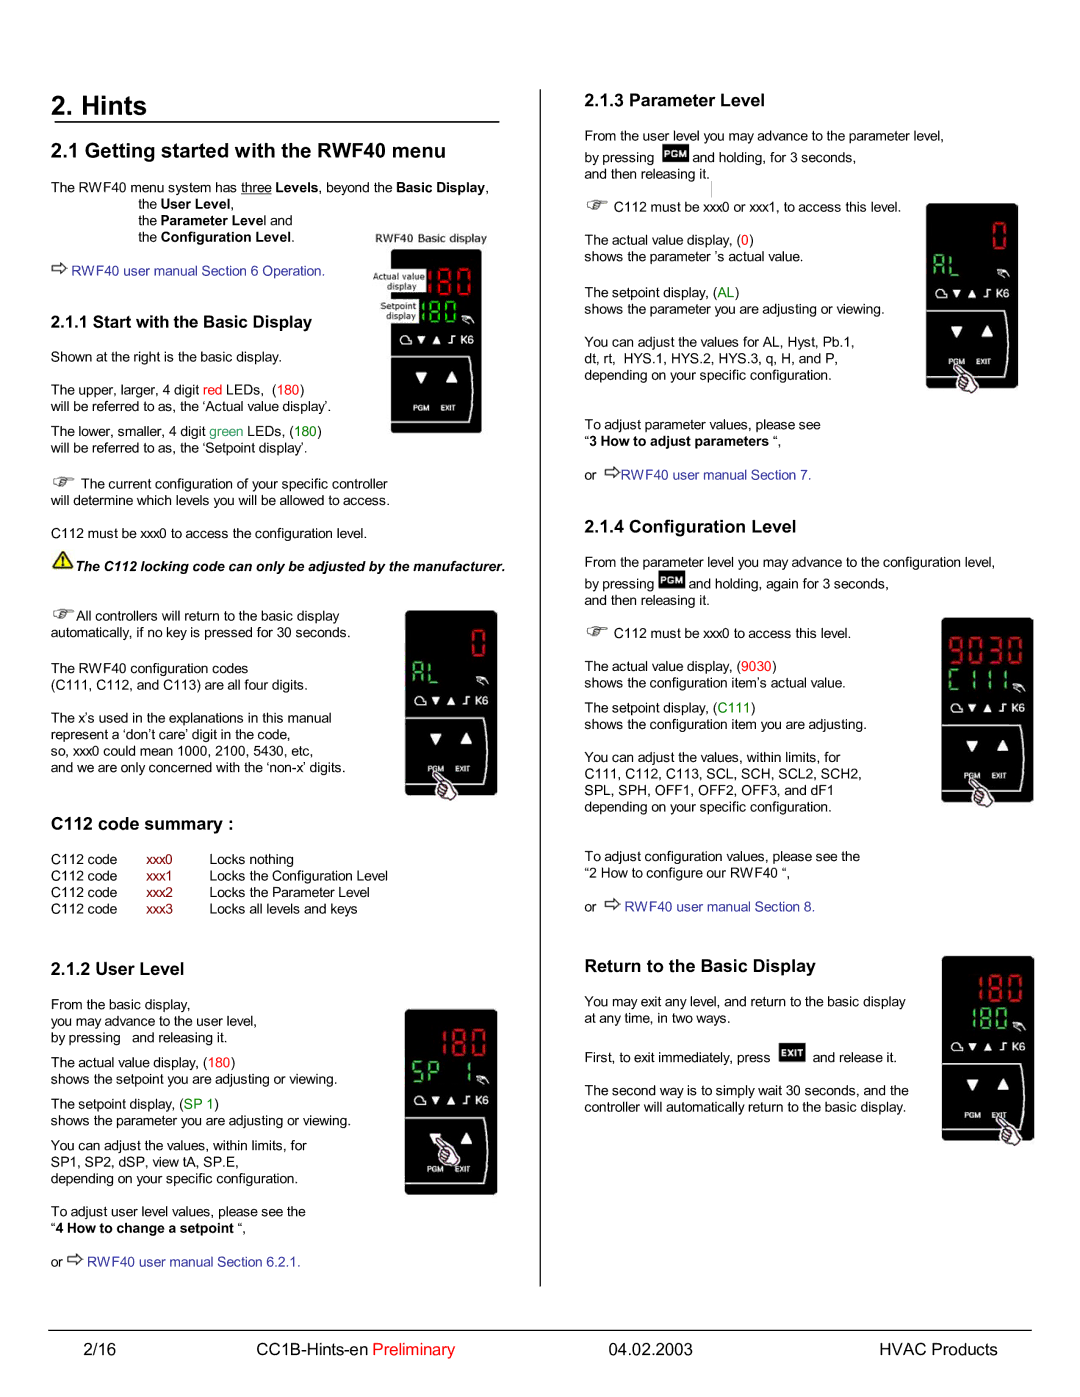
Shown at the right is the basic display.
The upper, larger, 4 digit red LEDs, (180)
will be referred to as, the ‘Actual value display’.
The lower, smaller, 4 digit green LEDs, (180) will be referred to as, the ‘Setpoint display’.
![]() The current configuration of your specific controller will determine which levels you will be allowed to access.
The current configuration of your specific controller will determine which levels you will be allowed to access.
C112 must be xxx0 to access the configuration level.
 The C112 locking code can only be adjusted by the manufacturer.
![]() All controllers will return to the basic display automatically, if no key is pressed for 30 seconds.
All controllers will return to the basic display automatically, if no key is pressed for 30 seconds.
The RWF40 configuration codes
(C111, C112, and C113) are all four digits.
The x’s used in the explanations in this manual represent a ‘don’t care’ digit in the code,
so, xxx0 could mean 1000, 2100, 5430, etc,
and we are only concerned with the
C112 code summary :
C112 code | xxx0 | Locks nothing |
C112 code | xxx1 | Locks the Configuration Level |
C112 code | xxx2 | Locks the Parameter Level |
C112 code | xxx3 | Locks all levels and keys |
2.1.2 User Level
From the basic display,
you may advance to the user level, by pressing and releasing it.
The actual value display, (180)
shows the setpoint you are adjusting or viewing.
The setpoint display, (SP 1)
shows the parameter you are adjusting or viewing.
You can adjust the values, within limits, for SP1, SP2, dSP, view tA, SP.E, depending on your specific configuration.
To adjust user level values, please see the “4 How to change a setpoint “,
or ![]() RWF40 user manual Section 6.2.1.
RWF40 user manual Section 6.2.1.
2.1.3 Parameter Level
From the user level you may advance to the parameter level,
by pressing ![]() and holding, for 3 seconds, and then releasing it.
and holding, for 3 seconds, and then releasing it.
![]() C112 must be xxx0 or xxx1, to access this level.
C112 must be xxx0 or xxx1, to access this level.
The actual value display, (0)
shows the parameter ’s actual value.
The setpoint display, (AL)
shows the parameter you are adjusting or viewing.
You can adjust the values for AL, Hyst, Pb.1, dt, rt, HYS.1, HYS.2, HYS.3, q, H, and P, depending on your specific configuration.
To adjust parameter values, please see “3 How to adjust parameters “,
or ![]() RWF40 user manual Section 7.
RWF40 user manual Section 7.
2.1.4 Configuration Level
From the parameter level you may advance to the configuration level,
by pressing ![]() and holding, again for 3 seconds, and then releasing it.
and holding, again for 3 seconds, and then releasing it.
![]() C112 must be xxx0 to access this level.
C112 must be xxx0 to access this level.
The actual value display, (9030)
shows the configuration item’s actual value.
The setpoint display, (C111)
shows the configuration item you are adjusting.
You can adjust the values, within limits, for C111, C112, C113, SCL, SCH, SCL2, SCH2, SPL, SPH, OFF1, OFF2, OFF3, and dF1 depending on your specific configuration.
To adjust configuration values, please see the “2 How to configure our RWF40 “,
or ![]() RWF40 user manual Section 8.
RWF40 user manual Section 8.
Return to the Basic Display
You may exit any level, and return to the basic display at any time, in two ways.
First, to exit immediately, press ![]() and release it.
and release it.
The second way is to simply wait 30 seconds, and the controller will automatically return to the basic display.
2/16 | 04.02.2003 | HVAC Products |
