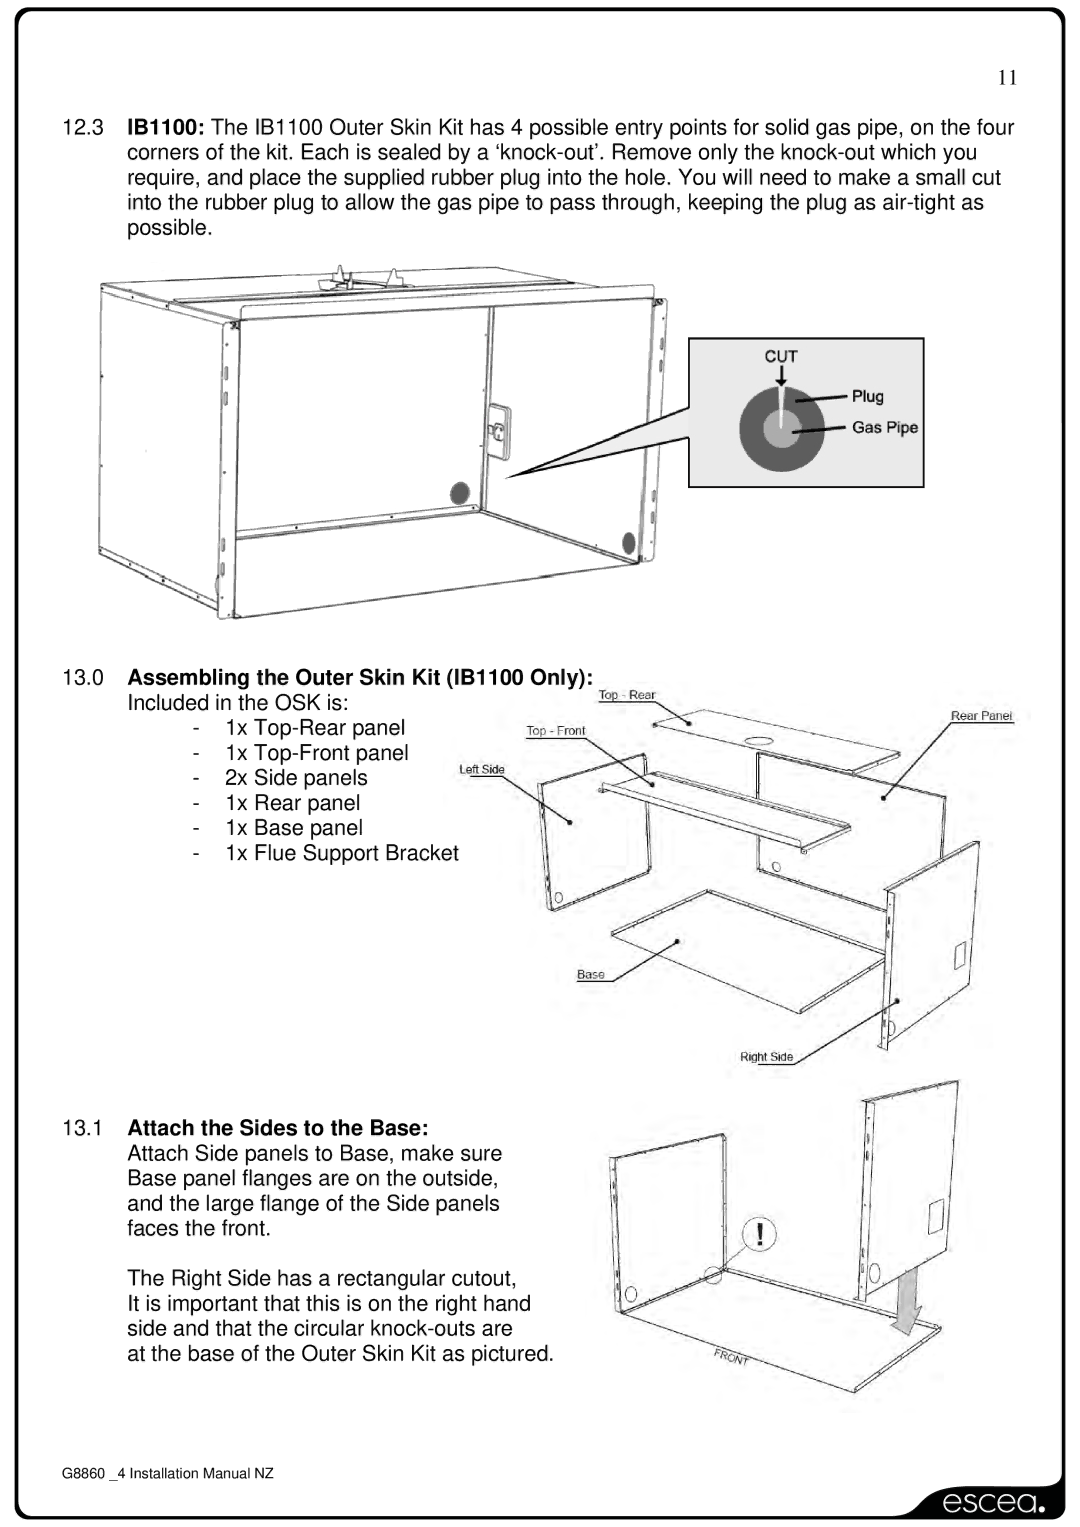
IB1100, IB850, IB600 specifications
Sigma's IB series of compact, high-performance cameras, specifically the IB1100, IB850, and IB600, brings a new level of innovation and versatility to photography enthusiasts. Known for their superior image quality, these models incorporate advanced technologies and features that cater to both amateur and professional photographers.The Sigma IB1100 stands out with its impressive 24-megapixel APS-C sensor that captures sharp and vibrant images with excellent detail. It is equipped with a fast hybrid autofocus system that ensures quick and accurate focusing, which is essential for capturing fleeting moments. Additionally, the IB1100 has an ISO range that stretches from 100 to 6400, allowing for superb performance in low-light conditions. This model also includes built-in image stabilization, which mitigates the effects of camera shake and enables sharper images, particularly during handheld shooting.
Meanwhile, the Sigma IB850 offers a slightly different approach with its innovative full-frame sensor. This model pushes the boundaries in terms of dynamic range and color reproduction. Its cutting-edge image processing engine enhances performance, resulting in stunningly realistic photographs. The IB850 features a weather-sealed body, making it resistant to dust and moisture, which is crucial for outdoor photography. Coupled with an extended battery life, this camera is designed for long shooting sessions in various environments.
The Sigma IB600, while more compact, does not compromise on quality. It employs a 16-megapixel sensor that delivers impressive results in a lightweight body, making it an ideal choice for travel and street photography. The IB600 incorporates a responsive touchscreen interface, allowing photographers to quickly access settings and focus points. This model also houses in-camera editing features, enabling users to apply filters and enhancements on-the-go without the need for external editing software.
All three models in the Sigma IB series utilize advanced connectivity options, including Wi-Fi and Bluetooth, allowing seamless transfer of images to smart devices. They also support remote shooting capabilities, making it easier to capture group shots or self-portraits. With a combination of build quality, innovative features, and advanced imaging technology, the Sigma IB1100, IB850, and IB600 are excellent choices for anyone serious about photography, ensuring that users can capture stunning images in any situation.

