Hy6 specifications
The Sinar Hy6 is a medium format camera that has garnered a reputation among photographers for its innovative design and advanced features. Characterized by its modular system, the Hy6 is ideal for both studio and location work, offering flexibility and ease of use that encourages creativity.One of the standout features of the Sinar Hy6 is its digital back compatibility. Designed to accommodate a range of digital backs, including those from Sinar itself and other manufacturers, the Hy6 ensures that photographers can use the latest imaging technologies without being tied to a specific system. This flexibility allows artists to choose the digital back that best suits their workflow, whether they prefer CCD or CMOS sensors.
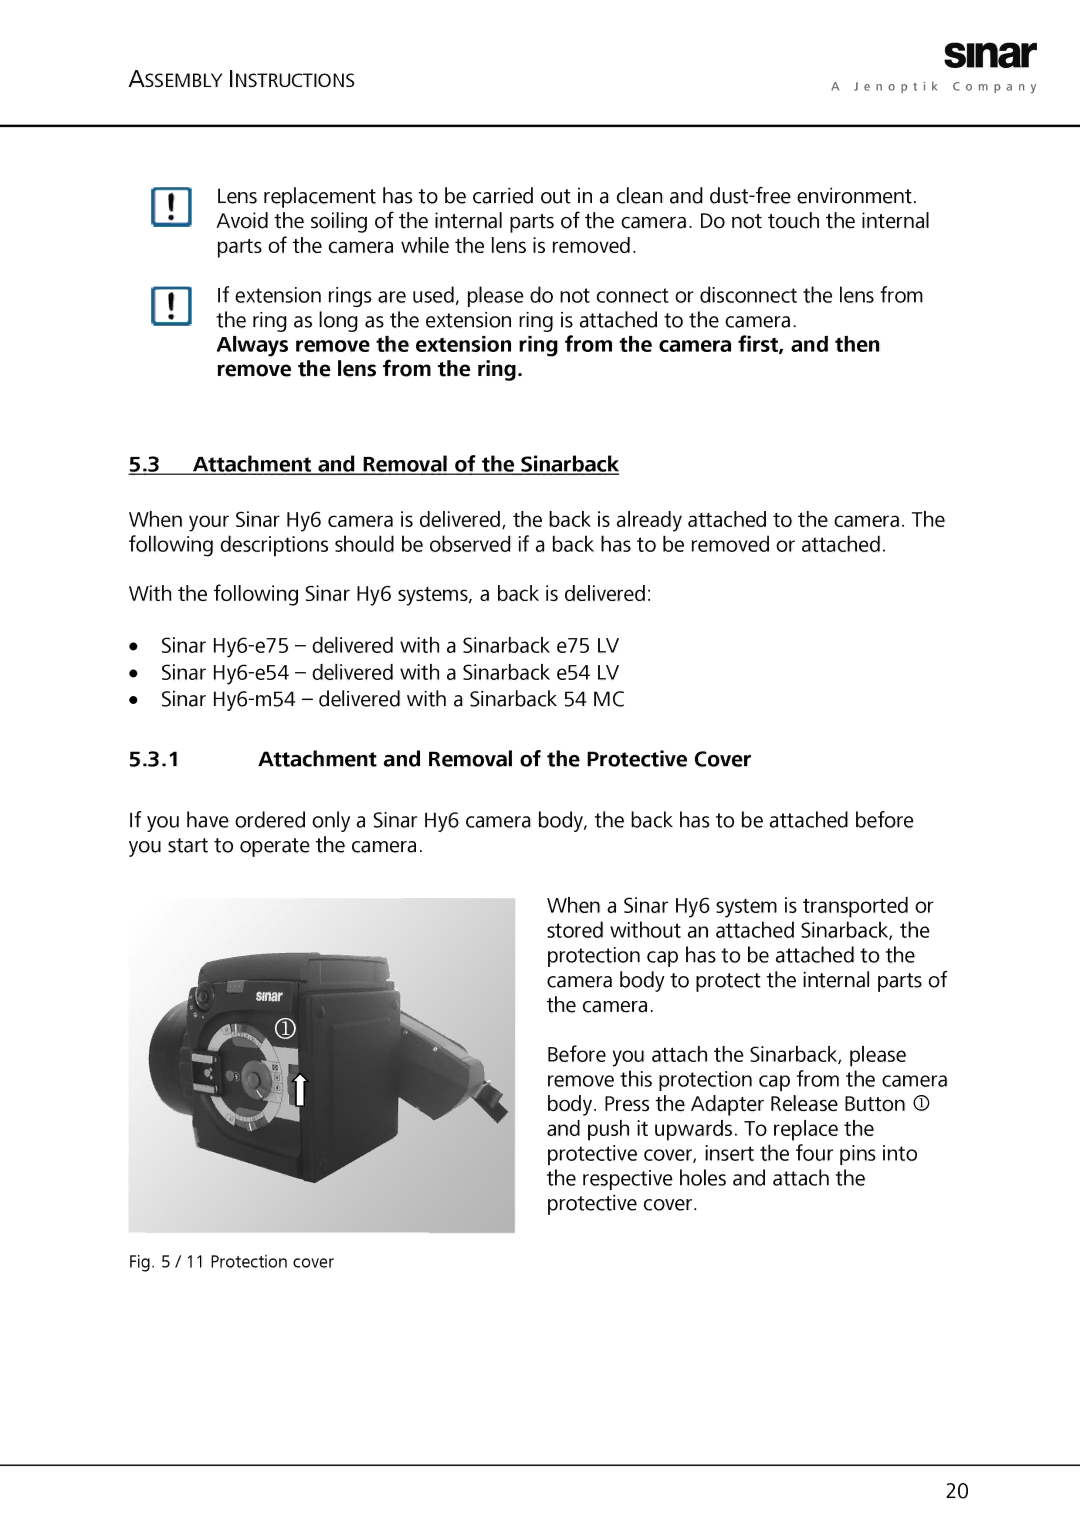
The camera boasts an impressive modular system which allows users to interchange various components. The camera body can be paired with different viewing platforms, including a waist-level viewfinder or an eye-level finder, catering to various shooting styles. Additionally, users can easily change lenses, supporting a variety of focal lengths including wide-angle, standard, and telephoto options. This modularity not only enhances functionality but also enables users to customize their kit according to specific projects or personal preferences.
Moreover, the Sinar Hy6 incorporates cutting-edge technologies such as an electronic shutter which facilitates silent operation, making it particularly suitable for sensitive environments. This electronic shutter can also synchronize with flash at high speeds, allowing for greater creative possibilities in studio and outdoor settings. The camera’s precise metering system aids photographers in achieving accurate exposures, even in challenging lighting conditions.
Another notable characteristic of the Sinar Hy6 is its ability to capture stunningly detailed images with a wide dynamic range. The medium format sensor produces high-resolution files that are ideal for large prints and detailed editing, ensuring that photographers achieve the desired quality for professional work. The camera also supports advanced imaging techniques, such as focus stacking, which is particularly useful in product photography and macro work.
In conclusion, the Sinar Hy6 represents a blend of innovation, flexibility, and high-quality performance in the medium format landscape. Its modular design, compatibility with various digital backs, and advanced imaging technologies make it a powerful tool for professionals seeking exceptional results in their photography endeavors. Whether in the studio or on location, the Hy6 stands out as a versatile option for capturing stunning images.