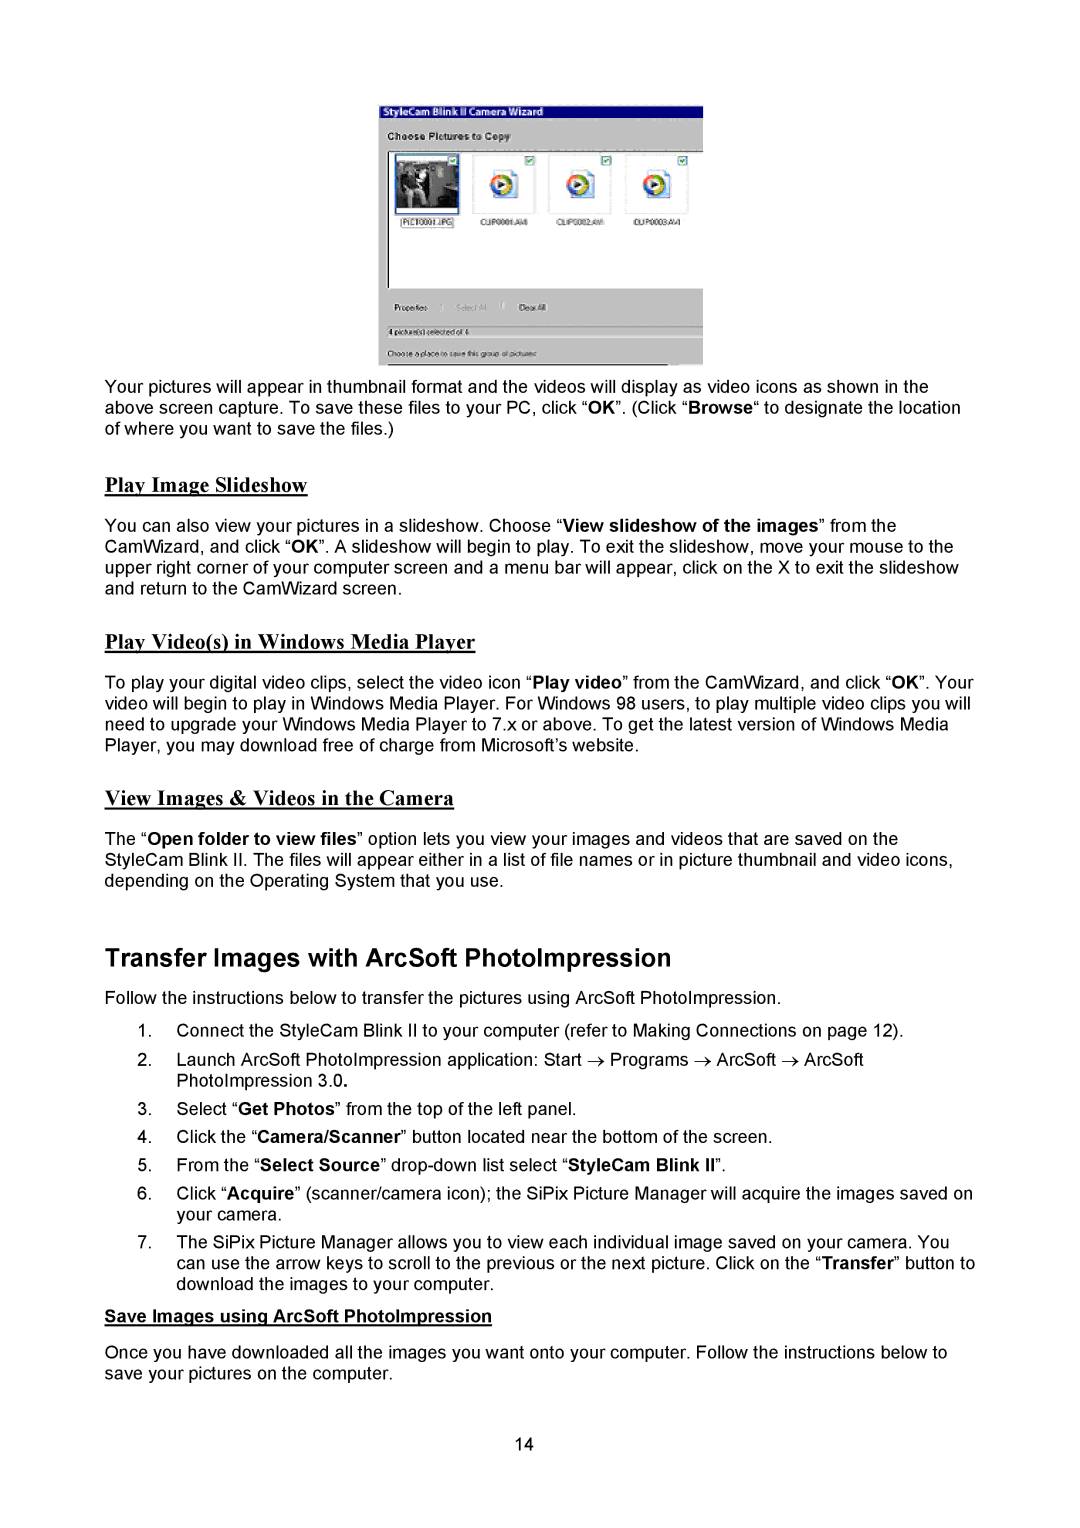
Your pictures will appear in thumbnail format and the videos will display as video icons as shown in the above screen capture. To save these files to your PC, click “OK”. (Click “Browse“ to designate the location of where you want to save the files.)
Play Image Slideshow
You can also view your pictures in a slideshow. Choose “View slideshow of the images” from the CamWizard, and click “OK”. A slideshow will begin to play. To exit the slideshow, move your mouse to the upper right corner of your computer screen and a menu bar will appear, click on the X to exit the slideshow and return to the CamWizard screen.
Play Video(s) in Windows Media Player
To play your digital video clips, select the video icon “Play video” from the CamWizard, and click “OK”. Your video will begin to play in Windows Media Player. For Windows 98 users, to play multiple video clips you will need to upgrade your Windows Media Player to 7.x or above. To get the latest version of Windows Media Player, you may download free of charge from Microsoft’s website.
View Images & Videos in the Camera
The “Open folder to view files” option lets you view your images and videos that are saved on the StyleCam Blink II. The files will appear either in a list of file names or in picture thumbnail and video icons, depending on the Operating System that you use.
Transfer Images with ArcSoft PhotoImpression
Follow the instructions below to transfer the pictures using ArcSoft PhotoImpression.
1.Connect the StyleCam Blink II to your computer (refer to Making Connections on page 12).
2.Launch ArcSoft PhotoImpression application: Start → Programs → ArcSoft → ArcSoft PhotoImpression 3.0.
3.Select “Get Photos” from the top of the left panel.
4.Click the “Camera/Scanner” button located near the bottom of the screen.
5.From the “Select Source”
6.Click “Acquire” (scanner/camera icon); the SiPix Picture Manager will acquire the images saved on your camera.
7.The SiPix Picture Manager allows you to view each individual image saved on your camera. You can use the arrow keys to scroll to the previous or the next picture. Click on the “Transfer” button to download the images to your computer.
Save Images using ArcSoft PhotoImpression
Once you have downloaded all the images you want onto your computer. Follow the instructions below to save your pictures on the computer.
14
