Adjustments
Blade Square to Fence
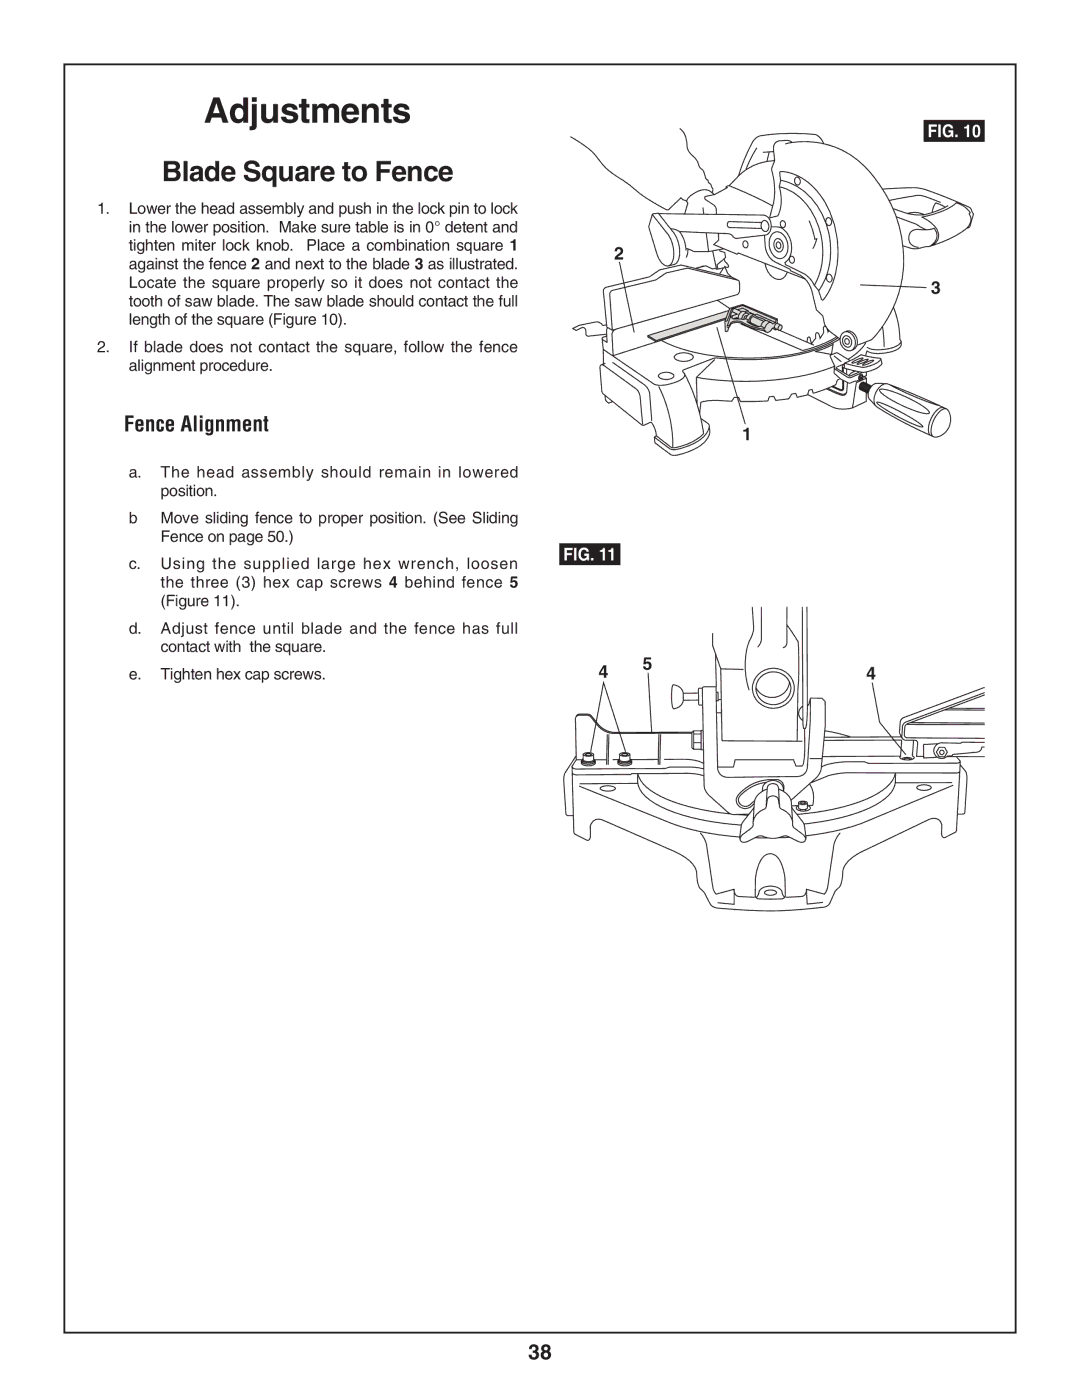
1.Lower the head assembly and push in the lock pin to lock in the lower position. Make sure table is in 0° detent and tighten miter lock knob. Place a combination square 1 against the fence 2 and next to the blade 3 as illustrated. Locate the square properly so it does not contact the tooth of saw blade. The saw blade should contact the full length of the square (Figure 10).
2.If blade does not contact the square, follow the fence alignment procedure.
Fence Alignment
a.The head assembly should remain in lowered position.
bMove sliding fence to proper position. (See Sliding Fence on page 50.)
c.Using the supplied large hex wrench, loosen the three (3) hex cap screws 4 behind fence 5 (Figure 11).
d.Adjust fence until blade and the fence has full contact with the square.
e.Tighten hex cap screws.
FIG. 10
2
![]() 3
3
1
FIG. 11
4 | 5 | 4 |
|
38