INSTALLING THE SWITCH
Installing an Optional Module into the Switch
Module
RPU
DC ![]() 12V 13A
12V 13A
Up
10G | Xenpak Module |
|
Diag
Link/Activity
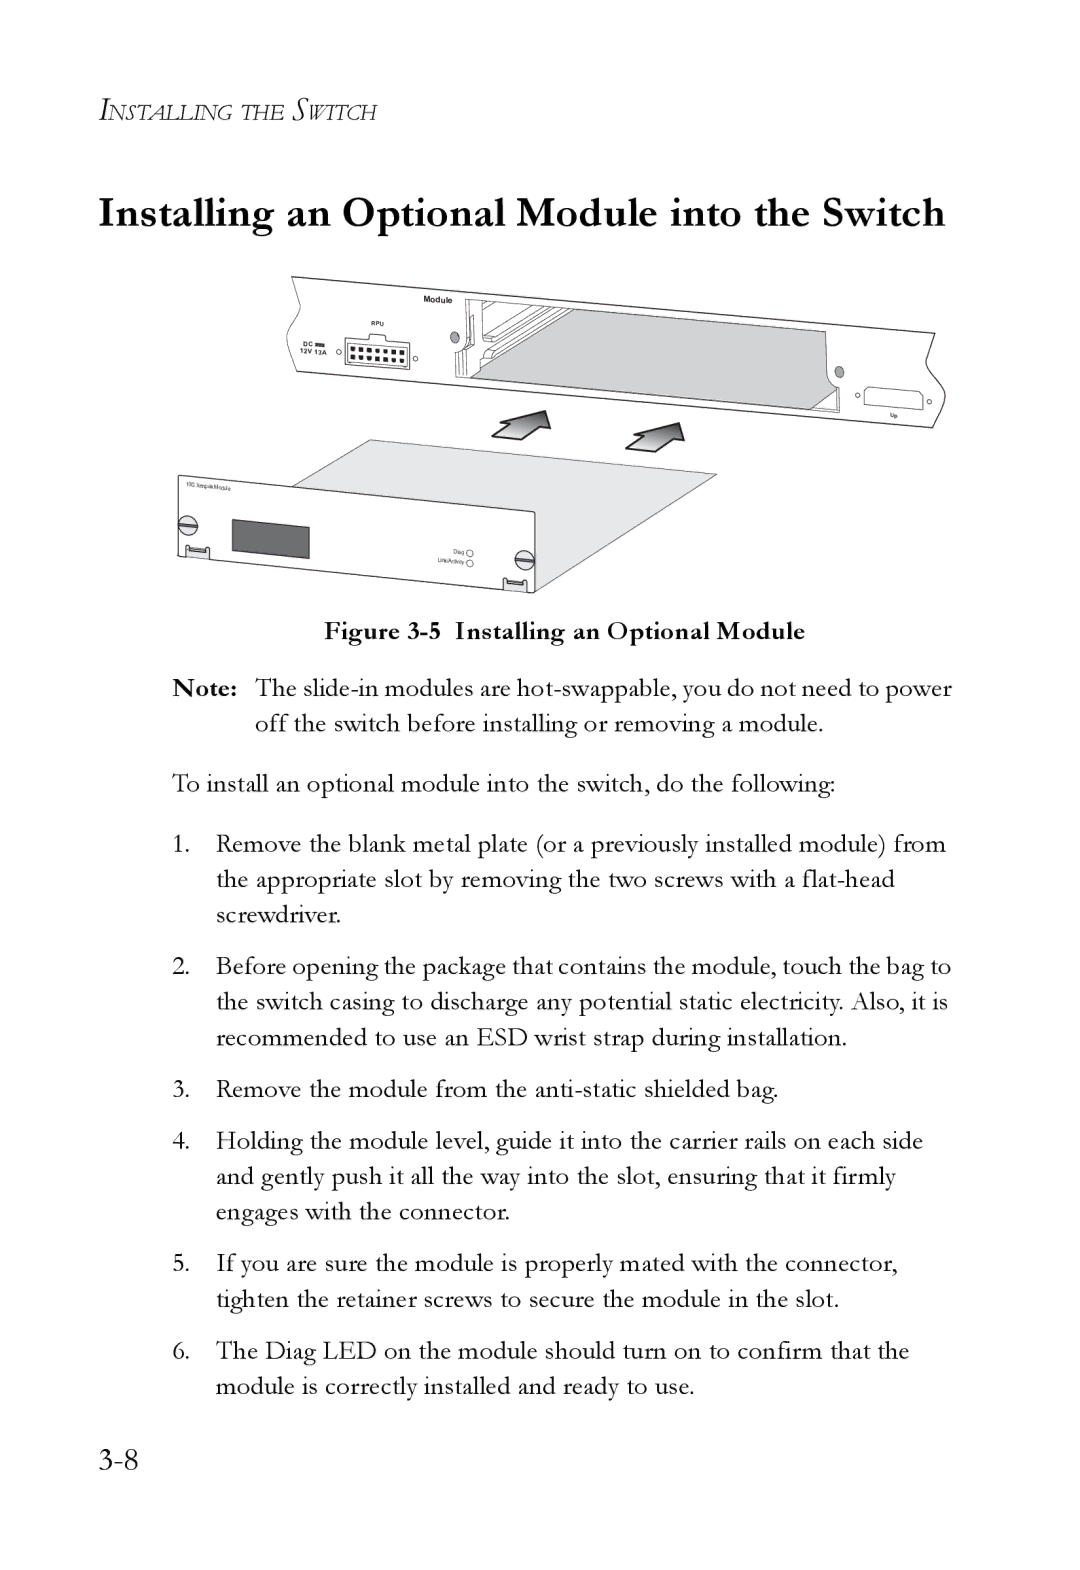
Figure 3-5 Installing an Optional Module
Note: The
To install an optional module into the switch, do the following:
1.Remove the blank metal plate (or a previously installed module) from the appropriate slot by removing the two screws with a
2.Before opening the package that contains the module, touch the bag to the switch casing to discharge any potential static electricity. Also, it is recommended to use an ESD wrist strap during installation.
3.Remove the module from the
4.Holding the module level, guide it into the carrier rails on each side and gently push it all the way into the slot, ensuring that it firmly engages with the connector.
5.If you are sure the module is properly mated with the connector, tighten the retainer screws to secure the module in the slot.
6.The Diag LED on the module should turn on to confirm that the
module is correctly installed and ready to use.