7800787, 7800786, 7800784, 7800785 specifications
The Snapper 7800 series, which includes models 7800787, 7800784, 7800785, and 7800786, represents a remarkable advancement in lawn care technology and design. These mowers are engineered for efficiency, durability, and ease of use, making them popular among both residential and commercial users.One standout feature across the Snapper 7800 series is the powerful Briggs & Stratton engine. This reliable engine is designed for optimal performance, enabling users to tackle even the toughest mowing tasks. With a range of horsepower options, each model provides ample power to handle various grass lengths and terrains, ensuring a clean and consistent cut every time.
The cutting deck on these models is another highlight. Snapper has integrated a robust, high-quality steel deck that not only promises longevity but also aids in superior grass handling. With a cutting width that varies by model, users can choose the size that best fits their lawn's dimensions. Additionally, the adjustable cutting height allows for customization, enabling users to achieve the perfect lawn finish.
Snapper's innovative engineering extends to its ergonomic design. The handles on the 7800 series are designed for comfort and usability, featuring easy-to-grip materials and adjustable heights to accommodate users of all sizes. This attention to user comfort reduces fatigue, ensuring that lawn maintenance can be completed efficiently.
Another impressive aspect is Snapper's commitment to technology. Some models in the 7800 series feature advanced self-propelling systems, allowing for effortless maneuvering over uneven terrain. The ease of use doesn’t stop there; these mowers come with a simple pull-start mechanism, and some models even offer an electric start option for added convenience.
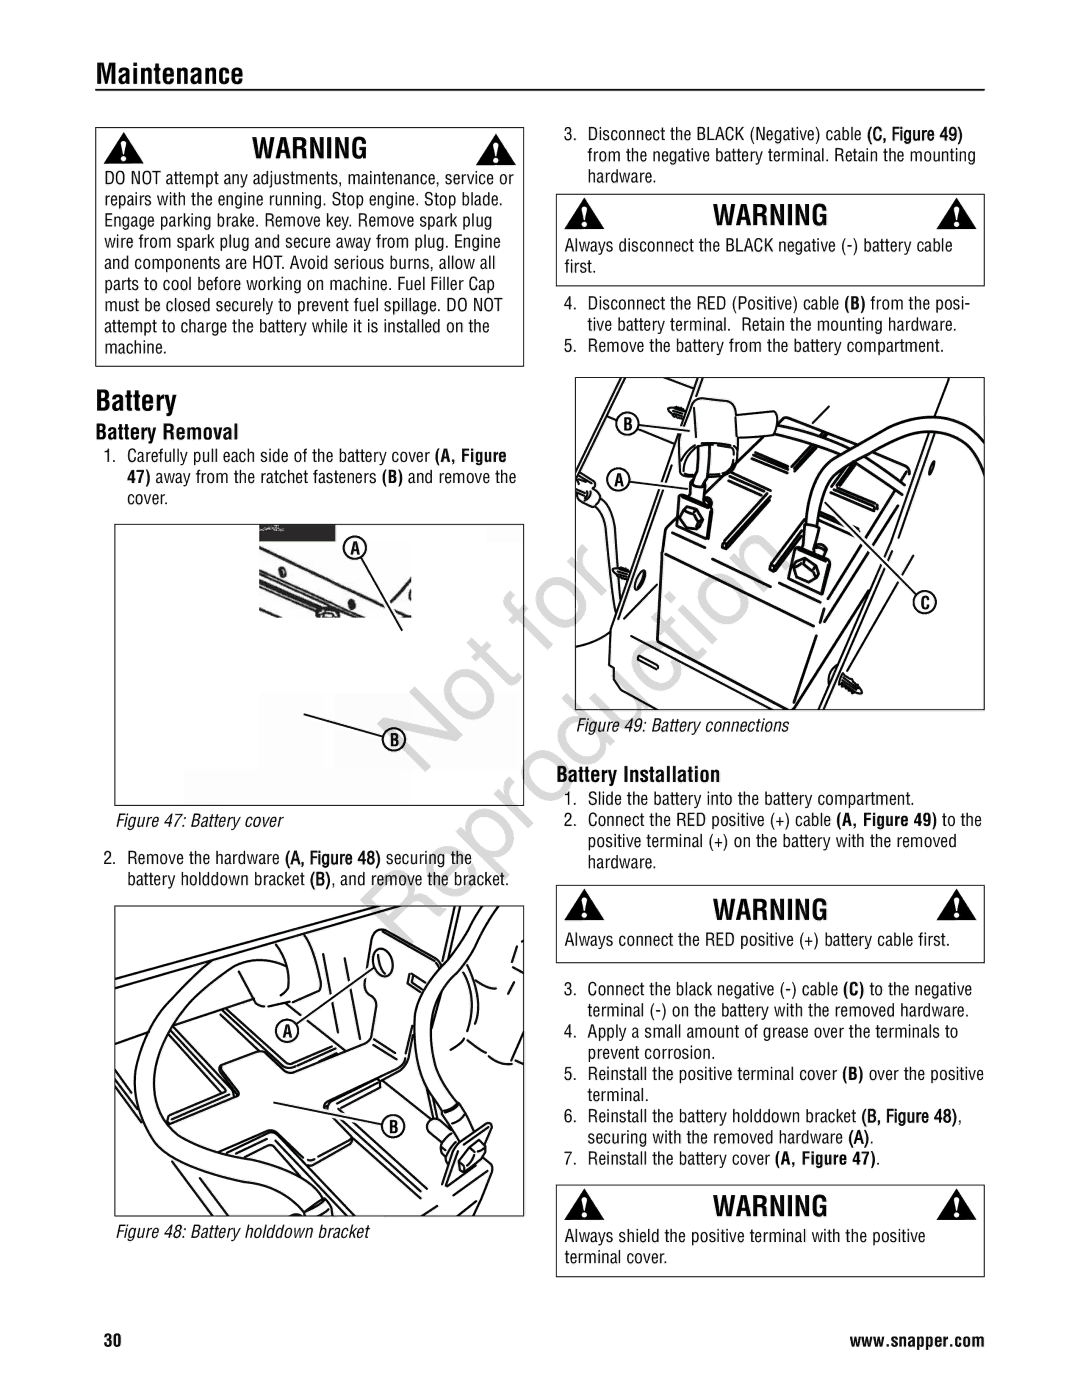
In terms of maintenance, the Snapper 7800 series is designed to be user-friendly. The easy-access design makes routine maintenance tasks, such as oil changes and air filter replacements, straightforward. This emphasis on straightforward upkeep helps ensure that the mower can operate at peak efficiency throughout its lifespan.
In conclusion, Snapper's 7800787, 7800784, 7800785, and 7800786 models collectively embody the future of lawn care technology. Their powerful engines, durable construction, ergonomic designs, and user-friendly features make them exceptional choices for anyone looking to maintain a pristine lawn. These mowers not only offer efficiency but also deliver results that homeowners and professionals alike can take pride in. Whether for residential use or commercial landscaping, the Snapper 7800 series stands out as a top-tier option in the mowing market.

