5 maintenance (cont.)
TROUBLESHOOTING:
•UNIT WILL NOT START: Check to make sure cutting blades are disengaged. Check to make sure transmission is in neutral. Check fuel and oil levels. Check to make sure throttle control engages engine choke when set to ‘start’ position; adjust if needed. Check all electrical connections for positive contact; repair or replace as necessary. If condition persists, contact dealer.
•UNIT STALLS WHEN CUTTING BLADES ENGAGED: Make sure safety handles are depressed when engaging blades. Check under handle dash to be sure safety rod depresses plunger on safety switch; adjust as necessary – see Safety Switch Rod Adjustment. Check all electrical connections for positive contact; repair or replace as necessary. If condition persists, contact dealer.
•UNIT STALLS WHEN TRANSMISSION ENGAGED: Make sure safety handles are depressed when engaging transmission. Check under handle dash to be sure safety rod depresses plunger on safety switch; adjust as necessary – see Safety Switch Rod Adjustment. Check all electrical connections for positive contact; repair or replace as necessary. If condition persists, contact dealer.
•BLADE CUT POOR: Replace blade. Note: See Cutting Blade Height Adjustment for proper spacer positioning when replacing blade.
•BLADE BELT SLIPPING.: See Blade Belt Adjustment.
•BLADE BELT VIBRATION: See Blade Belt Adjustment or Blade Deck Pulley Alignment.
•DRIVE BELTS SLIPPING: Check spring tension on each drive idler – spring at factory is
•DRIVE BELTS ROLL OFF IN REVERSE: See Drive Pulley Alignment.
ADJUSTMENTS:
Note: Before making any adjustments or repairs, place the shift lever in the neutral position and the lock brakes. Stop engine and disconnect spark plug wire.
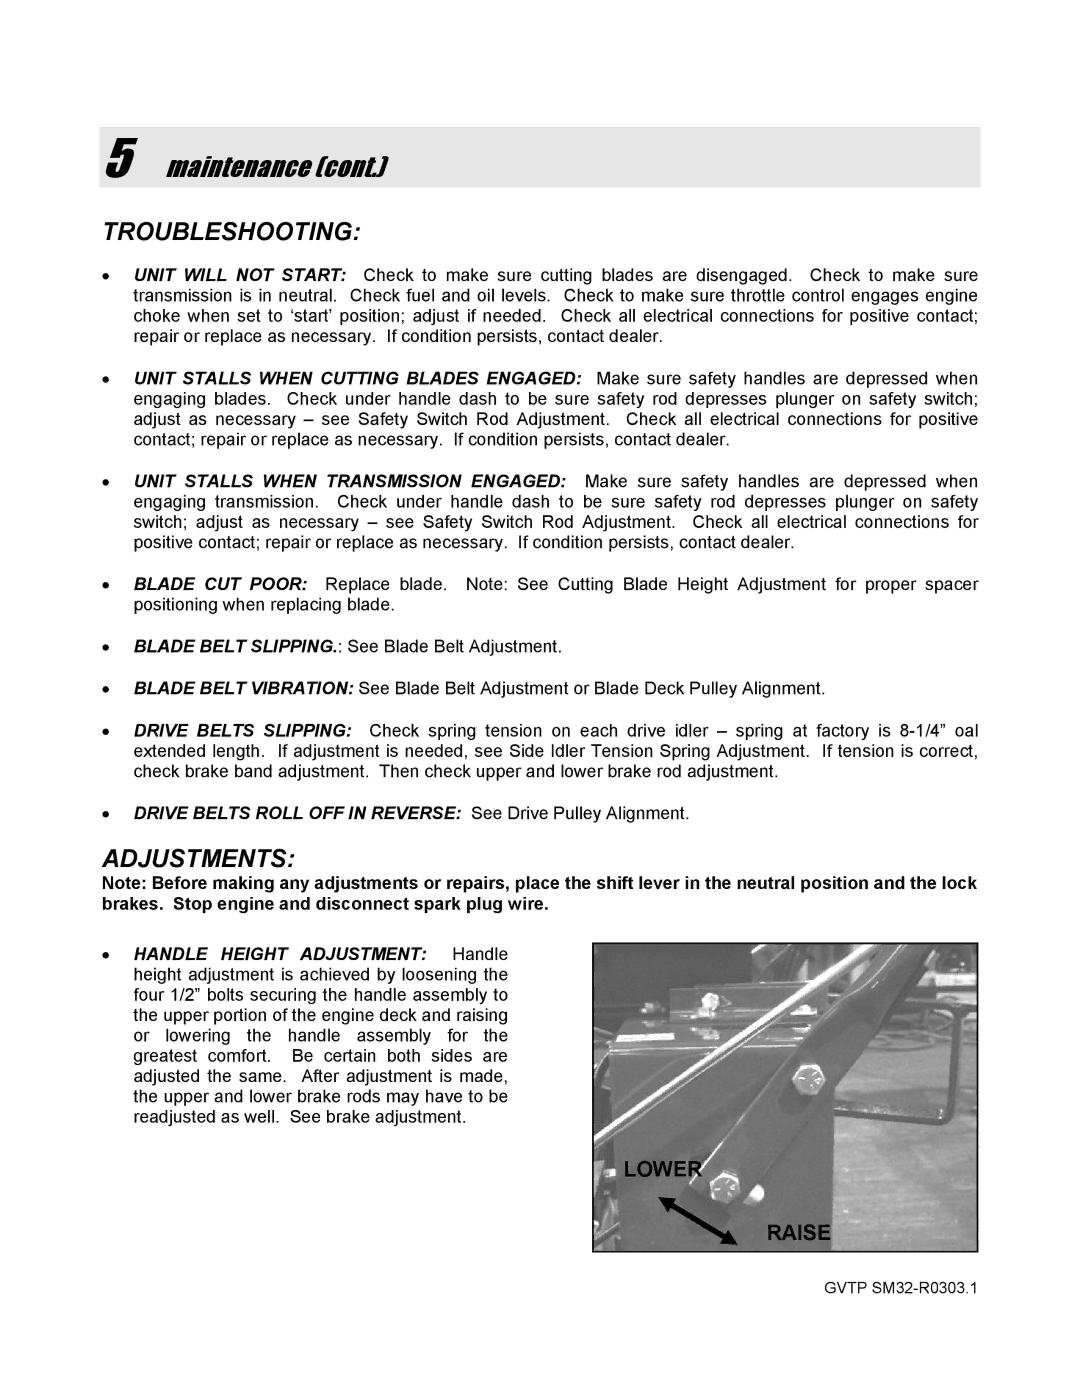
•HANDLE HEIGHT ADJUSTMENT: Handle height adjustment is achieved by loosening the four 1/2” bolts securing the handle assembly to the upper portion of the engine deck and raising or lowering the handle assembly for the greatest comfort. Be certain both sides are adjusted the same. After adjustment is made, the upper and lower brake rods may have to be readjusted as well. See brake adjustment.
LOWER
RAISE
GVTP