Call toll free I-800-BUY-AIWA
AC power cord
Setting the Clock Sleep Timer
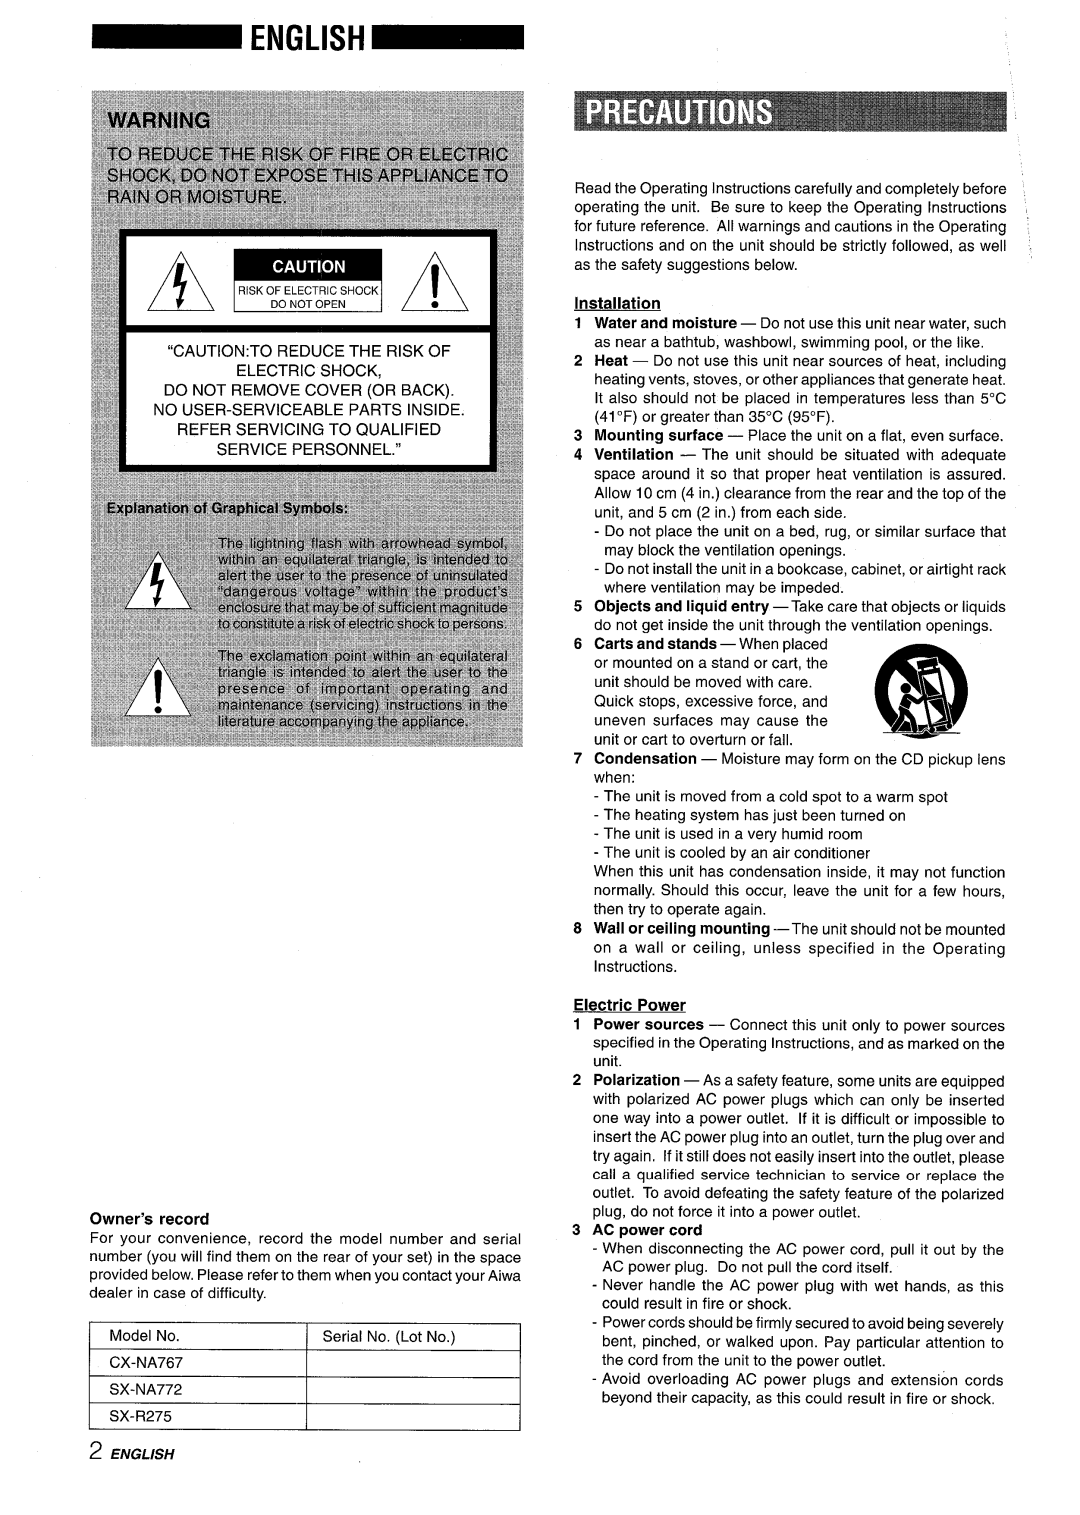
Precautions
Manual Tuning Presetting Stations
Connecting Optional Equipment Listening to External Sources
Connect the right and left speakers to the main Unit
Check your system and accessories
Before connecting the AC cord
Connect the surround speakers to the main unit
Connect the AC cord to an AC outlet
Positioning the Speakers
Connect the supplied antennas
To use Function on the remote control
When to replace the batteries
To use Shift on the remote control
+~ Preset on the remote control
Press Enter within 4 seconds
Setting Power Economizing Mode
Press ECO
Press twice to stop the remaining two numbers
To play the game Demo
Press +
To adjust the tempo of the rhythm pattern
Volume ‘ ‘
USING’THE Beat Function
Provided until you find-one that m&?ts the music
Turn Multi JOG
To change the volume level of the rhythm pattern
Using the Auto mode
To stop the Beat function
To select sounds
Using the Spice Function
Using the Fill in function
Press a
Until you complete step
Using a scratch mode
Using the Auto Spice function
Still holding down the button, turn Multi JOG
Press GEQ, followed by Enter within 4 seconds
Setting a NEW Equalization Curve Manually
Selecting the PROGi3AMMEDMK’ ‘
Within 8 seconds, press Enter
Memorizing the NEW Equalization Curves
Go through steps 1-4 on previous
Press TUNER/BAND repeatedly to select the desired band
To change the AM tuning interval
Presetnumber TUNING’ ’
When an FM stereo broadcast contains noise
Repeat steps 1
Press F to start play
Music Sensor
To play one disc only, press Disc Direct Play
Selecting a track with the remote control
CD EDI AOPEN/CLOSE~
Replacing discs during play
Random iREPEAT Play
BiANK SKIP’-PLAY’‘~‘‘~
Insert the tape to be recorded on into deck
Press REV Mode to select the reverse mode
Inserting Blank Spaces
Press REC/REC Mute to start recording
Press TAPE/DECK 1/2 to select deck
Press Sync DUB once or twice to start recording
Press CD and load the discs Press CD EDIT/CHECK ~
Press REC/REC Mute to start recording on the first side
Insert the tape into deck
Edit
Press O REC/REC Mute to start recording
Press CD and load the discs Press CD EDIT/CFIECK twice
Repeat for Rest of the tracks For Side
EDIT/CHECK
Vocal FADER/MULTIPLEX Functions
@ Cancel
Gcmocn$’-=$ ‘
Connect your microphone to MIC jack
Press CD and load the discs
Repeat to reserve other tracks Press F to start play
Press Clock
Press Enter or El
Timer Recording
Play the connected equipment
Line OUT Jacks
Press VIDEO/AUX or MD
Cassette Deck Section
General
Tuner Section
CD Player Section
Xhxd
Copyright
Page
La unidad se pase de un Iugar frio a uno caliente
Energia electrica
Precauciones
Sonido
DE CiNTAS
Control Remoto
Unidad principal
Compruebe su sistema y Ios accesorios
Conecte Ios altavoces derecho e izquierdo a la
Antes de conectar el cable de CA
Instalacion estandar
Conecte Ias antenas suministradas
Cmecte el cable de CA a una toma de CA
Para montar Iosi altavoces de sonido ambiental en la pared
Para desconectar la alimentacion
Para utilizar Shift del control remoto
Para conectar la alimentacion
Ventaniila parpadeante
Pulse Enter antes de que pasen 4 segundos
PUESTi ‘DEL MObO DE AliO’RRO QE Energia
Pulse ECO
De que pasen 4 segundos despues del paso
Demostracion del juego
SISTfEMA BBE
Control DE Volumen
Utilization DE LA Funcion Beat
Sistema Super T-BASS
Utilization del modo Auto
Gire Multi JOG
Para cambiar el nivel del sonido del patron de ritmo
Pulse Beat ON/OFF para activar la funcion
De forma similar, seleccione un sonido para B
Para seleccionar sonidos Utilization de la funcion Fill
Pulse a
Lbeat
Utilizaci6n de la funcicfn Auto Spice
Utilization de un modo de rayado
Sin soltar atln el bot6n, gire Multi JOG
Pulse Auto Spice
Rock ~ POP ~ Latin ~ Classic +JA,ZZ
SELEC6K2N DE LA Curva DE Ecijalizacion Programada
Pulse GEQ, seguido de Enter antes de que pasen 4 segundos
Pulse Down 0- UP para seleccionar una Emisora
Realice Ios pasos 1-4 de la pagina anterior
Pulse Enter antes de aue pasen 8 seaundos
Pulse Enter antes de aue pasen 8 seaundos
Repita Ios pasos 1 y
Sintonizacion Mediante Numero DE Preajuste
Una emisora
Seleccionar un numero de preajuste
=PUSH
PulseTAPE/DECK 1/2 y a Push Eject para abrir el portacasete
Pulse para iniciar la reproduction
Para seleccionar una platina de reproduction
We@
OPEN/CLOSE
Introduction DE Discos
JOG
Para comprobar el tiempo restante
Disco
Reproduction ALEATORL4/ Repetkxn DE Reproduction
REPRODLiCCION CON Salto DE Secciones EN Blanco
Pulse -41E-para iniciar la reproduction
Pulse REC/REC Mute para iniciar la grabacion
Pulse REV Mode para seleccionar el modo de inversion
Lnserte la cinta que vaya a grabar en la platina
Pulse el boton de funcion TUNER/BAND, Video
Pulse TAPE/DECK 1/2 para seleccionar la platina
‘i..,,, .,,,-+--II
We vaya a grabar en la platina
Pulse @ REC/REC Mute para iniciar la grabacion
Pulse Ios botones numerados O-9 del control
De la primera cara
Pulse dos veces CD EDIT/CHECK
Pulse Cil e introduzca ellos discos
Grabacion
Pulse 0 REC/REC Mute para iniciar la
FUNClONES DE Desvanecimiento DE VOZ/MULTIPLEX
Conecte su microfono a la toma MIC
Para comprobar Ias canciones reservadas
Ntimero del Disco que esta Disco de la Numero
Para ar?adir um reserva durante la reproduction
Para detener la reproduction
Pulse Enter o Il
Para cancelar el temporizador para dormir
Pulse Clock
Para reponer el ajuste original del reloj
Aparezca en el visualizador
Ajuste El volumen
GRABAClbN tiON’TEiiiPORIZADOR
Para comprobar el ajuste del temporizador
Tomas Line OUT
Tomas Super Woofers d
Tomas VIDEO/AUX
Toma CD Digital OUT Optical
Seccion DE LA Platina
Generalidades
Seccion DEL Sintonizador
Copyright Derechos DE Autor
Page
Installation
Releve du proprietaire
Egaliseur Graphique
EN CAS DE Probleme
Fonction Generation DE Rythme
Operations DE Base
Avant de brancher Ie cordon secteur
Controler la chaine et Ies accessoires
Connecter Ies enceintes surround a I’appareil principal
Surround Speakers R OU L
Connecter Ies antennes fournies
IL L---@
Connexion D’UNE Antenne Exterieure
13rancher Ie cordon secteur a une prise de courant
Pour utiliser Function de la telecommande
+P Preset de la telecommande
Appuyer sur Enter clans Ies quatre secondes
Mise EN Service DU Mode Economie D’IENERGIE
Appuyer sur ECO
Clock
Appuyer une fois sur
Utilisation du jeu Demo
Appuyer sur P
Appuyer deux fois sur pour arr&er Ies deux autres chiffres
Pour regler Ie temlpo du type de rythme
Appuyer sur Ibeat ON/OFF pour mettre la fonction en service
Utilisation DE LA Fonction Beat
Appr.ryer sur T-BASS
Appuyer sur Beat ON/OFF pour mettre la fonction en service
Pour changer Ie niveau du volume du type de rythme
Utilisation du mode Auto
Tourner Multi JOG
Appuyer sur a
Pour Utiliser LA Fonction Fill
Pour selectionner des sons
Appuyer sur Auto Spice
Utilisation d’un mode crissement
Tout en tenant encore la touche enfoncee, tourner
Appuyer sur Spice a
Dans Ies huit secondes, tourner Multi JOG pour
SELECTKND’UNE 60URBE
Courbe D’EGALISATION
Dans Ies huit secondes, appuyer sur Enter
Memorisation DES Nouvelles Courbes D’EGALISATION
Effectuer Ies etapes 1 a 4 de la page precedence
Appuyer sur ++ Down ou UP pour selectionner une station
Pour supprimer une station memorisee
Quand une emission FM stereo contient des parasites
Repeter Ies 6tapes 1 et
Appuyer sur + pour demarrer la lecture
Le ruban magnetique des cassettes de 120 minutes
Pour verifier Ie temps restant
Mise EN Place DE Disques
Close
Tout en appuyant sur Shift
Appuyer sur CD Blank Skip
Lecture ALEATOIRE/REPETEE
Lecture aleatoire
Appuyer sur F pour demarrer la lecture
Push Eject
Appuyer sur REV Mode pour selectionner Ie mode d’inversion
Insertion D’ESPACES Blancs
Reglage du son pendant I’enregistrement
Pour arr&er la duplication
Appuyer sur TAPE/DECK 1/2 pour selectionner la platine
Appuyer sur REC/REC Mute pour demarrer ’enregistrement
Pour arr~ter la duplication
Inserer la cassette clans la platine
Pour arrt$ter I’enregistrement
Repeter I’etape 5 pour Ie reste des plages de la face a
Appuyer sw . REC/REC Mute pour demarrer I’enregistrement
Pour changer Ie programme de chaque face
Fonctions Vocal Fadefumultiplex
Brancher Ie microphone a la prise MIC
~fi
Pour aiouter une
Pendant La lecture
Pour arr&er la lecture
Pour retablir un reglage initial de l’horloge
Appuyer sur Clock
Appuyer sur Sleep tout en appuyant sur Shift JOG hors
Pour passer au format de 24 heures
Appuyer sur Power pour mettre I’appareil hors ten-sion
EN Registrement Commande PAR Minuterie
Regler Ie volume
Preparer la source
Mettre I’appareil connecte en lecture
Prises Super Woofers
Appuyer sur VIDEO/AUX ou MD
Partie Magnetocassette
Generalities
Partie Tuner
Partie Lecteur DE Disques Compacts
Droits D’AUTEUR
Partie magnetocassette
Ilow
Page
Page/Pagina/Page