Automatic Grade Match
The Grade Match mode can be activated in horizontal automatic and manual mode.
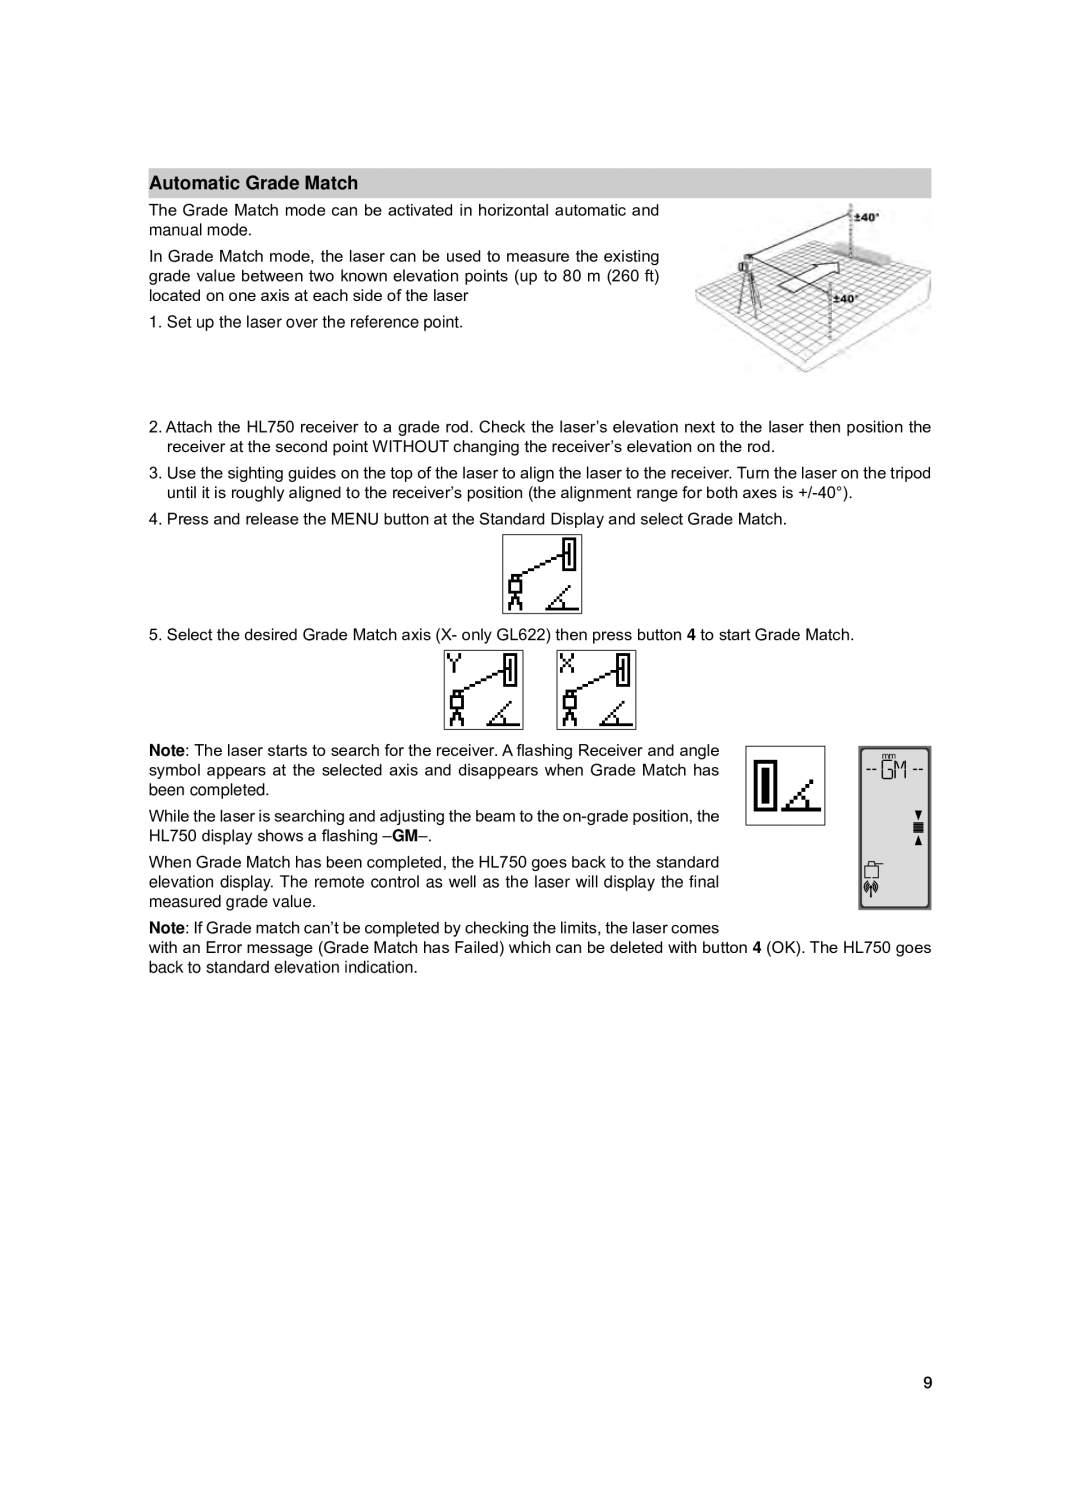
In Grade Match mode, the laser can be used to measure the existing grade value between two known elevation points (up to 80 m (260 ft) located on one axis at each side of the laser
1.Set up the laser over the reference point.
2.Attach the HL750 receiver to a grade rod. Check the laser’s elevation next to the laser then position the receiver at the second point WITHOUT changing the receiver’s elevation on the rod.
3.Use the sighting guides on the top of the laser to align the laser to the receiver. Turn the laser on the tripod until it is roughly aligned to the receiver’s position (the alignment range for both axes is
4.Press and release the MENU button at the Standard Display and select Grade Match.
5.Select the desired Grade Match axis (X- only GL622) then press button 4 to start Grade Match.
Note: The laser starts to search for the receiver. A flashing Receiver and angle |
| mm |
| ||
symbol appears at the selected axis and disappears when Grade Match has |
|
|
been completed. |
|
|
While the laser is searching and adjusting the beam to the
HL750 display shows a flashing
When Grade Match has been completed, the HL750 goes back to the standard elevation display. The remote control as well as the laser will display the final measured grade value.
Note: If Grade match can’t be completed by checking the limits, the laser comes
with an Error message (Grade Match has Failed) which can be deleted with button 4 (OK). The HL750 goes back to standard elevation indication.
9