4 | OPERATION |
4.1 INITIAL PROCEDURE
NOTE
Never key the transceiver without an antenna connected. Damage may occur to the transceiver. Do not operate the transceiver while charging.
1.Install the belt clip on the transceiver if desired. Use the 2
2.Install the nylon carrying strap on the belt clip if desired.
3.Install the battery pack on the transceiver. (see figure 4 and section 5.2)
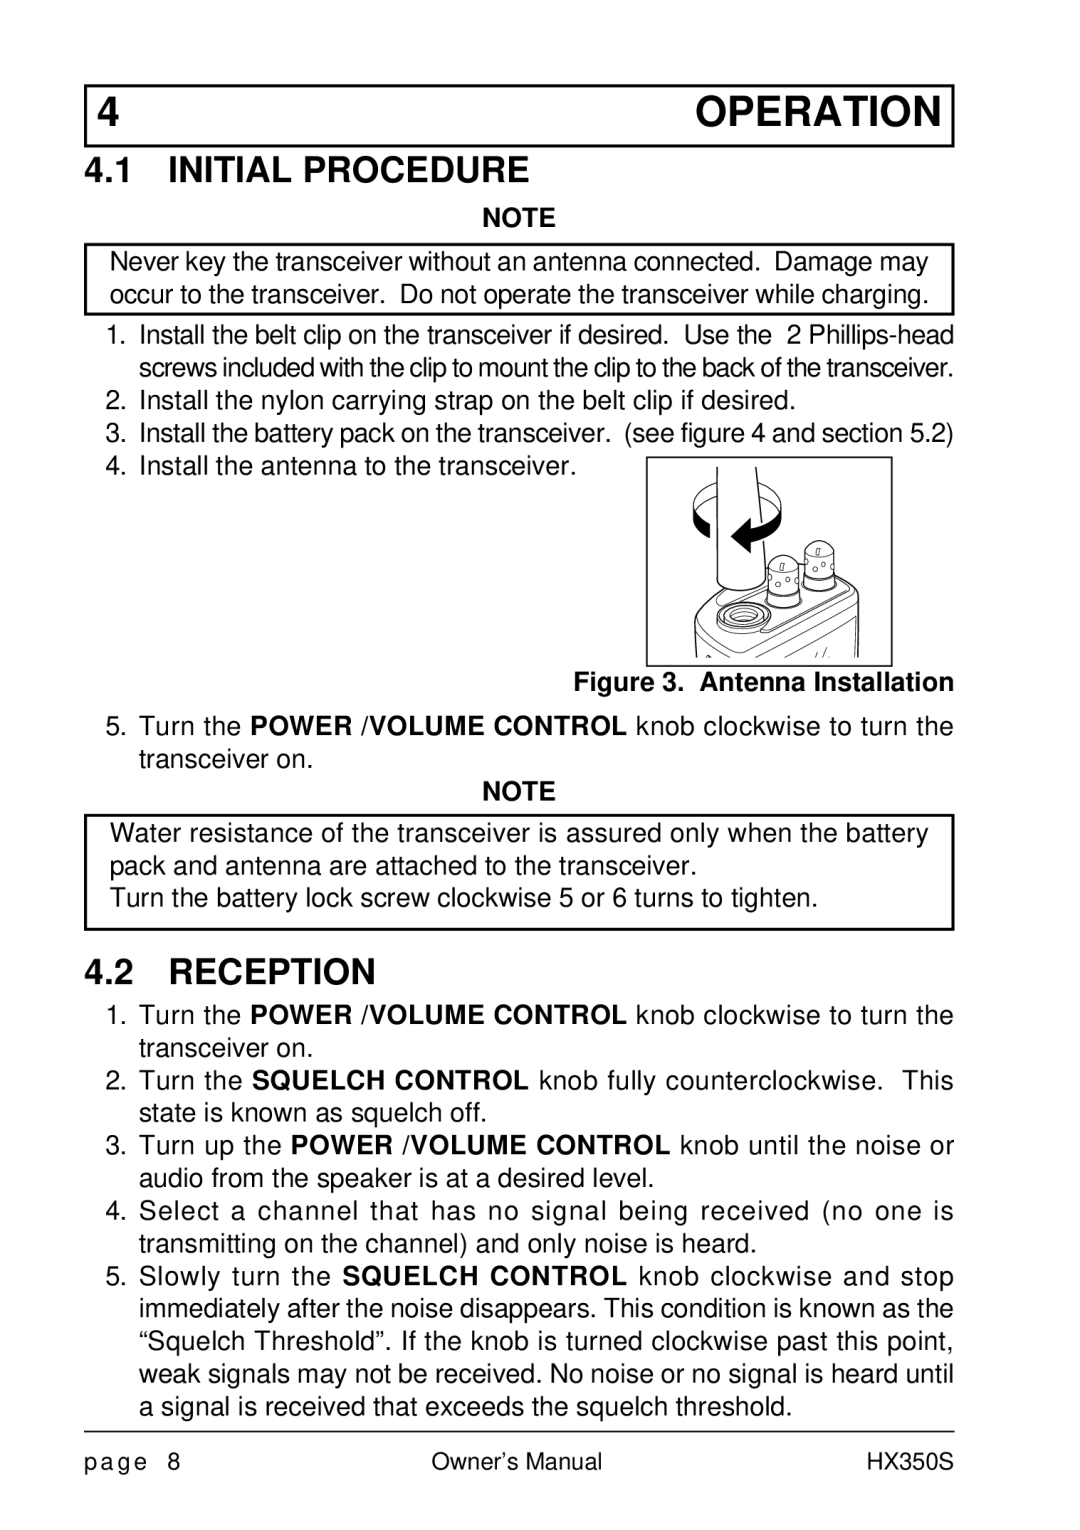
4.Install the antenna to the transceiver.
Figure 3. Antenna Installation
5.Turn the POWER /VOLUME CONTROL knob clockwise to turn the transceiver on.
NOTE
Water resistance of the transceiver is assured only when the battery pack and antenna are attached to the transceiver.
Turn the battery lock screw clockwise 5 or 6 turns to tighten.
4.2 RECEPTION
1.Turn the POWER /VOLUME CONTROL knob clockwise to turn the transceiver on.
2.Turn the SQUELCH CONTROL knob fully counterclockwise. This state is known as squelch off.
3.Turn up the POWER /VOLUME CONTROL knob until the noise or audio from the speaker is at a desired level.
4.Select a channel that has no signal being received (no one is transmitting on the channel) and only noise is heard.
5.Slowly turn the SQUELCH CONTROL knob clockwise and stop immediately after the noise disappears. This condition is known as the “Squelch Threshold”. If the knob is turned clockwise past this point, weak signals may not be received. No noise or no signal is heard until a signal is received that exceeds the squelch threshold.
p a g e 8 | Owner’s Manual | HX350S |
