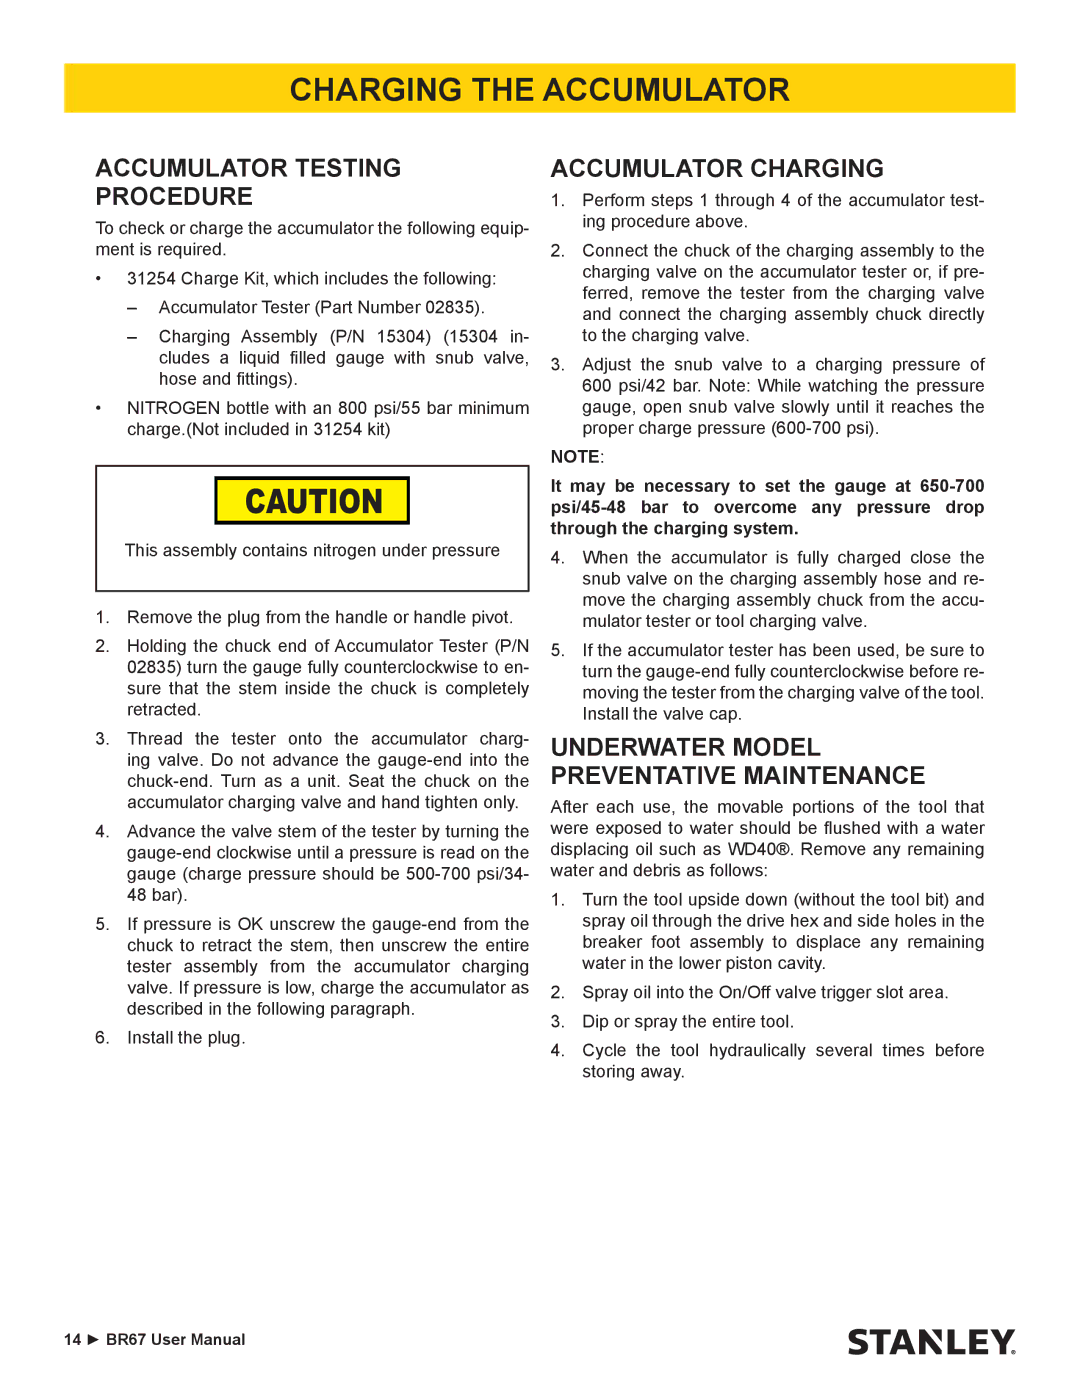
Stanley Black & Decker BR67 manual Charging the Accumulator, Accumulator Testing Procedure

Models: BR67

1 26
Download 26 pages 20.89 Kb
Page 14
Image 14

CHARGING THE ACCUMULATOR

ACCUMULATOR TESTING

PROCEDURE

To check or charge the accumulator the following equip- ment is required.

31254 Charge Kit, which includes the following:

––Accumulator Tester (Part Number 02835).

––Charging Assembly (P/N 15304) (15304 in- cludes a liquid filled gauge with snub valve, hose and fittings).

NITROGEN bottle with an 800 psi/55 bar minimum charge.(Not included in 31254 kit)

CAUTION

This assembly contains nitrogen under pressure

1.Remove the plug from the handle or handle pivot.

2.Holding the chuck end of Accumulator Tester (P/N 02835) turn the gauge fully counterclockwise to en- sure that the stem inside the chuck is completely retracted.

3.Thread the tester onto the accumulator charg- ing valve. Do not advance the gauge-end into the chuck-end. Turn as a unit. Seat the chuck on the accumulator charging valve and hand tighten only.

4.Advance the valve stem of the tester by turning the gauge-end clockwise until a pressure is read on the gauge (charge pressure should be 500-700 psi/34- 48 bar).

5.If pressure is OK unscrew the gauge-end from the chuck to retract the stem, then unscrew the entire tester assembly from the accumulator charging valve. If pressure is low, charge the accumulator as described in the following paragraph.

6.Install the plug.

ACCUMULATOR CHARGING

1.Perform steps 1 through 4 of the accumulator test- ing procedure above.

2.Connect the chuck of the charging assembly to the charging valve on the accumulator tester or, if pre- ferred, remove the tester from the charging valve and connect the charging assembly chuck directly to the charging valve.

3.Adjust the snub valve to a charging pressure of 600 psi/42 bar. Note: While watching the pressure gauge, open snub valve slowly until it reaches the proper charge pressure (600-700 psi).

NOTE:

It may be necessary to set the gauge at 650-700 psi/45-48 bar to overcome any pressure drop through the charging system.

4.When the accumulator is fully charged close the snub valve on the charging assembly hose and re- move the charging assembly chuck from the accu- mulator tester or tool charging valve.

5.If the accumulator tester has been used, be sure to turn the gauge-end fully counterclockwise before re- moving the tester from the charging valve of the tool. Install the valve cap.

UNDERWATER MODEL PREVENTATIVE MAINTENANCE

After each use, the movable portions of the tool that were exposed to water should be flushed with a water displacing oil such as WD40®. Remove any remaining water and debris as follows:

1.Turn the tool upside down (without the tool bit) and spray oil through the drive hex and side holes in the breaker foot assembly to displace any remaining water in the lower piston cavity.

2.Spray oil into the On/Off valve trigger slot area.

3.Dip or spray the entire tool.

4.Cycle the tool hydraulically several times before storing away.

14 ► BR67 User Manual

Page 14
Image 14
Stanley Black & Decker BR67 manual Charging the Accumulator, Accumulator Testing Procedure, Accumulator Charging

BR67 specifications

The Stanley Black & Decker BR67 is a cutting-edge tool that exemplifies the company's commitment to innovation and performance in the power tool industry. This robust and versatile tool is designed for both professionals and DIY enthusiasts, providing unmatched reliability for various applications.

One of the most notable features of the BR67 is its powerful motor, which delivers consistent performance across tough jobs. This motor can provide sufficient torque for a range of applications, whether you are working on woodworking, metalworking, or construction tasks. With its impressive power output, users can expect efficiency and speed, ensuring jobs get completed on time.

The BR67 also incorporates advanced technology aimed at improving user experience. Its ergonomic design ensures that it is comfortable to handle, allowing for prolonged use without causing fatigue. The handle is designed to provide a secure grip, reducing the risk of slippage during operation. This design feature is crucial for maintaining precision and control, especially in intricate projects.

One of the standout characteristics of the BR67 is its versatility. Equipped with various settings and modes, it can adapt to different materials and applications easily. Whether you need to drill holes, drive screws, or undertake more complex tasks, this tool can adjust to meet the demands of each project. This adaptability makes it an excellent choice for professionals who require a multi-functional tool.

Moreover, the BR67 boasts a robust build quality, ensuring durability for extended usage. The materials used in its construction are designed to withstand wear and tear, making it suitable for demanding environments. Additionally, this tool's maintenance-free design means less time spent on upkeep, allowing users to focus on their work.

In terms of safety, the BR67 is equipped with multiple protective features, including overload protection and an integrated safety switch. These elements help to minimize risks associated with power tools, making it a safer option for users.

Overall, the Stanley Black & Decker BR67 presents a powerful combination of performance, versatility, and user-friendly features. Its engineering reflects the brand's reputation for producing high-quality tools that meet the needs of various professionals and enthusiasts. Whether in a workshop or at a job site, the BR67 is an invaluable asset that enhances productivity and encourages precision in every task.