(4)Position the roll paper straight and close the printer cover gently.
Note 1: Make sure that the paper is positioned straight. If the printer cover is closed with the paper skewed, a paper jam may result.
Note 2: Lock the printer cover by pressing on the center of the cover. If any part of the cover other than the center is pressed, the cover may not be locked properly. This may sometimes disable printing.
(5)Set the power switch to on to turn on power to the printer. Make sure that the ERROR LED is not lit.
Note: While the ERROR LED is lit, the printer will not accept any commands such as the print command, so make sure that the printer cover is locked properly.
7-3. Releasing a Locked Cutter
If the auto cutter locks up or fails to cut the paper, follow the steps below.
Caution
Since working on the cutter may be dangerous, be sure to turn off the printer first.
(1)Set the power switch to OFF to turn off the printer.
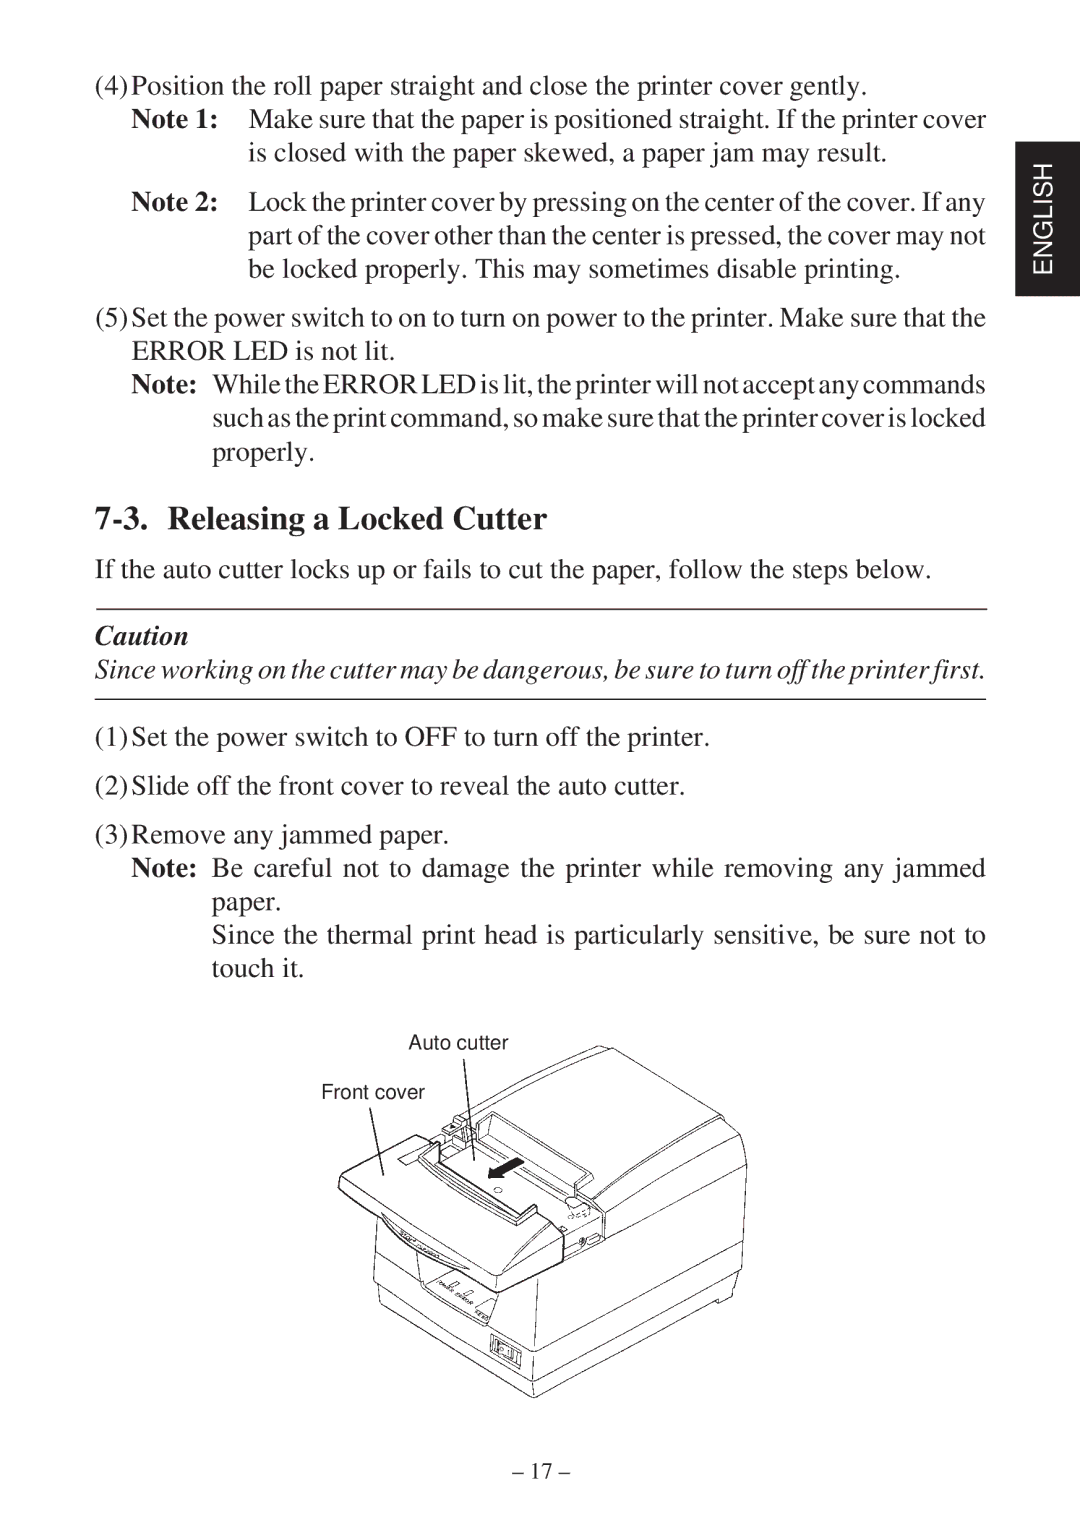
(2)Slide off the front cover to reveal the auto cutter.
(3)Remove any jammed paper.
Note: Be careful not to damage the printer while removing any jammed paper.
Since the thermal print head is particularly sensitive, be sure not to touch it.
Auto cutter
Front cover
ENGLISH
– 17 –