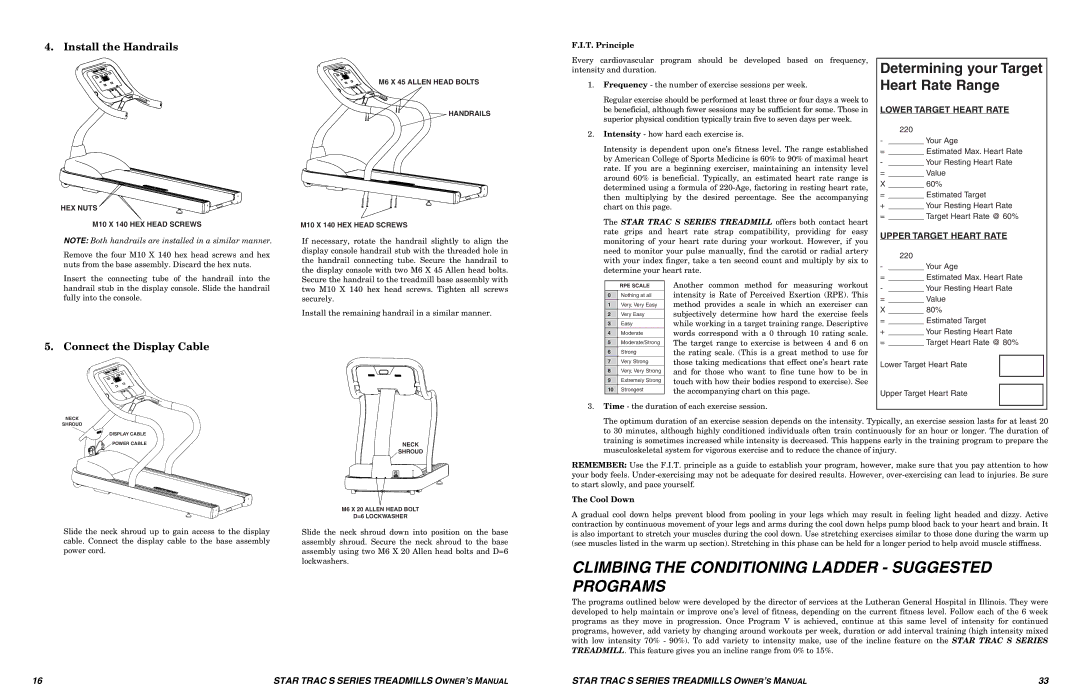
4. Install the Handrails
HEX NUTS
M10 X 140 HEX HEAD SCREWS
NOTE: Both handrails are installed in a similar manner.
Remove the four M10 X 140 hex head screws and hex nuts from the base assembly. Discard the hex nuts.
M6 X 45 ALLEN HEAD BOLTS
![]() HANDRAILS
HANDRAILS
M10 X 140 HEX HEAD SCREWS
If necessary, rotate the handrail slightly to align the display console handrail stub with the threaded hole in the handrail connecting tube. Secure the handrail to the display console with two M6 X 45 Allen head bolts.
F.I.T. Principle
Every cardiovascular program should be developed based on frequency, intensity and duration.
1.Frequency - the number of exercise sessions per week.
Regular exercise should be performed at least three or four days a week to be beneficial, although fewer sessions may be sufficient for some. Those in superior physical condition typically train five to seven days per week.
2.Intensity - how hard each exercise is.
Intensity is dependent upon one’s fitness level. The range established by American College of Sports Medicine is 60% to 90% of maximal heart rate. If you are a beginning exerciser, maintaining an intensity level around 60% is beneficial. Typically, an estimated heart rate range is determined using a formula of
The STAR TRAC S SERIES TREADMILL offers both contact heart rate grips and heart rate strap compatibility, providing for easy monitoring of your heart rate during your workout. However, if you need to monitor your pulse manually, find the carotid or radial artery with your index finger, take a ten second count and multiply by six to determine your heart rate.
Determining your Target Heart Rate Range
LOWER TARGET HEART RATE
220
- ________ Your Age
=________ Estimated Max. Heart Rate - ________ Your Resting Heart Rate
=________ Value
X ________ 60%
= ________ Estimated Target
+________ Your Resting Heart Rate = ________ Target Heart Rate @ 60%
UPPER TARGET HEART RATE
220
- ________ Your Age
Insert the connecting tube of the handrail into the handrail stub in the display console. Slide the handrail fully into the console.
Secure the handrail to the treadmill base assembly with two M10 X 140 hex head screws. Tighten all screws securely.
Install the remaining handrail in a similar manner.
| RPE SCALE |
0 | Nothing at all |
1 | Very, Very Easy |
2 | Very Easy |
3 | Easy |
|
|
Another common method for measuring workout intensity is Rate of Perceived Exertion (RPE). This method provides a scale in which an exerciser can subjectively determine how hard the exercise feels while working in a target training range. Descriptive
=________ Estimated Max. Heart Rate - ________ Your Resting Heart Rate
=________ Value
X ________ 80%
= ________ Estimated Target
5. Connect the Display Cable
4 | Moderate |
5 | Moderate/Strong |
6 | Strong |
7 | Very Strong |
8 | Very, Very Strong |
9 | Extremely Strong |
10 | Strongest |
|
|
words correspond with a 0 through 10 rating scale. The target range to exercise is between 4 and 6 on the rating scale. (This is a great method to use for those taking medications that effect one’s heart rate and for those who want to fine tune how to be in touch with how their bodies respond to exercise). See the accompanying chart on this page.
+________ Your Resting Heart Rate = ________ Target Heart Rate @ 80%
Lower Target Heart Rate
Upper Target Heart Rate
3.Time - the duration of each exercise session.
NECK
SHROUD
DISPLAY CABLE
POWER CABLE
Slide the neck shroud up to gain access to the display cable. Connect the display cable to the base assembly power cord.
NECK
SHROUD
M6 X 20 ALLEN HEAD BOLT
D=6 LOCKWASHER
Slide the neck shroud down into position on the base assembly shroud. Secure the neck shroud to the base assembly using two M6 X 20 Allen head bolts and D=6 lockwashers.
The optimum duration of an exercise session depends on the intensity. Typically, an exercise session lasts for at least 20 to 30 minutes, although highly conditioned individuals often train continuously for an hour or longer. The duration of training is sometimes increased while intensity is decreased. This happens early in the training program to prepare the musculoskeletal system for vigorous exercise and to reduce the chance of injury.
REMEMBER: Use the F.I.T. principle as a guide to establish your program, however, make sure that you pay attention to how your body feels.
The Cool Down
A gradual cool down helps prevent blood from pooling in your legs which may result in feeling light headed and dizzy. Active contraction by continuous movement of your legs and arms during the cool down helps pump blood back to your heart and brain. It is also important to stretch your muscles during the cool down. Use stretching exercises similar to those done during the warm up (see muscles listed in the warm up section). Stretching in this phase can be held for a longer period to help avoid muscle stiffness.
CLIMBING THE CONDITIONING LADDER - SUGGESTED PROGRAMS
The programs outlined below were developed by the director of services at the Lutheran General Hospital in Illinois. They were developed to help maintain or improve one’s level of fitness, depending on the current fitness level. Follow each of the 6 week programs as they move in progression. Once Program V is achieved, continue at this same level of intensity for continued programs, however, add variety by changing around workouts per week, duration or add interval training (high intensity mixed with low intensity 70% - 90%). To add variety to intensity make, use of the incline feature on the STAR TRAC S SERIES TREADMILL. This feature gives you an incline range from 0% to 15%.
16 | STAR TRAC S SERIES TREADMILLS OWNER’S MANUAL |
STAR TRAC S SERIES TREADMILLS OWNER’S MANUAL | 33 |
