STEP 1. HANGING THE CASE
Figure 2: Wall mount using optional brackets
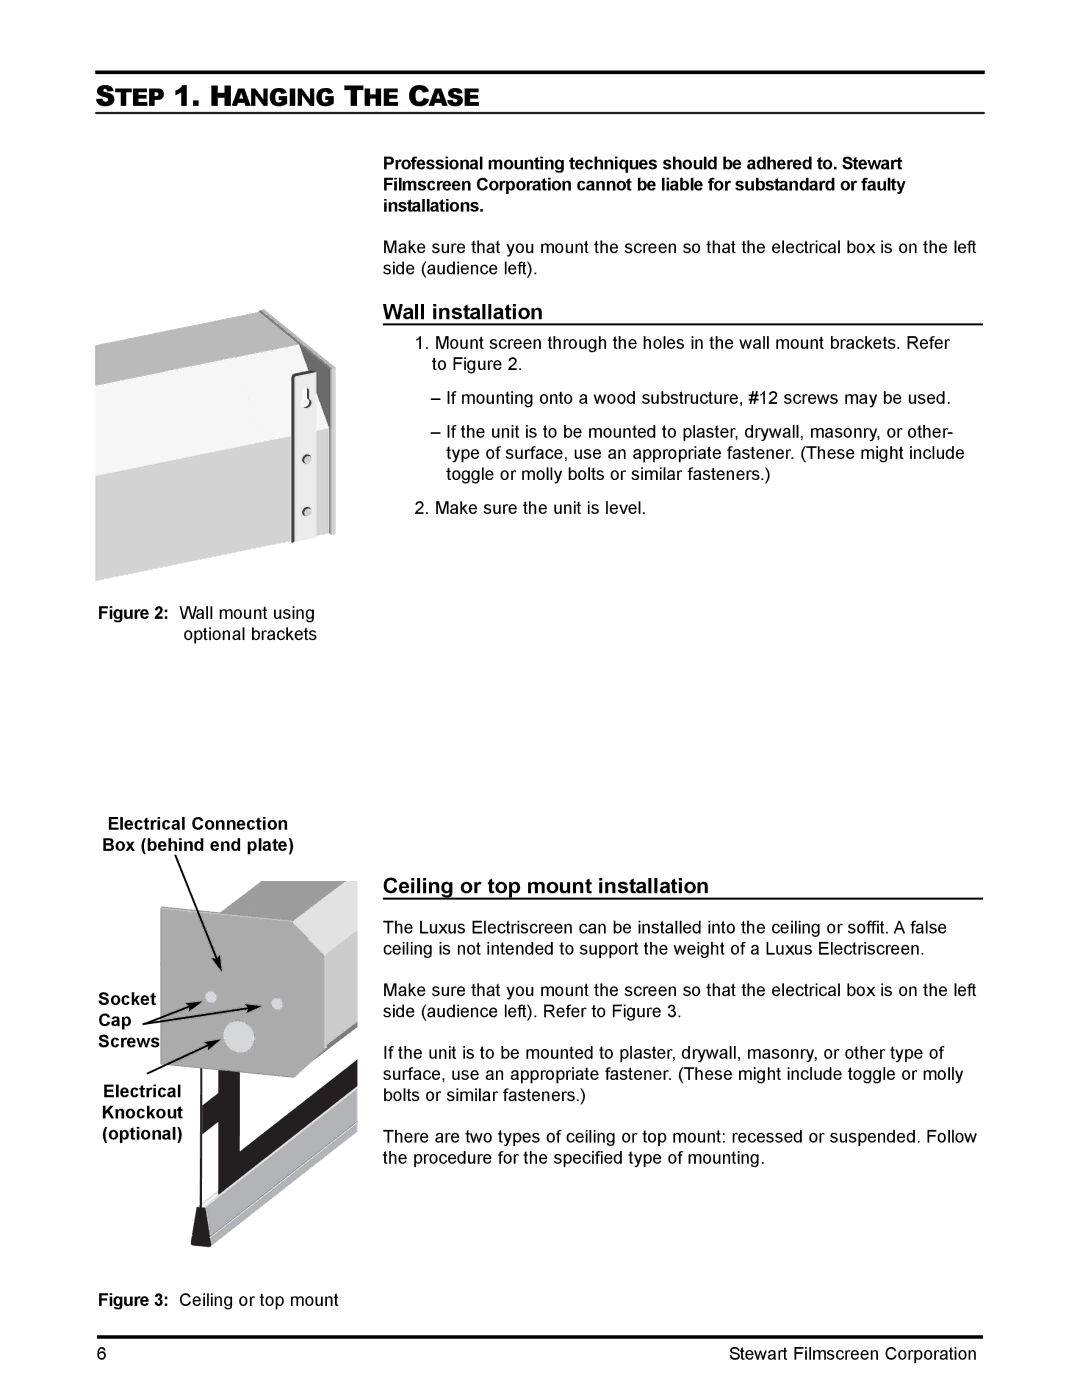
Electrical Connection Box (behind end plate)
Socket
Cap ![]()
Screws
Electrical
Knockout
(optional)
Figure 3: Ceiling or top mount
Professional mounting techniques should be adhered to. Stewart Filmscreen Corporation cannot be liable for substandard or faulty installations.
Make sure that you mount the screen so that the electrical box is on the left side (audience left).
Wall installation
1.Mount screen through the holes in the wall mount brackets. Refer to Figure 2.
–If mounting onto a wood substructure, #12 screws may be used.
–If the unit is to be mounted to plaster, drywall, masonry, or other- type of surface, use an appropriate fastener. (These might include toggle or molly bolts or similar fasteners.)
2.Make sure the unit is level.
Ceiling or top mount installation
The Luxus Electriscreen can be installed into the ceiling or soffit. A false ceiling is not intended to support the weight of a Luxus Electriscreen.
Make sure that you mount the screen so that the electrical box is on the left side (audience left). Refer to Figure 3.
If the unit is to be mounted to plaster, drywall, masonry, or other type of surface, use an appropriate fastener. (These might include toggle or molly bolts or similar fasteners.)
There are two types of ceiling or top mount: recessed or suspended. Follow the procedure for the specified type of mounting.
6 | Stewart Filmscreen Corporation |