Installation
■Installation
Once you have ordered your hardware and software, read the following information on how to attach your storage system to a SUN Server running Solaris 2.7, 8, or 9 (and appropriate patches).
Before You Begin
The materials needed for the installation are listed below. Check to see that you have each of these items. The following pages provide more information about these materials (see headings) with specific steps and details on what to do.
Before you begin, make sure you have these items:
1.A SUN Server running Solaris 2.7, 8, or 9 (and appropriate patches)
2.One or more
3.SFP Transceivers for the Control Module/Array Module/Drive Module(s)
4.Fibre Channel cable(s) that will connect the host to the storage system
5.A storage system that is fully configured.
Note: If you don’t have your storage system configured, you can attach your laptop running the latest SMclient Field Tool to it. This will enable you to assign drives, LUNs, and volumes.
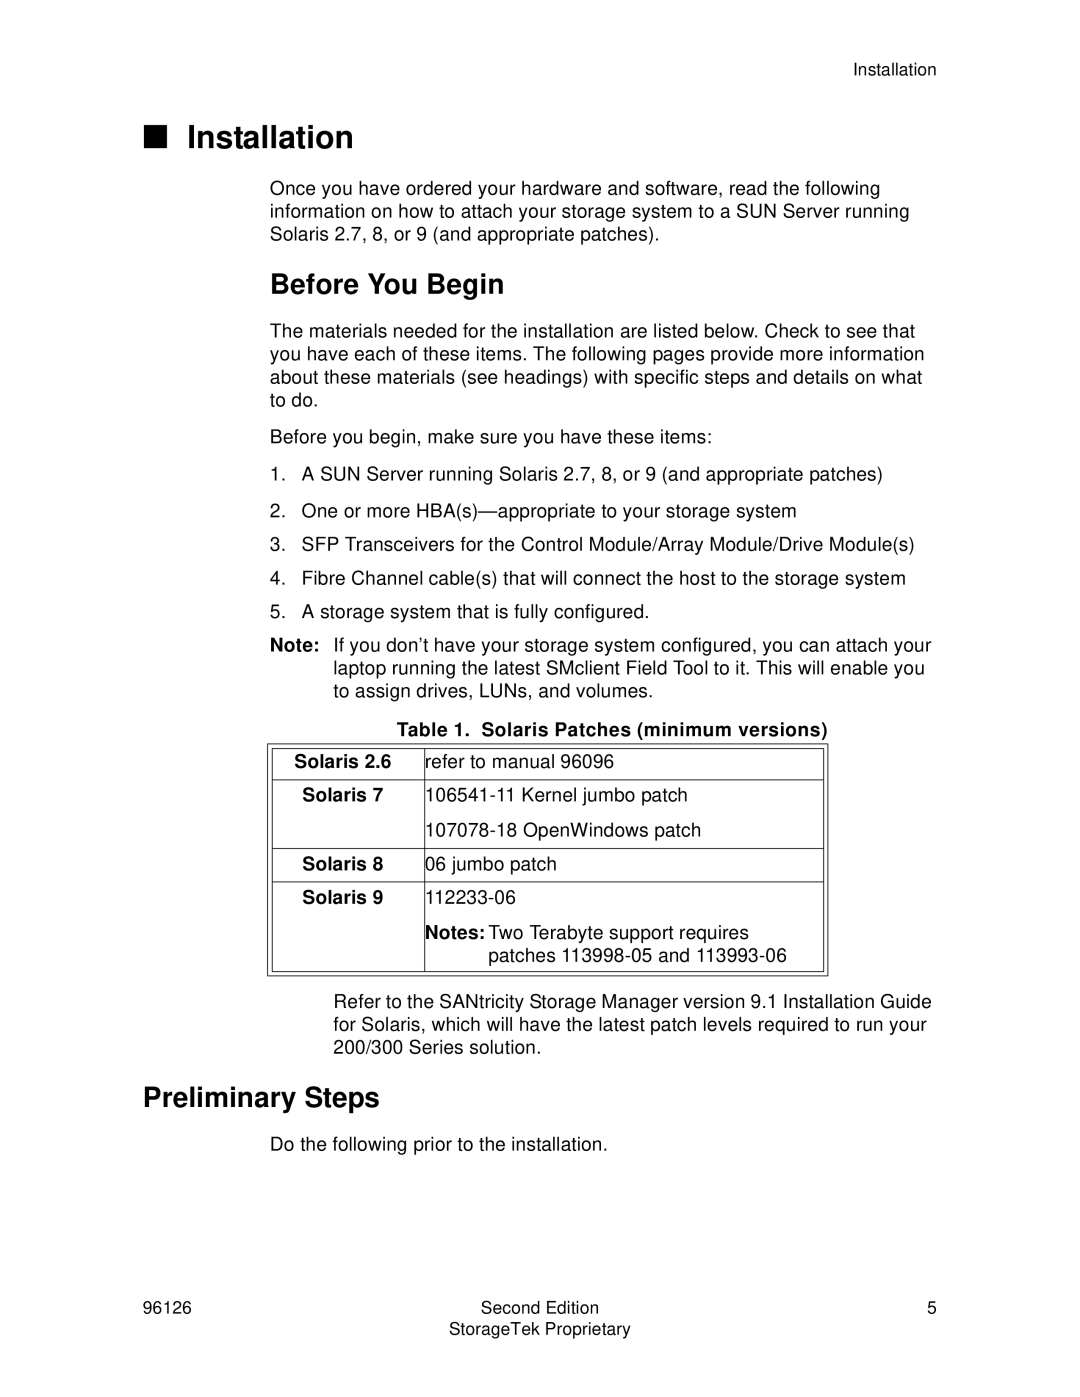
Table 1. Solaris Patches (minimum versions)
|
|
|
|
| Solaris 2.6 | refer to manual 96096 |
|
|
|
|
|
| Solaris 7 |
| |
|
|
| |
|
|
|
|
| Solaris 8 | 06 jumbo patch |
|
|
|
|
|
| Solaris 9 |
| |
|
| Notes: Two Terabyte support requires |
|
|
| patches |
|
|
|
|
|
|
|
|
|
Refer to the SANtricity Storage Manager version 9.1 Installation Guide for Solaris, which will have the latest patch levels required to run your 200/300 Series solution.
Preliminary Steps
Do the following prior to the installation.
96126 | Second Edition | 5 |
| StorageTek Proprietary |
|