USER INSTRUCTIONS
5.3Experience establishes settings to suit personal preferences.
|
|
|
|
|
|
|
|
|
|
|
|
| Position 1: Full Running | |
|
|
|
| Position 2: |
|
|
| ||
Opti Burn Position | Adjust left to reduce output | |||
| PR8035 | |||
|
|
|
|
|
•Lowest heat out put for burning wood (Opti Burn). This position helps keep the glass clean, Diagram 9
Shut Down Position | PR8027 |
|
• Lowest possible heat out put for burning wood. This position does not keep the glass clean, Diagram 10
5.4Do not burn large amounts of fuel with the Airwash control closed for long periods of time. This reduces the glass cleaning effect and causes tars and creosotes to
5.5When in use, burning the appliance at high output for a short period each day also reduces tars and creosote.
5.6Multi-fuel Stove:
The Solid Fuel setting is from the Centre to the Left
The Wood burning setting is from the Centre to the Right
Once the fire becomes established:
•Move the control from the wood start up position, See
Diagram 6, to the
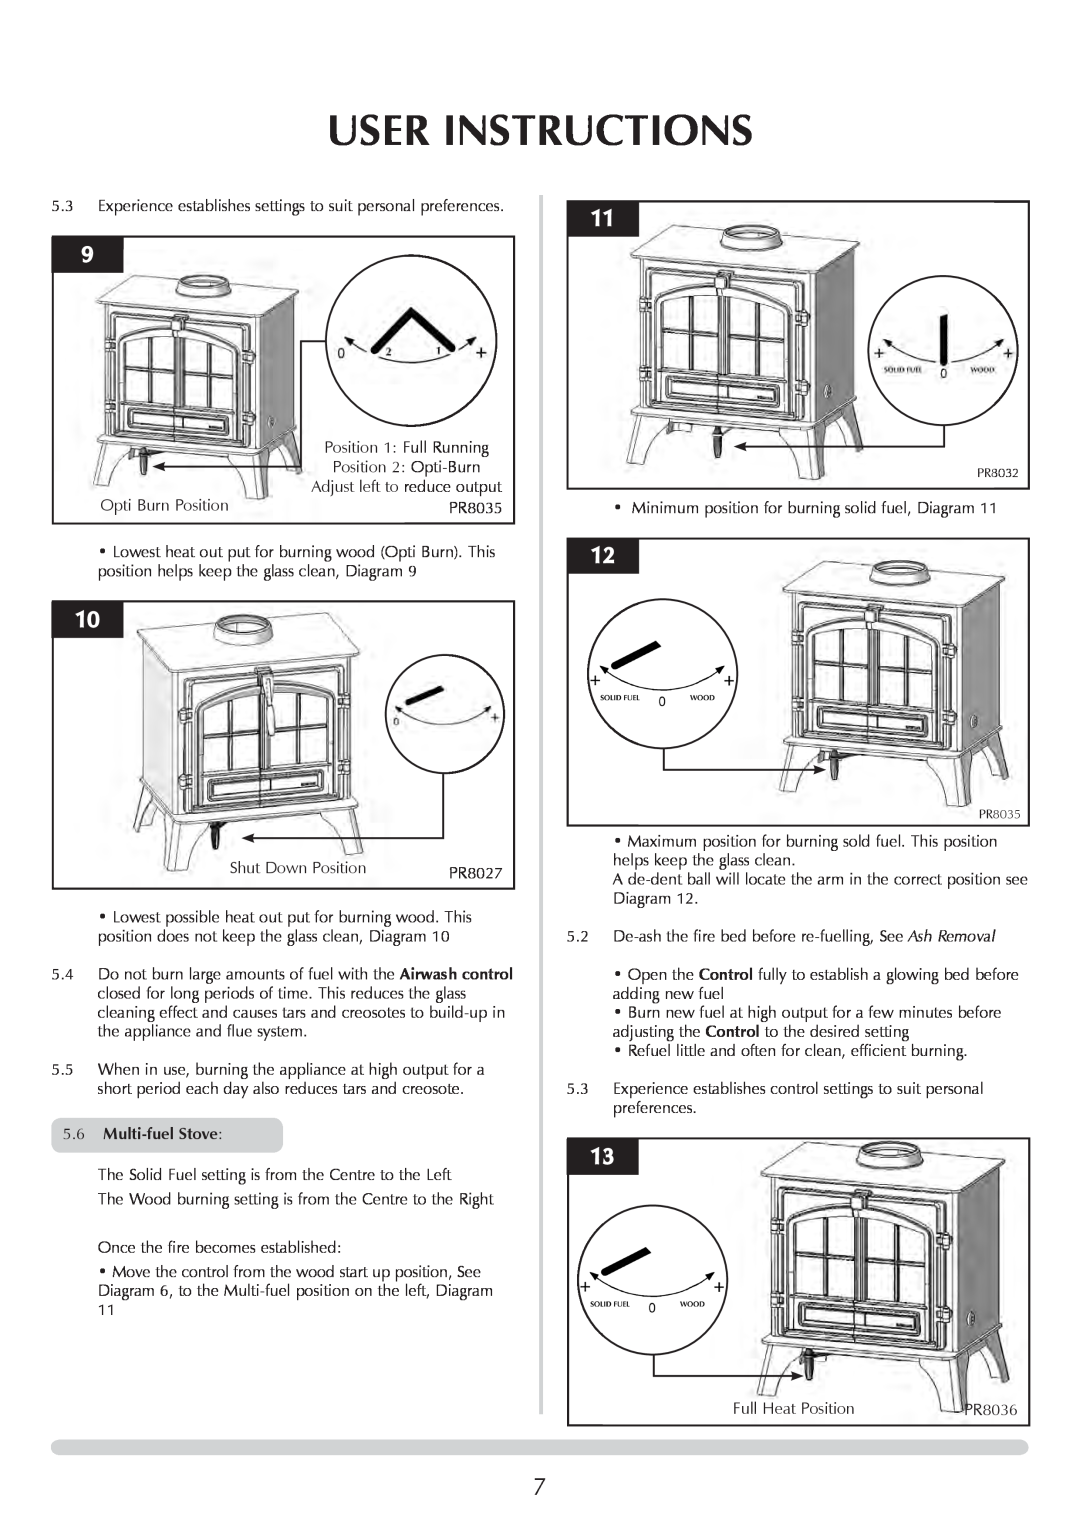
PR8032 |
• Minimum position for burning solid fuel, Diagram 11
PR8035 |
•Maximum position for burning sold fuel. This position helps keep the glass clean.
A
5.2
•Open the Control fully to establish a glowing bed before adding new fuel
•Burn new fuel at high output for a few minutes before adjusting the Control to the desired setting
•Refuel little and often for clean, efficient burning.
5.3Experience establishes control settings to suit personal preferences.
Full Heat Position | PR8036 |
7