Undercounter Installation | 12 |
|
|
Overlay Panel Installation | Hinge Adjustment |
The model
IMPORTANT NOTE: For model
After the door panel installation is complete, apply the cover patches or plugs provided over the holes on the inside surface of the door.
The cover patches or plugs are part of the insulation system on the door of the undercounter unit. Be sure to cover all the holes in the door that were used.
IMPORTANT NOTE: The undercounter unit should be properly leveled before door hinge adjustments are made.
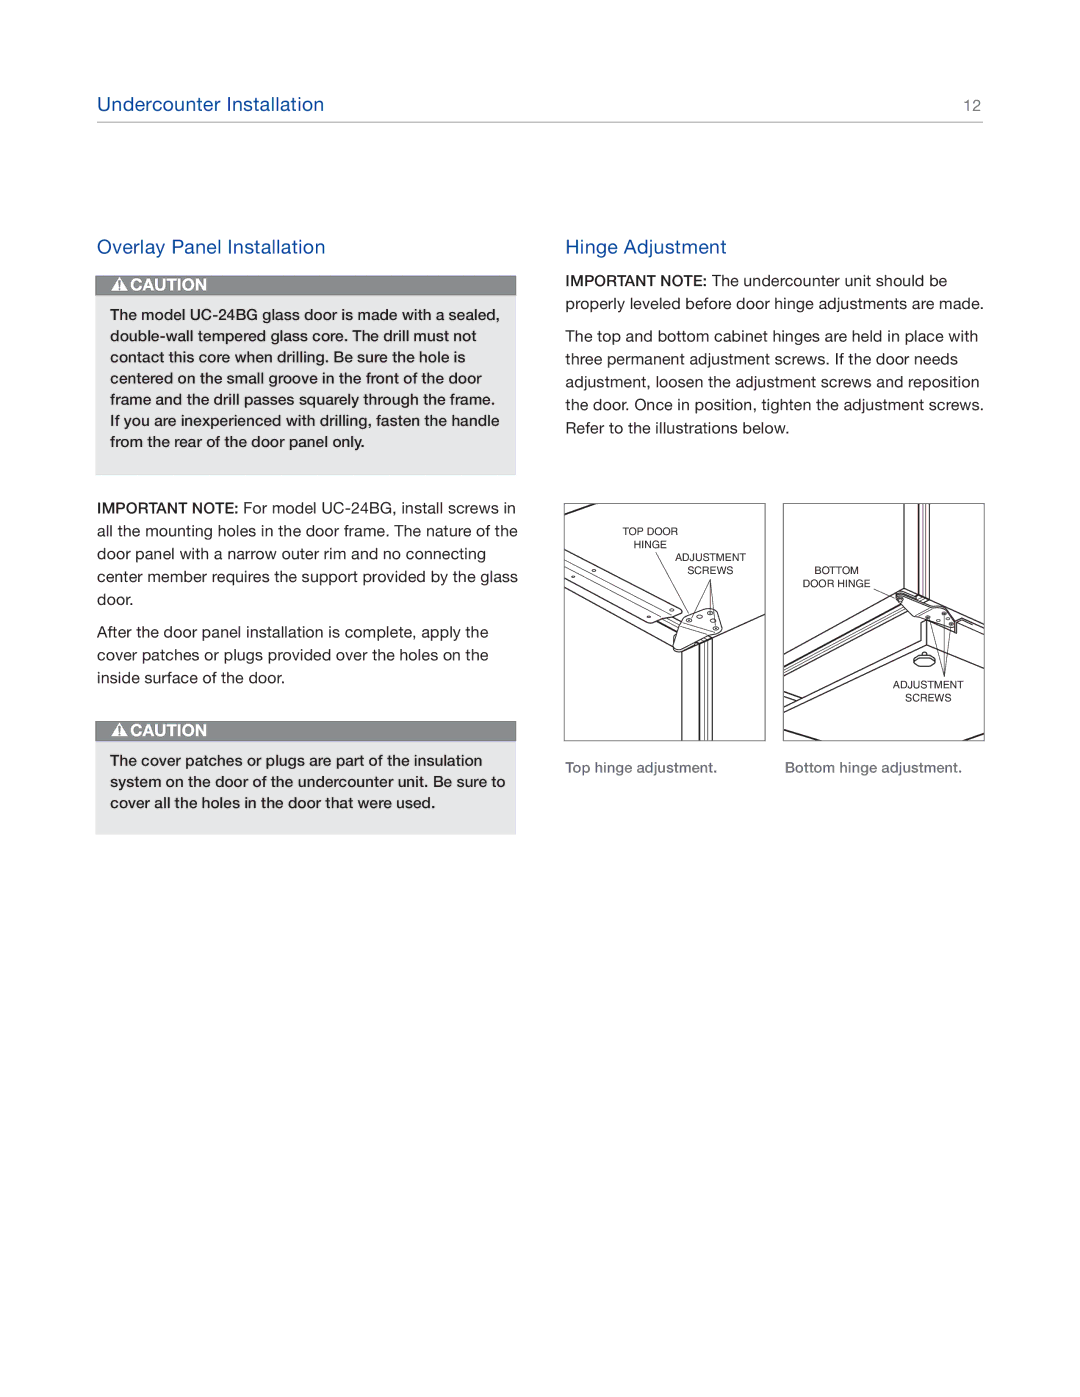
The top and bottom cabinet hinges are held in place with three permanent adjustment screws. If the door needs adjustment, loosen the adjustment screws and reposition the door. Once in position, tighten the adjustment screws. Refer to the illustrations below.
TOP DOOR |
|
HINGE |
|
ADJUSTMENT |
|
SCREWS | BOTTOM |
DOOR HINGE
ADJUSTMENT
SCREWS
Top hinge adjustment. | Bottom hinge adjustment. |
