Operating Instructions |
3.3.2 Motion Recording
This is a little more complex than TIMER RECORDING, but has some distinct advantages. Basically, MOTION RECORDING will allow you to configure the DVR to record only when something is happening in front of the camera. This means that the hard drive will not be filled up with hours and hours of nothing happening! This is a great mode to select if, for example, you use the DVR to record images of a location during times that it is unoccupied.
To enable MOTION RECORDING:
1.Open the menu, and scroll down to ADVANCED CONGFIG.
2.Select RECORD from the submenu.
3.Set EVENT RECORD ENABLE to ON.
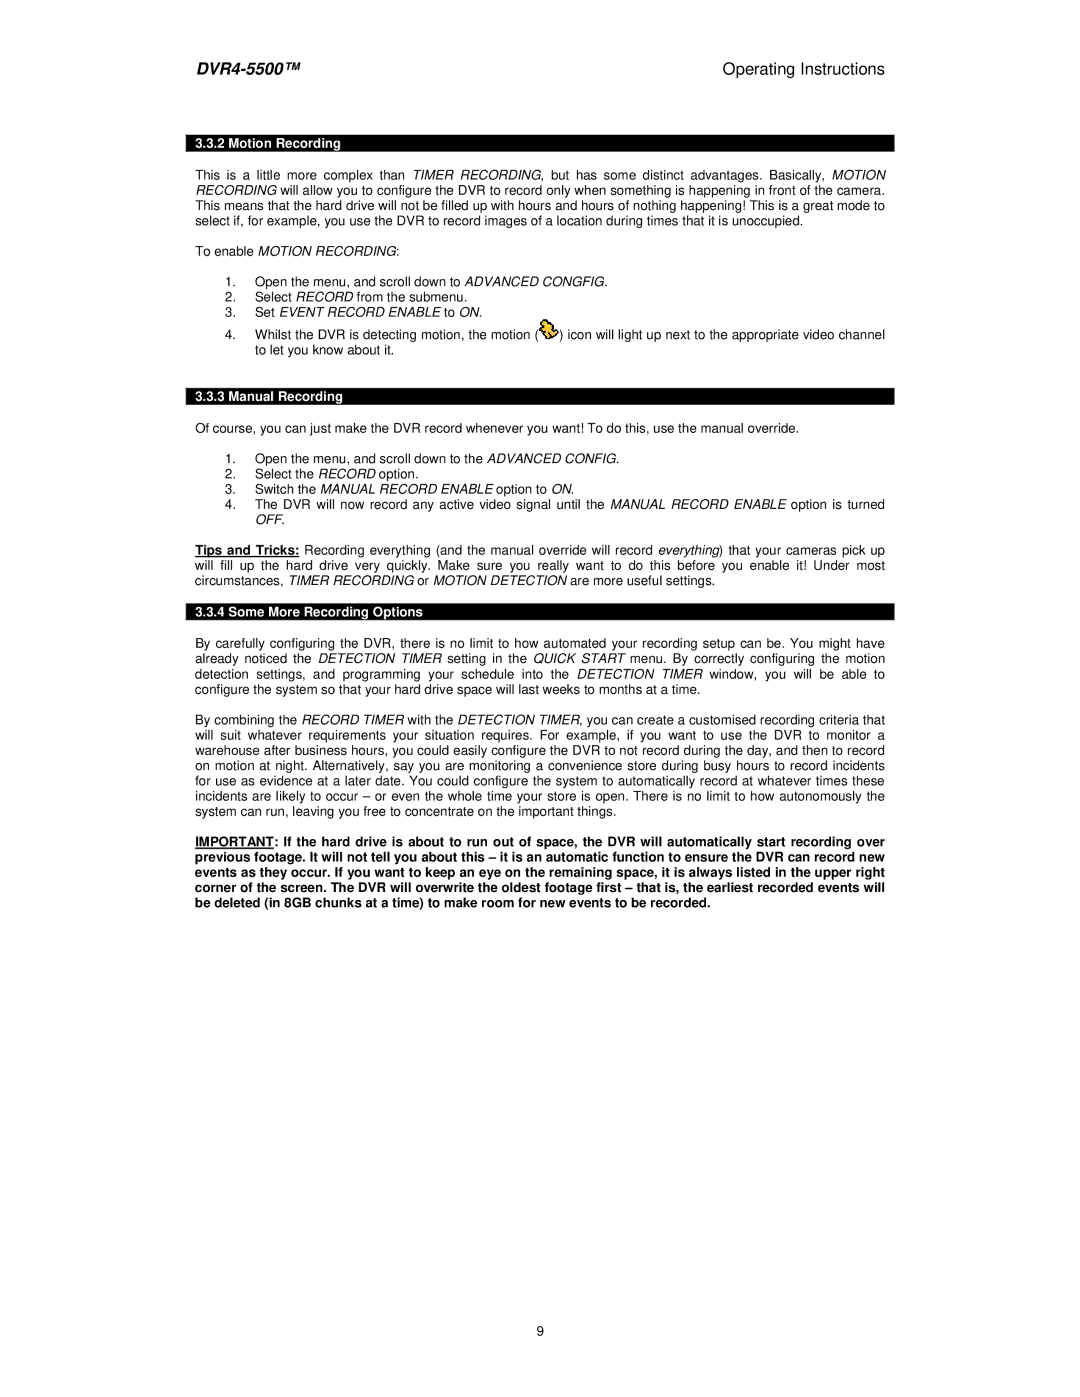
4.Whilst the DVR is detecting motion, the motion (![]() ) icon will light up next to the appropriate video channel to let you know about it.
) icon will light up next to the appropriate video channel to let you know about it.
3.3.3Manual Recording
Of course, you can just make the DVR record whenever you want! To do this, use the manual override.
1.Open the menu, and scroll down to the ADVANCED CONFIG.
2.Select the RECORD option.
3.Switch the MANUAL RECORD ENABLE option to ON.
4.The DVR will now record any active video signal until the MANUAL RECORD ENABLE option is turned OFF.
Tips and Tricks: Recording everything (and the manual override will record everything) that your cameras pick up will fill up the hard drive very quickly. Make sure you really want to do this before you enable it! Under most circumstances, TIMER RECORDING or MOTION DETECTION are more useful settings.
3.3.4 Some More Recording Options
By carefully configuring the DVR, there is no limit to how automated your recording setup can be. You might have already noticed the DETECTION TIMER setting in the QUICK START menu. By correctly configuring the motion detection settings, and programming your schedule into the DETECTION TIMER window, you will be able to configure the system so that your hard drive space will last weeks to months at a time.
By combining the RECORD TIMER with the DETECTION TIMER, you can create a customised recording criteria that will suit whatever requirements your situation requires. For example, if you want to use the DVR to monitor a warehouse after business hours, you could easily configure the DVR to not record during the day, and then to record on motion at night. Alternatively, say you are monitoring a convenience store during busy hours to record incidents for use as evidence at a later date. You could configure the system to automatically record at whatever times these incidents are likely to occur – or even the whole time your store is open. There is no limit to how autonomously the system can run, leaving you free to concentrate on the important things.
IMPORTANT: If the hard drive is about to run out of space, the DVR will automatically start recording over previous footage. It will not tell you about this – it is an automatic function to ensure the DVR can record new events as they occur. If you want to keep an eye on the remaining space, it is always listed in the upper right corner of the screen. The DVR will overwrite the oldest footage first – that is, the earliest recorded events will be deleted (in 8GB chunks at a time) to make room for new events to be recorded.
9