Operating Instructions |
4.4 Advanced Motion Detection Settings
To alter the MOTION DETECTION settings:
1.Open the menu, and scroll down to ADVANCED CONFIG.
2.Select DETECTION from the submenu and press ![]()
3.This will open the DETECTION WINDOW. You can access settings for all four channels from here.
4.Select which channels you’d like motion detection enabled on. There are four options, OFF, LOW, MEDIUM and HIGH. The higher the setting, the less motion needs to occur in front of the camera to trigger the recording on the DVR. It’s worth playing with this setting (particularly if the camera is monitoring outdoors where wind and other environmental conditions could trigger the motion sensor) until you find the settings that work for you.
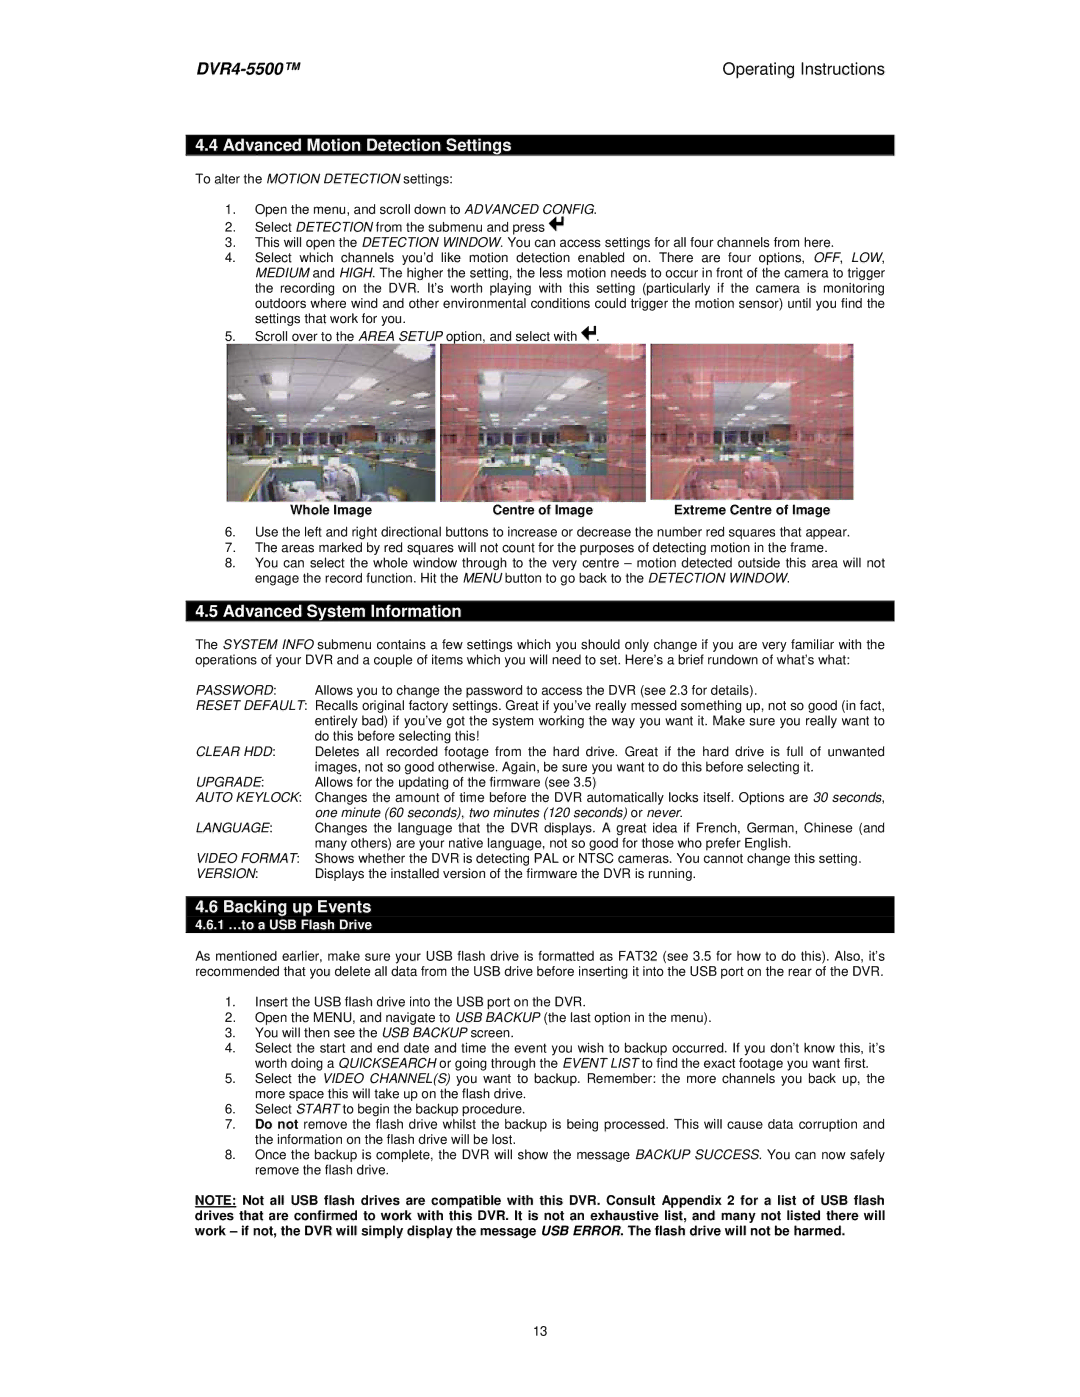
5.Scroll over to the AREA SETUP option, and select with ![]() .
.
Whole Image | Centre of Image | Extreme Centre of Image |
6.Use the left and right directional buttons to increase or decrease the number red squares that appear.
7.The areas marked by red squares will not count for the purposes of detecting motion in the frame.
8.You can select the whole window through to the very centre – motion detected outside this area will not engage the record function. Hit the MENU button to go back to the DETECTION WINDOW.
4.5Advanced System Information
The SYSTEM INFO submenu contains a few settings which you should only change if you are very familiar with the operations of your DVR and a couple of items which you will need to set. Here’s a brief rundown of what’s what:
PASSWORD: Allows you to change the password to access the DVR (see 2.3 for details).
RESET DEFAULT: Recalls original factory settings. Great if you’ve really messed something up, not so good (in fact, entirely bad) if you’ve got the system working the way you want it. Make sure you really want to do this before selecting this!
CLEAR HDD: Deletes all recorded footage from the hard drive. Great if the hard drive is full of unwanted images, not so good otherwise. Again, be sure you want to do this before selecting it.
UPGRADE: Allows for the updating of the firmware (see 3.5)
AUTO KEYLOCK: Changes the amount of time before the DVR automatically locks itself. Options are 30 seconds, one minute (60 seconds), two minutes (120 seconds) or never.
LANGUAGE: Changes the language that the DVR displays. A great idea if French, German, Chinese (and many others) are your native language, not so good for those who prefer English.
VIDEO FORMAT: Shows whether the DVR is detecting PAL or NTSC cameras. You cannot change this setting.
VERSION: Displays the installed version of the firmware the DVR is running.
4.6 Backing up Events
4.6.1 …to a USB Flash Drive
As mentioned earlier, make sure your USB flash drive is formatted as FAT32 (see 3.5 for how to do this). Also, it’s recommended that you delete all data from the USB drive before inserting it into the USB port on the rear of the DVR.
1.Insert the USB flash drive into the USB port on the DVR.
2.Open the MENU, and navigate to USB BACKUP (the last option in the menu).
3.You will then see the USB BACKUP screen.
4.Select the start and end date and time the event you wish to backup occurred. If you don’t know this, it’s worth doing a QUICKSEARCH or going through the EVENT LIST to find the exact footage you want first.
5.Select the VIDEO CHANNEL(S) you want to backup. Remember: the more channels you back up, the more space this will take up on the flash drive.
6.Select START to begin the backup procedure.
7.Do not remove the flash drive whilst the backup is being processed. This will cause data corruption and the information on the flash drive will be lost.
8.Once the backup is complete, the DVR will show the message BACKUP SUCCESS. You can now safely remove the flash drive.
NOTE: Not all USB flash drives are compatible with this DVR. Consult Appendix 2 for a list of USB flash drives that are confirmed to work with this DVR. It is not an exhaustive list, and many not listed there will work – if not, the DVR will simply display the message USB ERROR. The flash drive will not be harmed.
13