|
| Operating Instructions | ||
|
|
|
|
|
Appendix 3. Compatible SATA HDD List |
|
|
| |
MANUFACTURER | MODEL | CAPACITY |
| SPEED |
Seagate | ST3320613AS | 320GB |
| 7200 rpm |
| ST33500320AS | 500GB |
| 7200 rpm |
| ST3750330AS | 750GB |
| 7200 rpm |
| ST31000340AS | 1000GB (1TB) |
| 7200 rpm |
WD | WD4200AAKS | 320GB |
| 7200 rpm |
| WD5000AACS | 500GB |
| 7200 rpm |
| WD6400AAKS | 640GB |
| 7200 rpm |
| WD7500AAKS | 750GB |
| 7200 rpm |
Maxtor | STM3500350AS | 500GB |
| 7200 rpm |
| STM3750330AS | 750GB |
| 7200 rpm |
HITACHI | HDT25032VLA360 | 320GB |
| 7200 rpm |
| HDS721010KLA330 | 1000GB (1TB) |
| 7200 rpm |
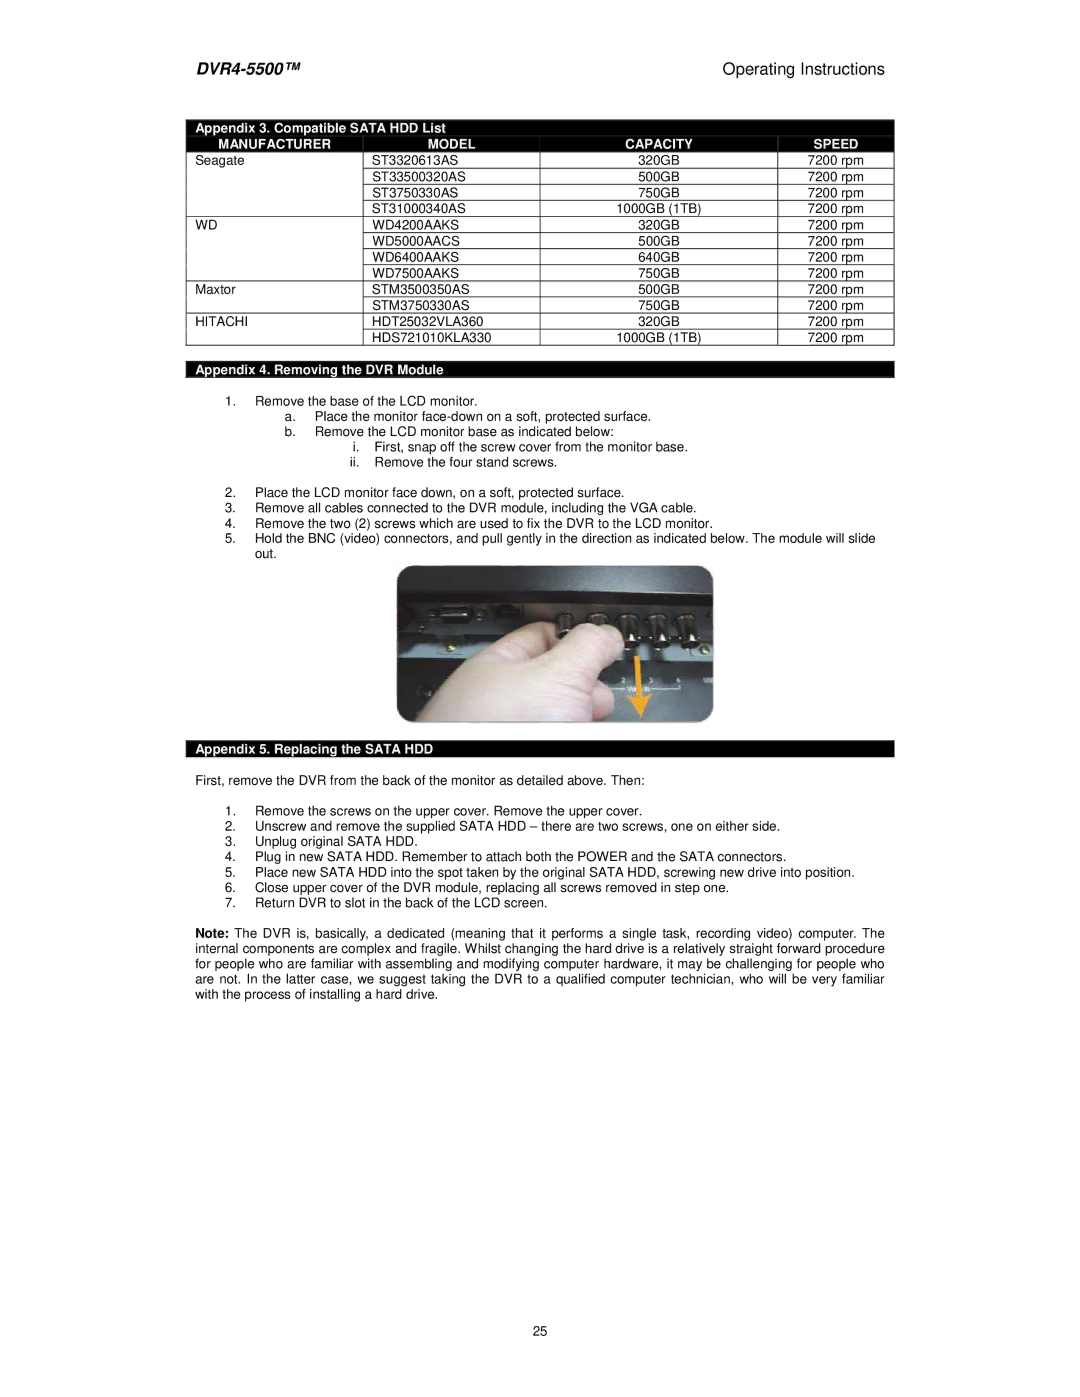
Appendix 4. Removing the DVR Module
1.Remove the base of the LCD monitor.
a.Place the monitor
b.Remove the LCD monitor base as indicated below:
i.First, snap off the screw cover from the monitor base.
ii.Remove the four stand screws.
2.Place the LCD monitor face down, on a soft, protected surface.
3.Remove all cables connected to the DVR module, including the VGA cable.
4.Remove the two (2) screws which are used to fix the DVR to the LCD monitor.
5.Hold the BNC (video) connectors, and pull gently in the direction as indicated below. The module will slide out.
Appendix 5. Replacing the SATA HDD
First, remove the DVR from the back of the monitor as detailed above. Then:
1.Remove the screws on the upper cover. Remove the upper cover.
2.Unscrew and remove the supplied SATA HDD – there are two screws, one on either side.
3.Unplug original SATA HDD.
4.Plug in new SATA HDD. Remember to attach both the POWER and the SATA connectors.
5.Place new SATA HDD into the spot taken by the original SATA HDD, screwing new drive into position.
6.Close upper cover of the DVR module, replacing all screws removed in step one.
7.Return DVR to slot in the back of the LCD screen.
Note: The DVR is, basically, a dedicated (meaning that it performs a single task, recording video) computer. The internal components are complex and fragile. Whilst changing the hard drive is a relatively straight forward procedure for people who are familiar with assembling and modifying computer hardware, it may be challenging for people who are not. In the latter case, we suggest taking the DVR to a qualified computer technician, who will be very familiar with the process of installing a hard drive.
25